|
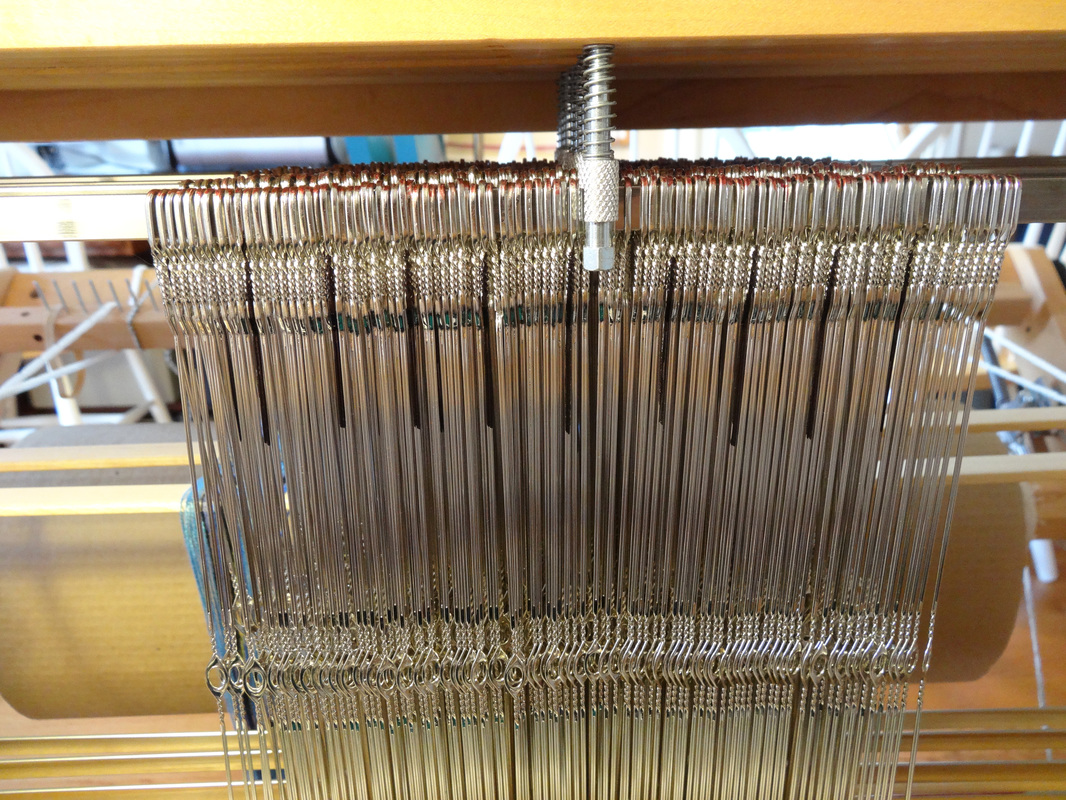
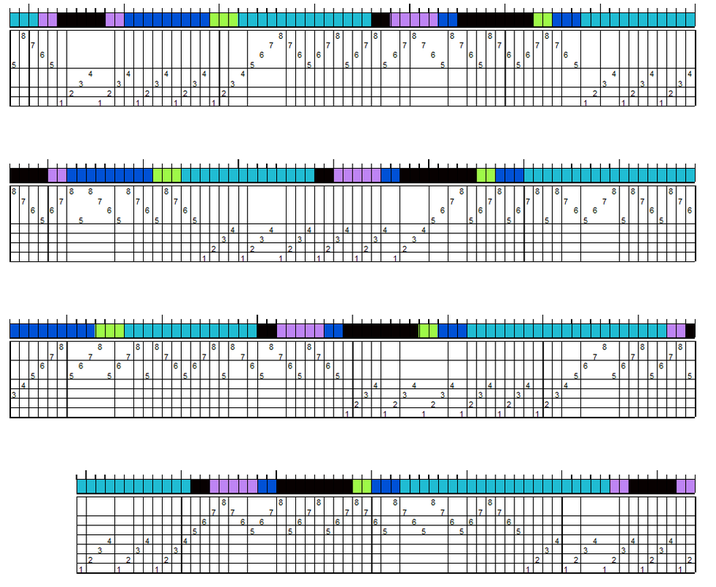
Get the heddles into position Ultimately I want to thread the heddles in the center of each harness, so that by the time I am done I will have about the same number of leftover heddles on the right and left of the warp on each harness. This will help keep the harnesses well balanced as I weave. To do this I need to know how many heddles my draft will require on each harness. My weaving software (Fiberworks) tells me I will need:
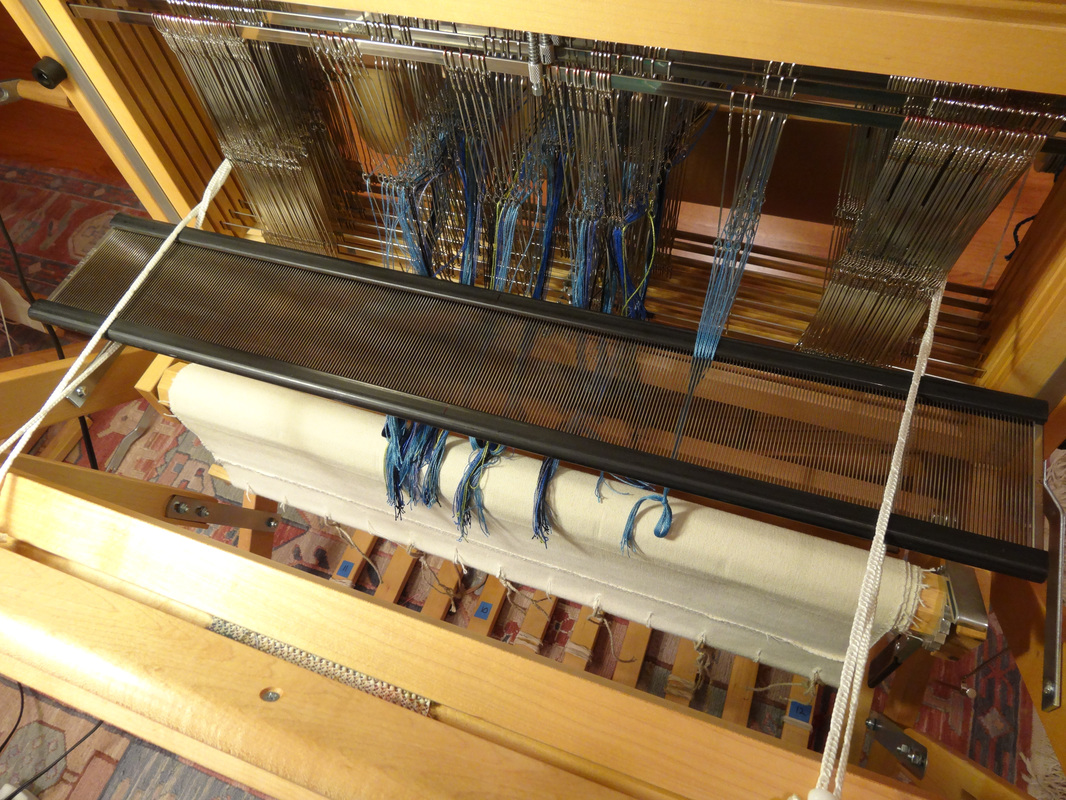
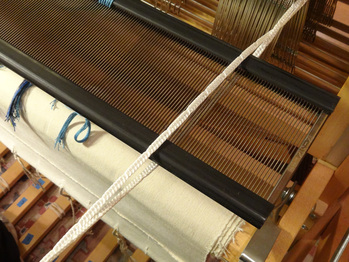
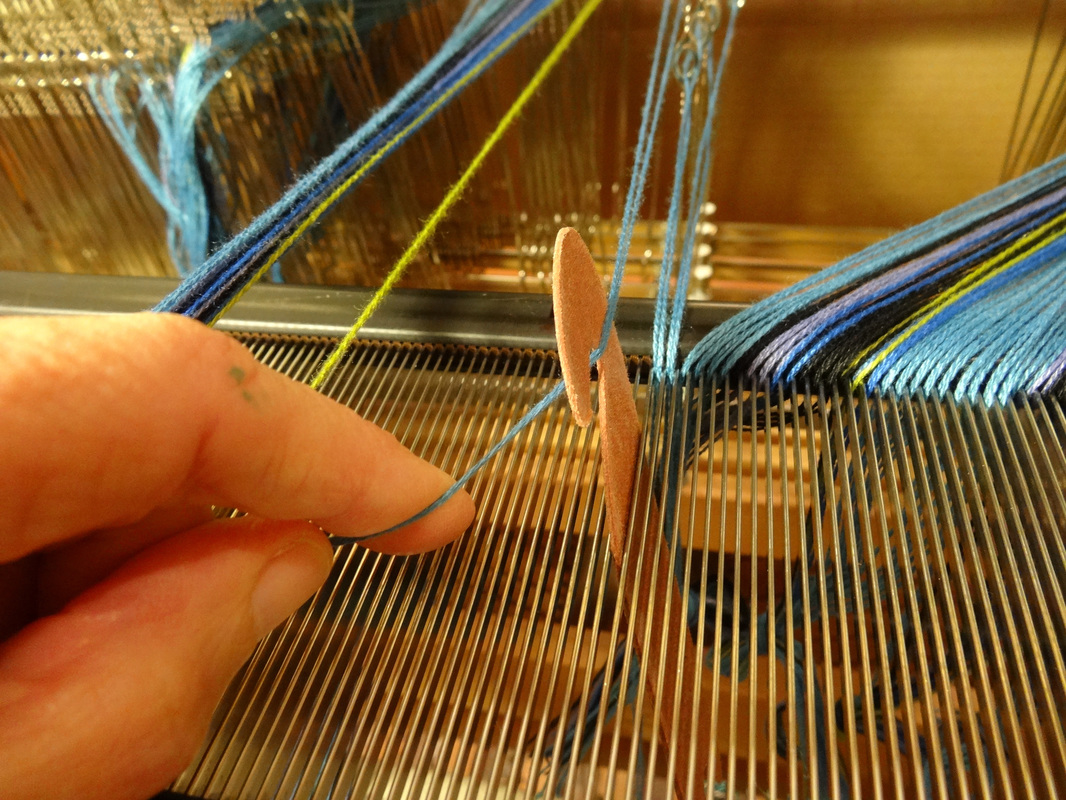
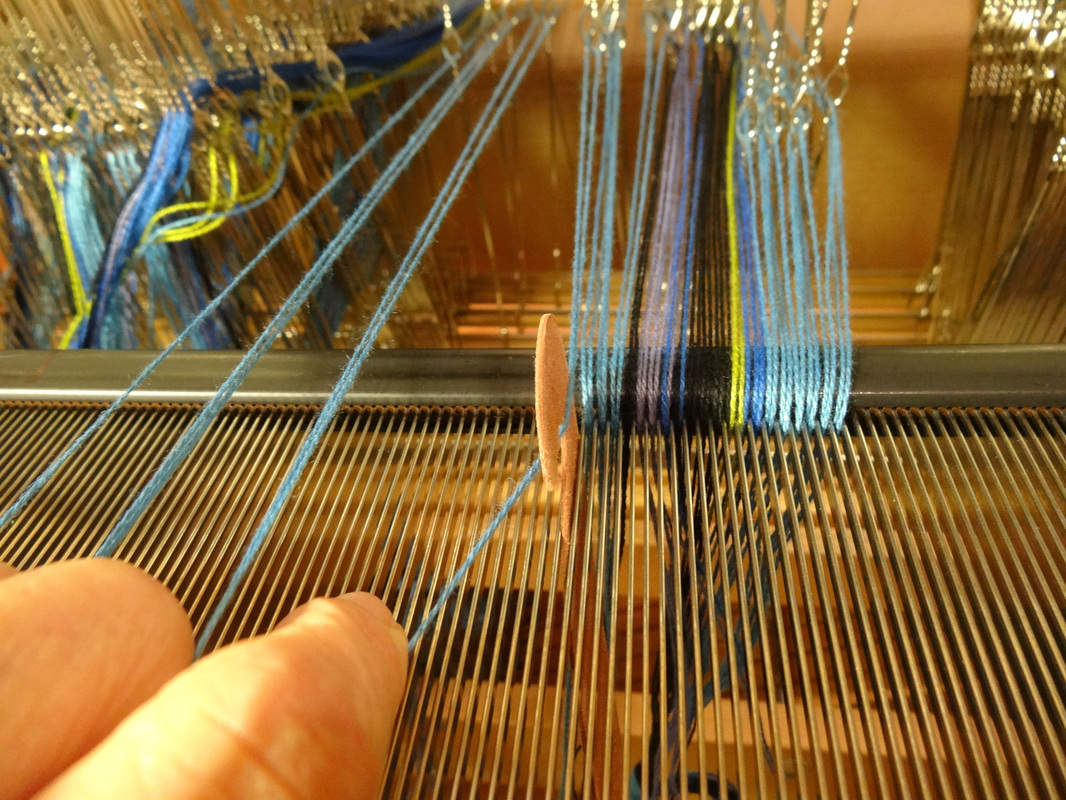
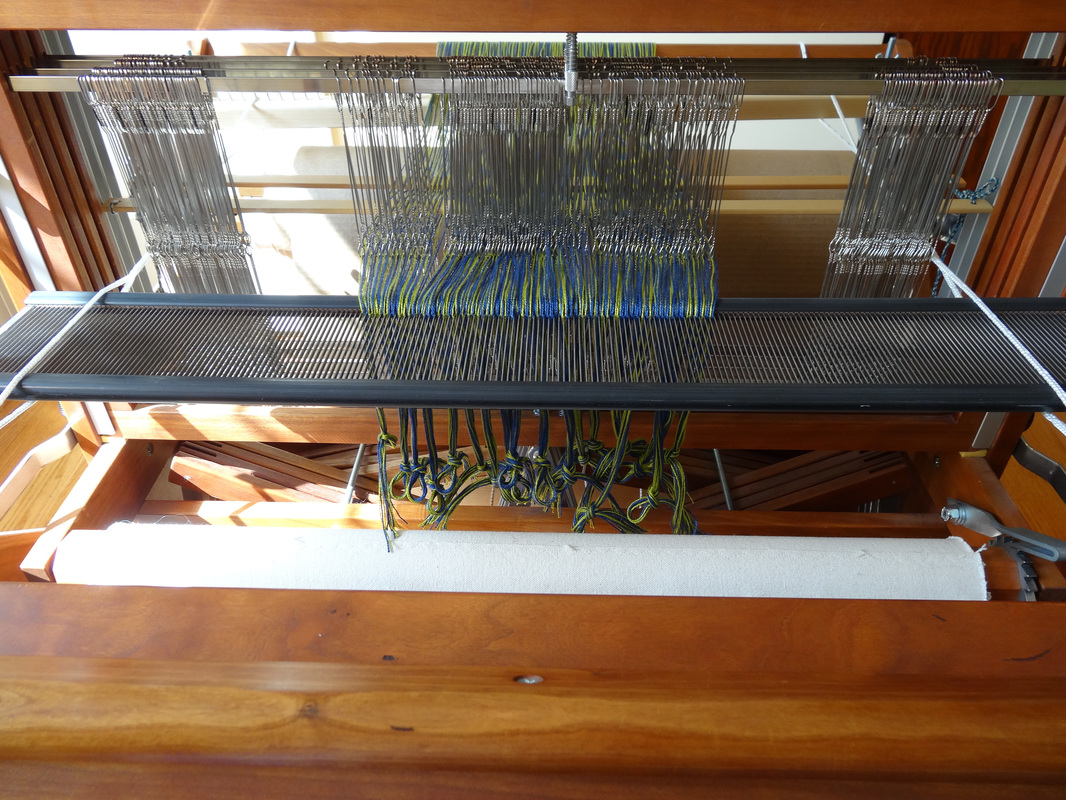
Step 6 is repeated over and over for each section of the draft until the threading is completed. Threading the reed I find it more comfortable to thread the reed when the reed it horizontal (parallel to the floor) rather than vertical (sitting in the beater). I can’t stress this enough! This method is so much more ergonomically correct: easier to see what you are doing, easier on your body and faster to boot.
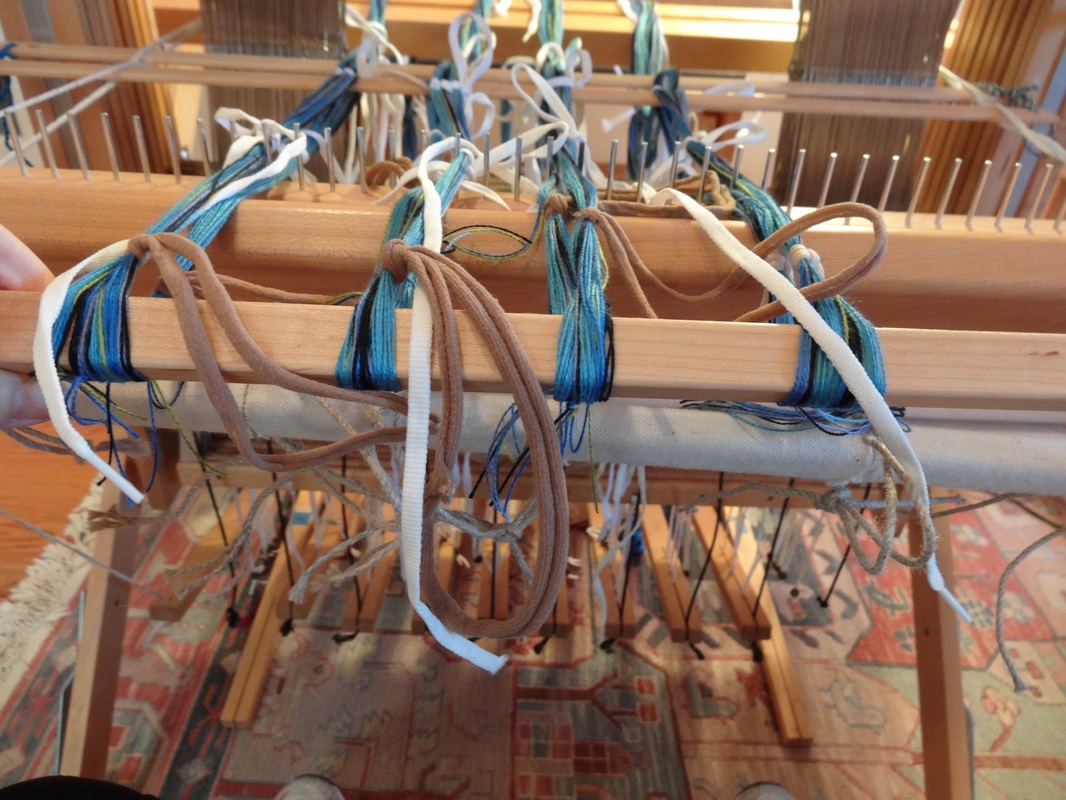
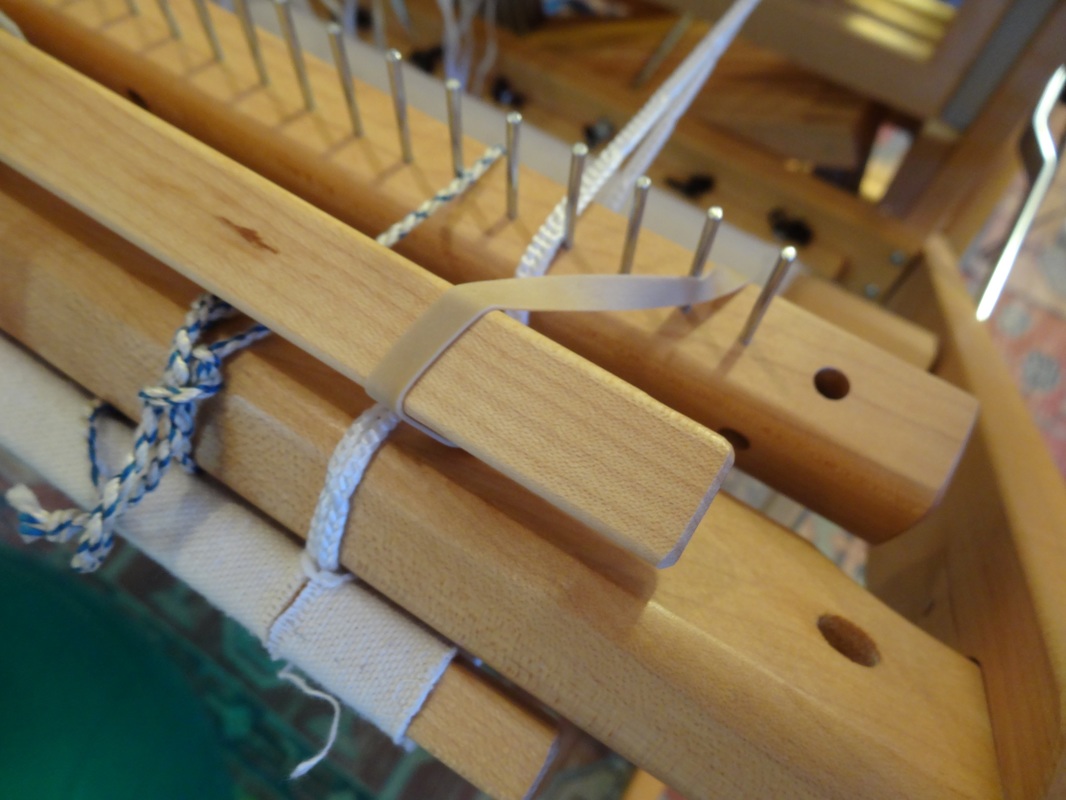
Every inch or so, I tie a slipknot underneath in the bundle underneath the reed. This is really important. There is not much holding this reed in those cords. If it gets dislodged and you haven’t tied those knots, the reed will fall on the floor and you get to start over :-). That could really ruin your day! When the threading is done, I put the reed into the beater, center the warp (NOT the reed) in the beater, and put the top on the beater. Click on any picture to zoom in. Ready for Day 6 - Tying up the loom. Go to Life History-Day 6 To review, go back to Life History-Day 4
1 Comment
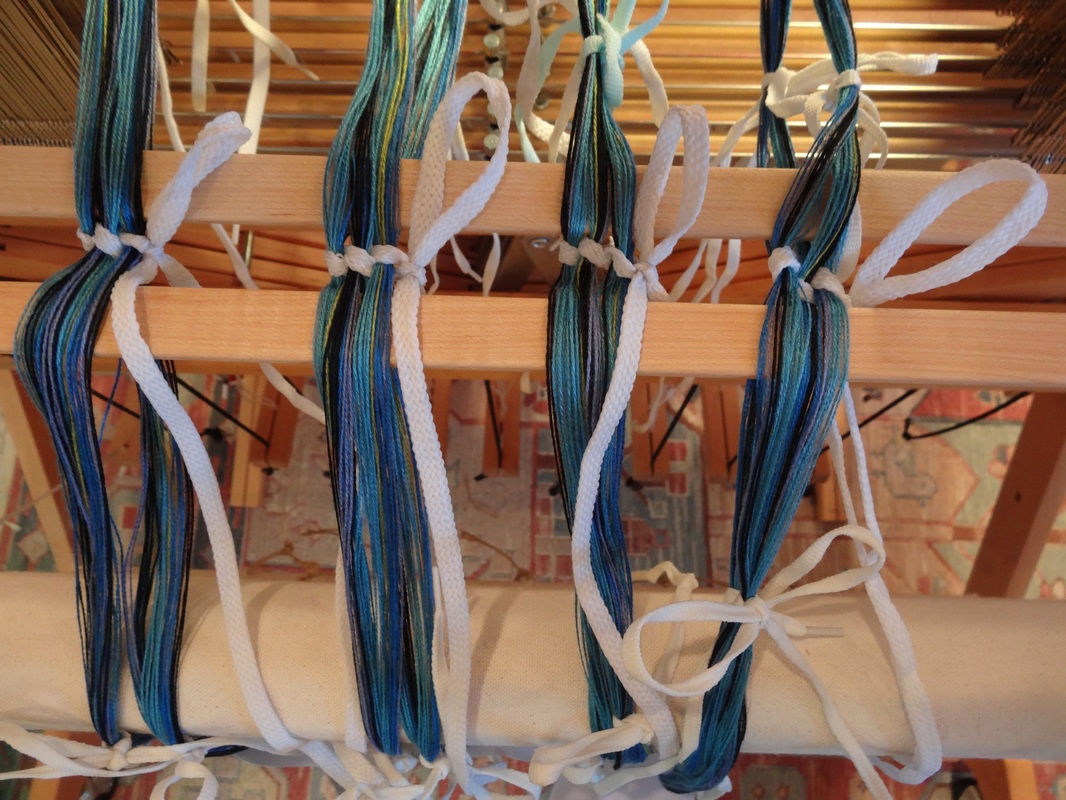
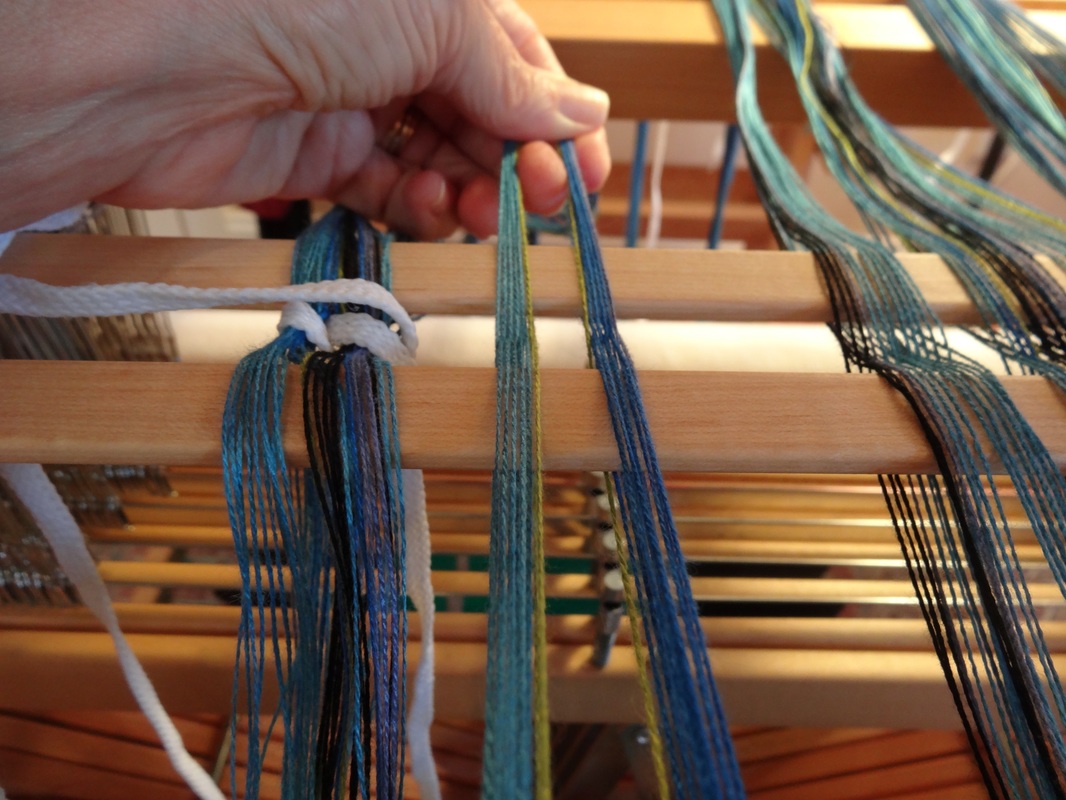
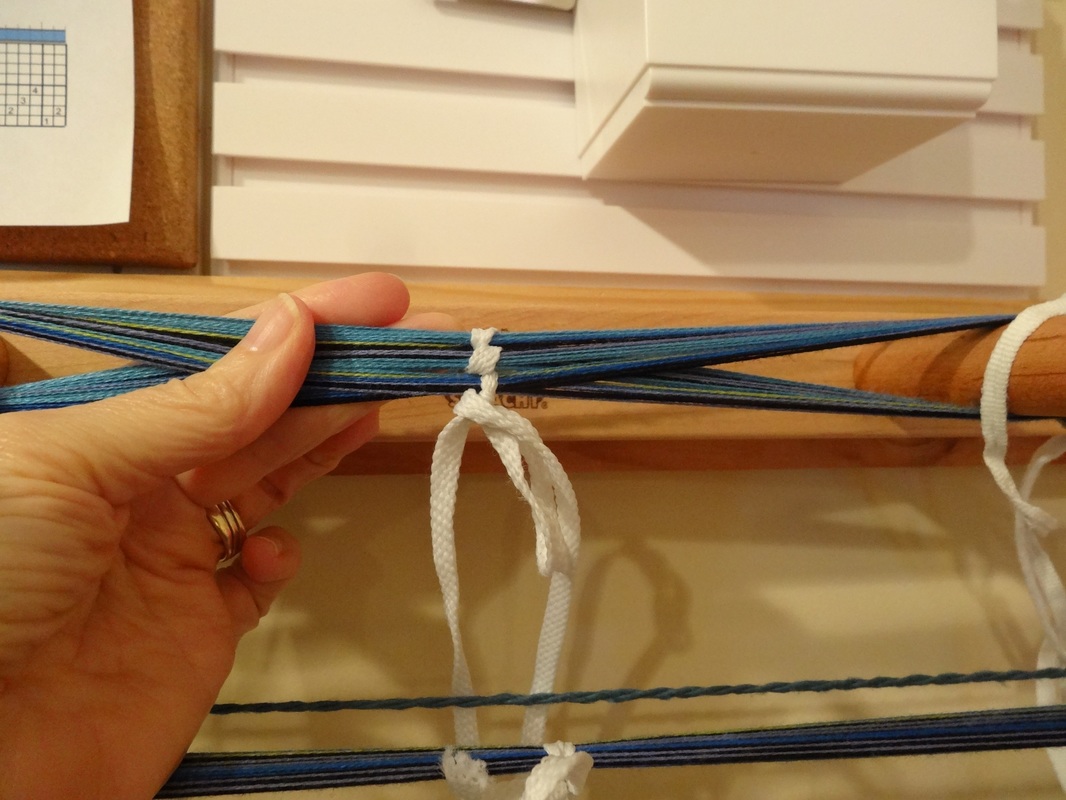
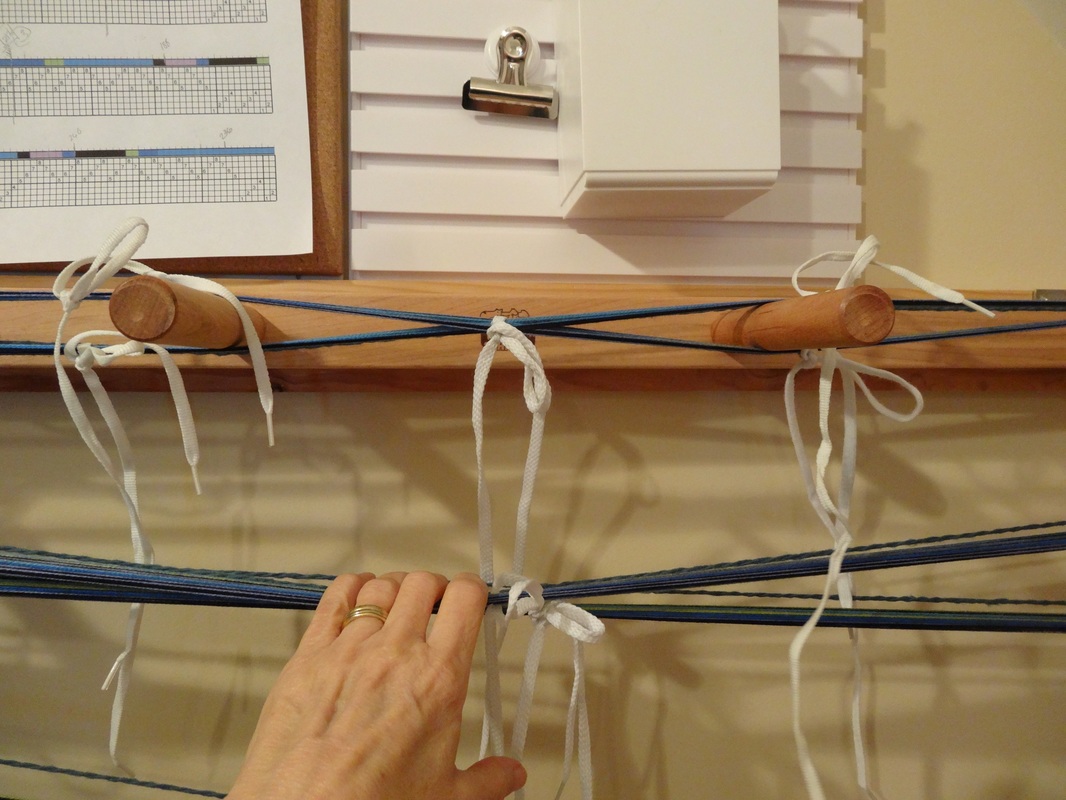
Spreading the warp in the raddle
I was now ready to thread the loom. Go to Life History-Day 5 To review, go back to Life History-Day 3 Remember from Day 2: The warp is 11.8" wide (281 ends, sett at 24 epi) and 228" long)
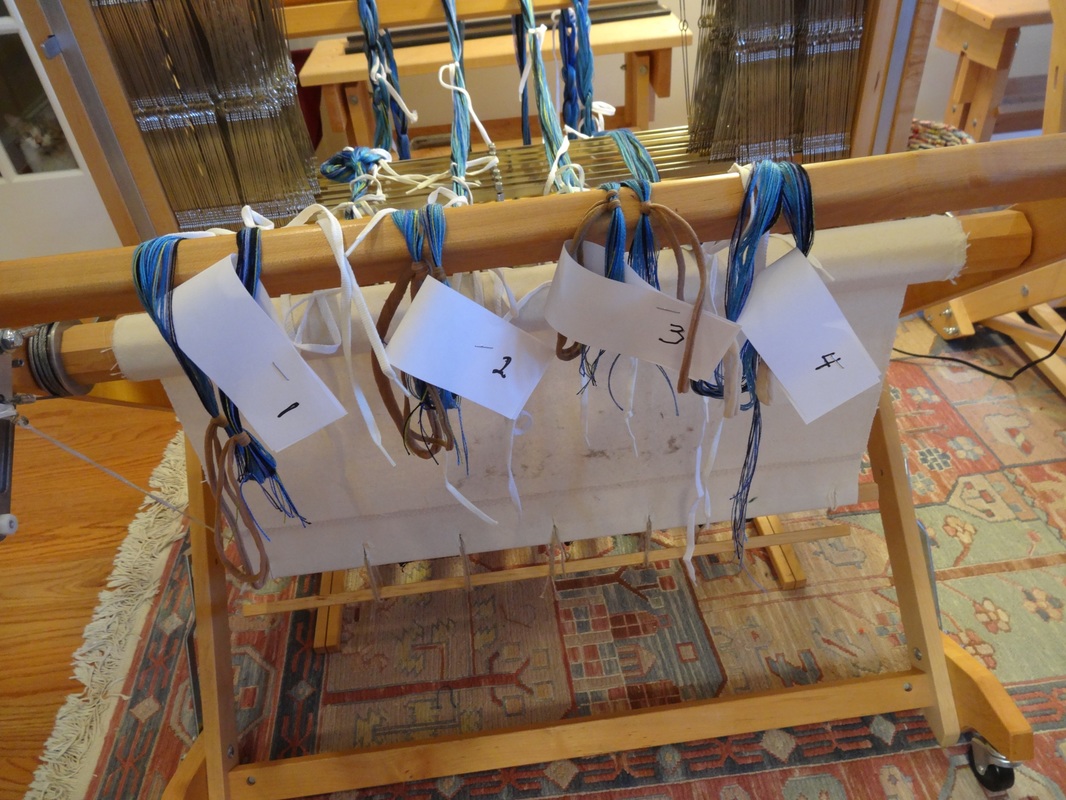
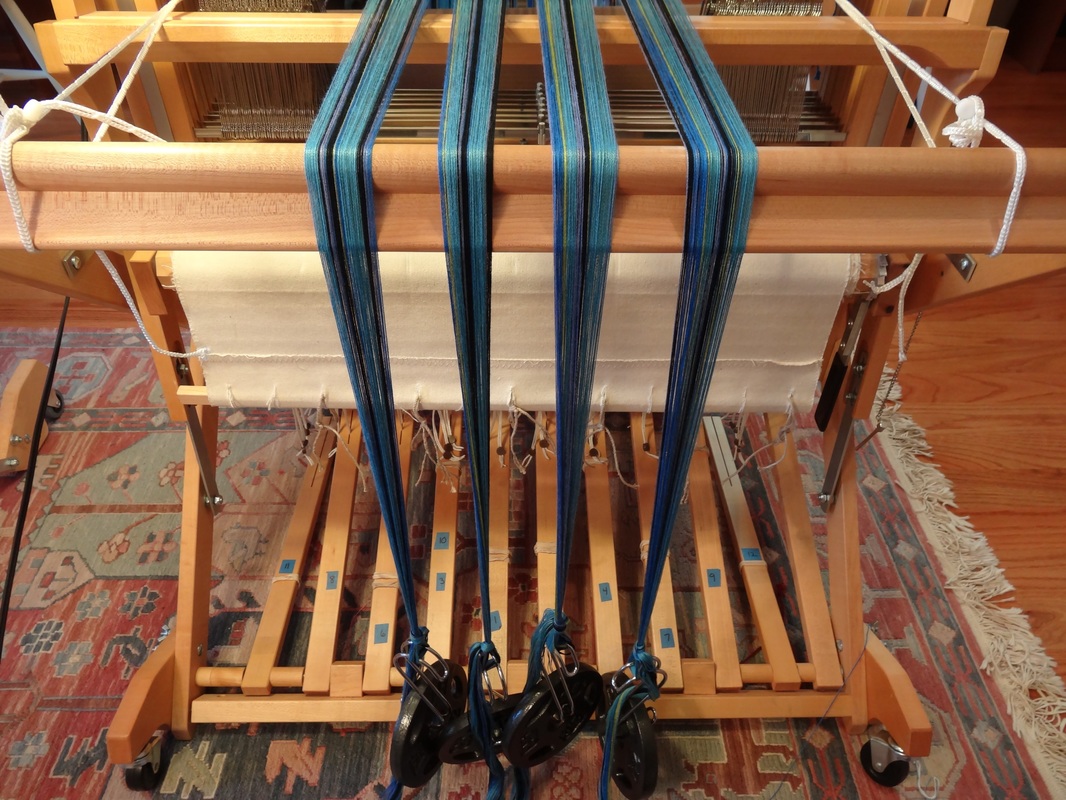
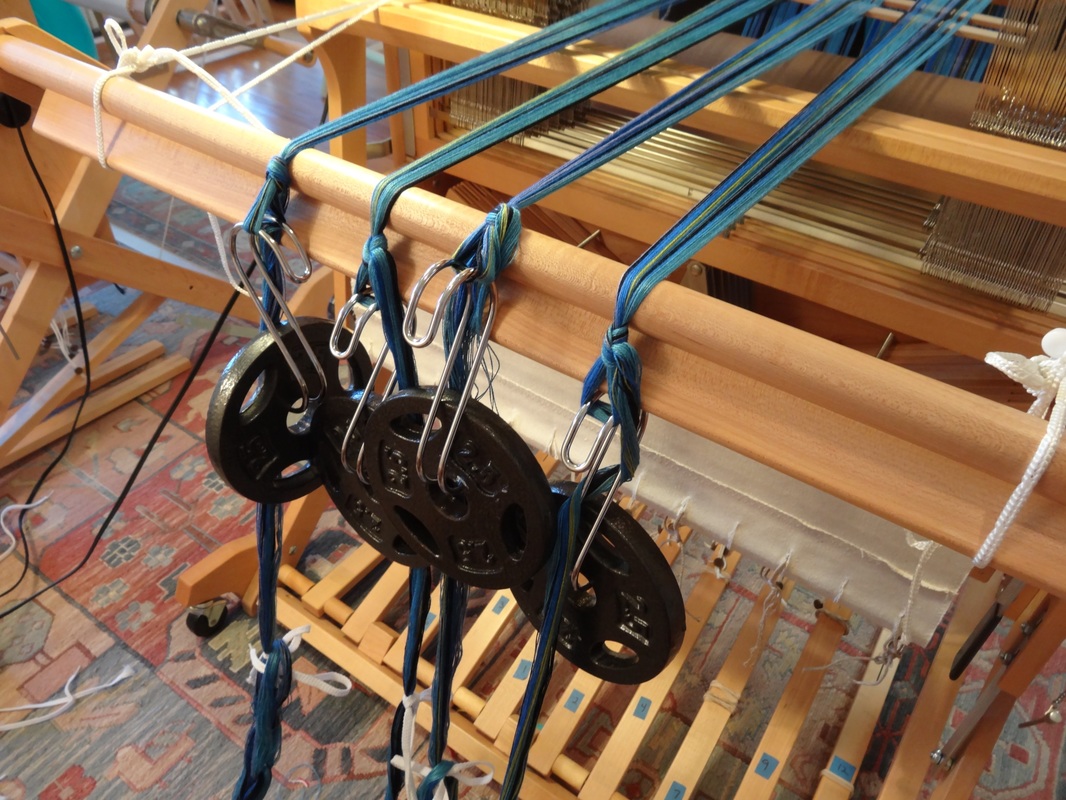
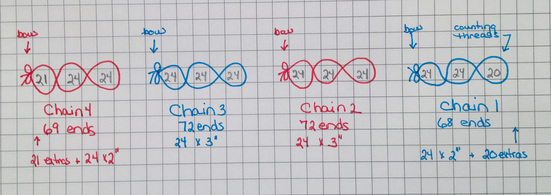
I chained off warp chain #1, beginning at the starting post. I chained loosely and only up to the cross portion of the warp chain. I took the warp to the loom and laid it across the front beam on the right side of the loom. I measured chains # 2 & 3 in the same way and laid them on the front beam to the left of chain # 1 I measured warp chain #4 in the same way with a couple of exceptions:
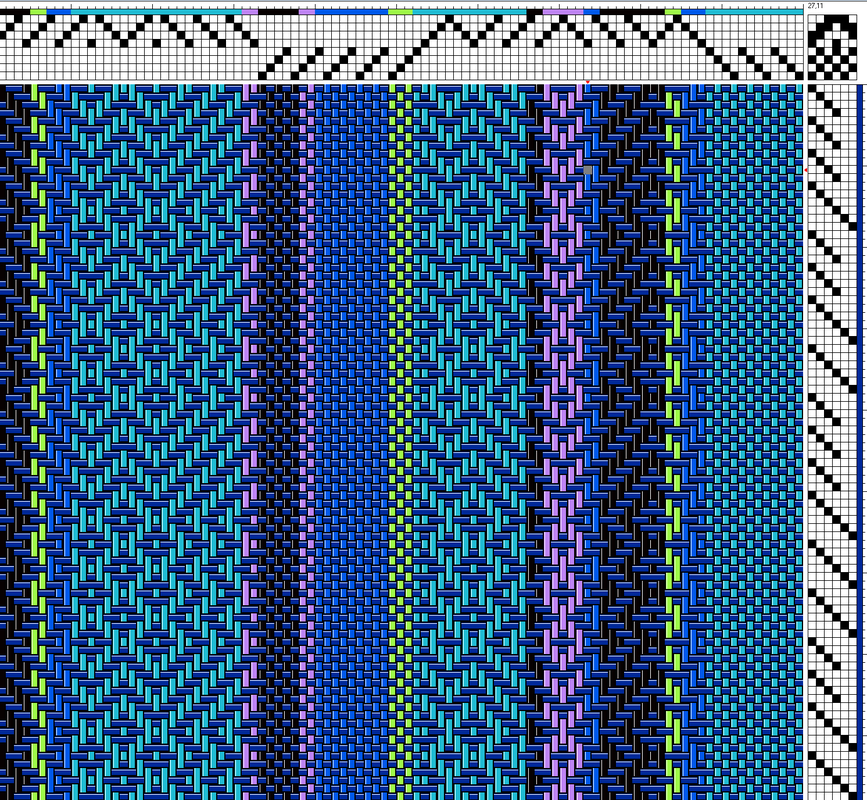
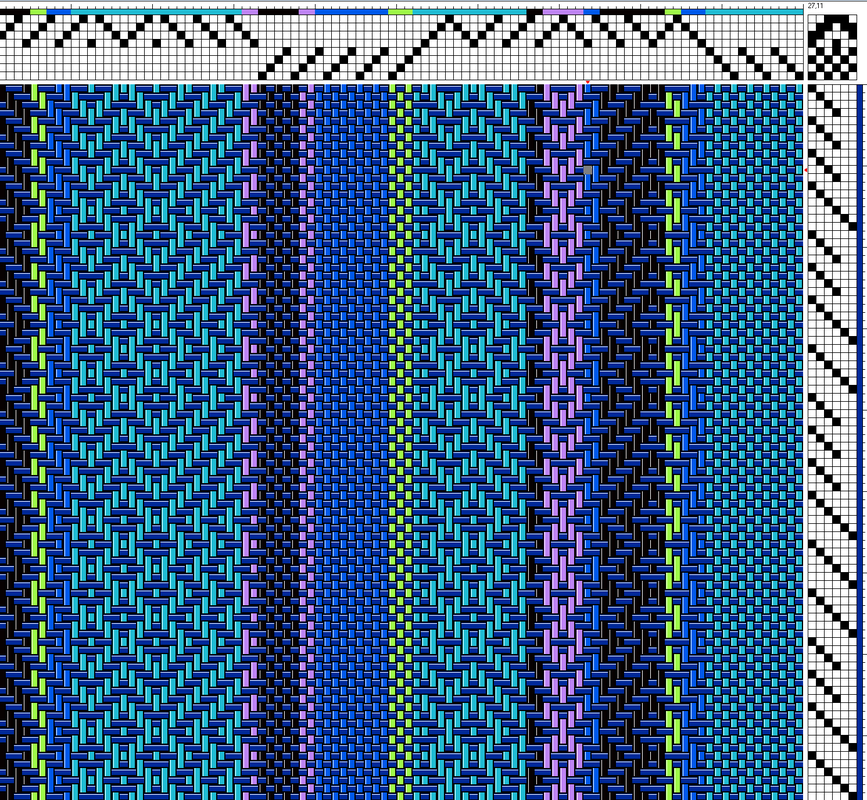
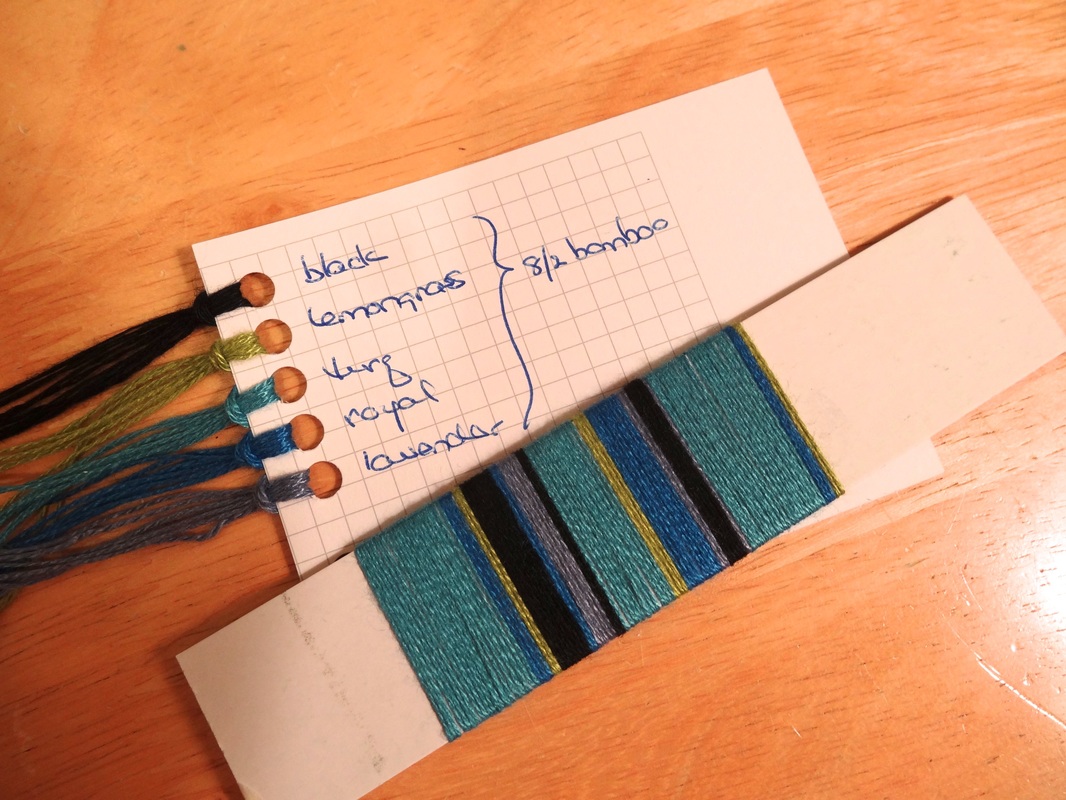
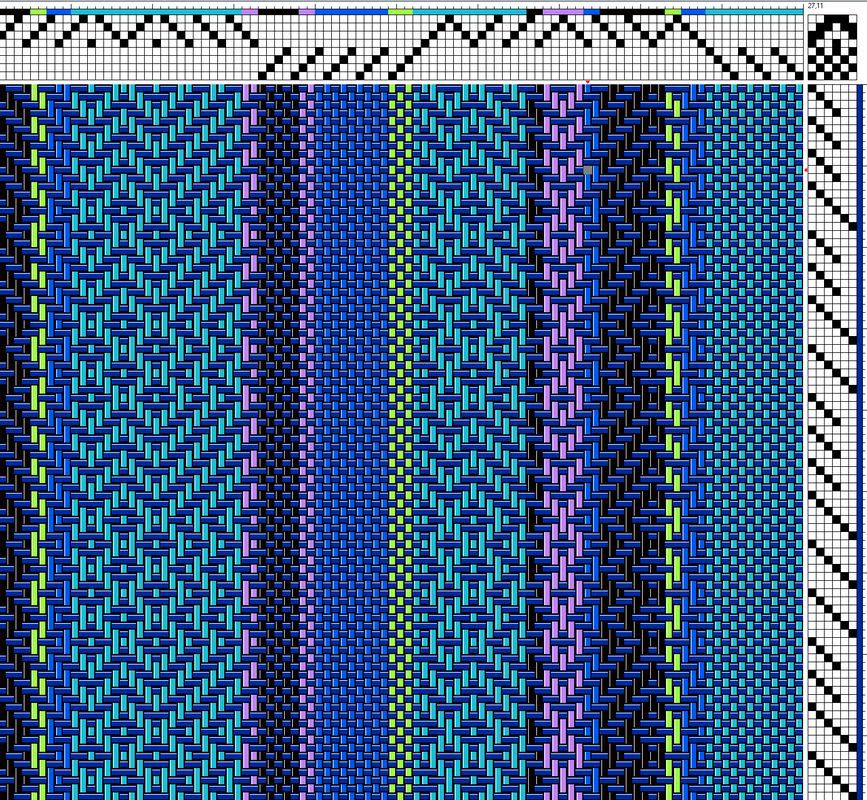
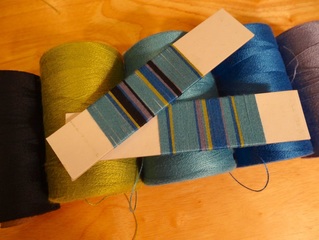
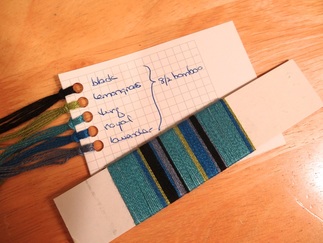
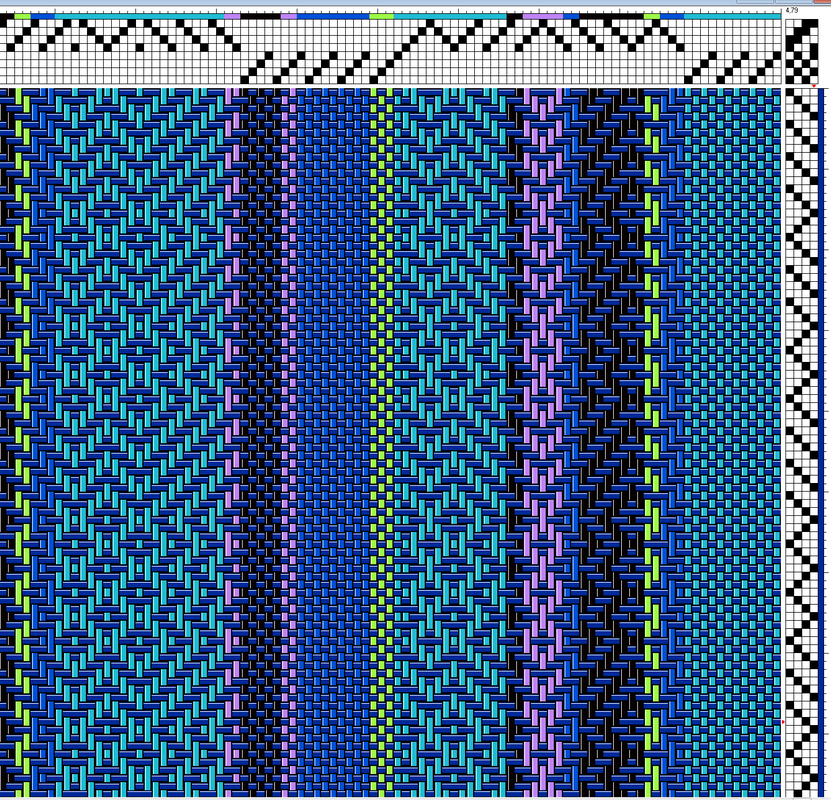
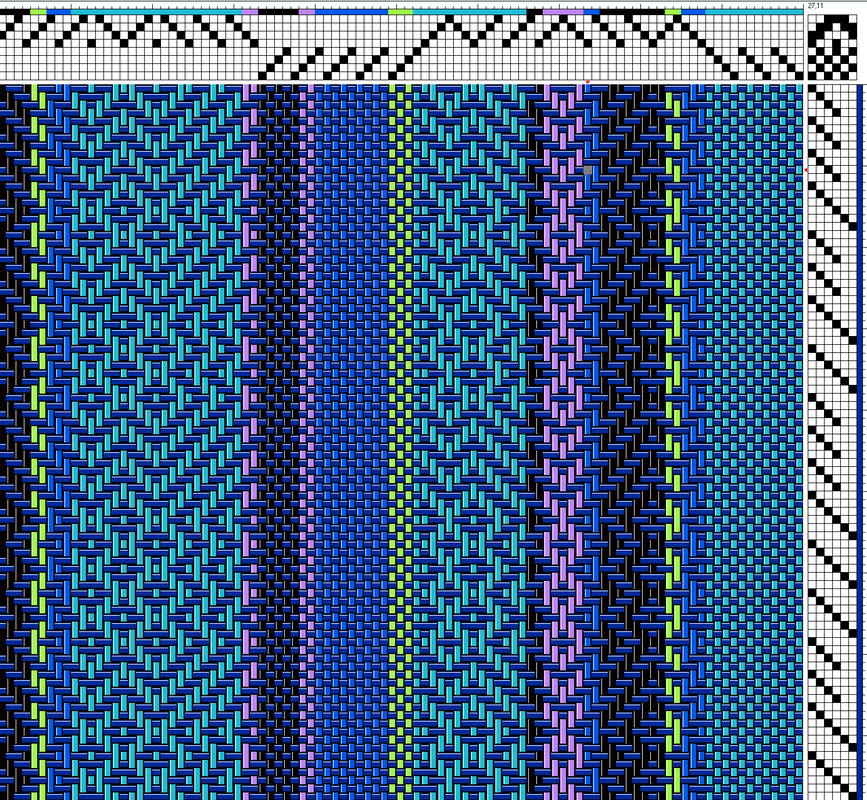
I tied off Chain #4, labelled it. chained it off the warping board, and took it to the loom where I laid it across the front beam to the left of Chain #3. Stay tuned for Day 4 - Winding onto the Loom. Go to Life History-Day 4 To review, go back to Life History-Day 2 Step 1 - Yarn Wraps. For me, the first step in planning almost always involves doing some yarn wraps to decide exactly which colors I will use and in what approximate proportions. I did several wraps, using 6 or 7 colors and chose the 2 wraps you see below as the final two. Finally I decided the warp needed a little extra "punch" and chose the wrap that has the black in it. The thread counts in the wrap use Fibonacci numbers in random order (1-2-3-5-8-13-21). I used 5 colors all together: black, turquoise, royal, chartreuse and lavender. Step 2:- Planning my draft. I knew I wanted to use a mix of point twill and plain weave, just as I did in the Weaver's Challenge scarf, but this scarf was going to be a little different:
Step 3 - Warp calculations. The last thing I needed to do before I started measuring my warp was to do some calculations to figure out how long my warp should be, how much yarn I would need for the warp and weft, and to make sure I had enough yarn on hand. Warp width: 281 ends / 24 epi ==> 11.7" in the reed
Warp length: Planning for weaving 2 scarves plus 1 sample that is to be woven, cut off, and washed before proceeding with weaving the scarves.
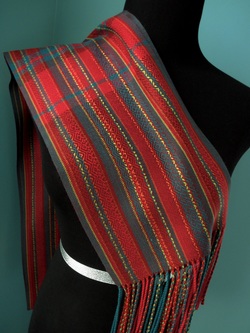
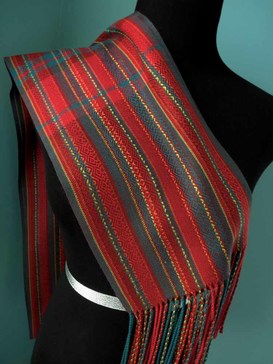
Once my calculations were done, I was ready to start measuring my warp chains. A project for another day. To be continued on Life History-Day 3 To review, go back to Life History-Day 1 This scarf was inspired by the project I did for the 2015 Triangle Weavers Guild Weaver's Challenge. For that challenge, I drew 4 slips of paper that told me I had to weave something with the following criteria:
The challenge scarf was really quick and easy to weave. Plain weave selvedges - so nice clean selvedges with no need for floating selvedges. Easy treadling pattern - so nice easy rhythm of weaving. So I decided to do it again with a few changes:
This scarf was inspired by the project I did for the 2015 Triangle Weavers Guild Weaver's Challenge. For that challenge, I drew 4 slips of paper that told me I had to weave something with the following criteria:
The challenge scarf was really quick and easy to weave. Plain weave selvedges - so nice clean selvedges with no need for floating selvedges. Easy treadling pattern - so nice easy rhythm of weaving. So I decided to do it again with a few changes:
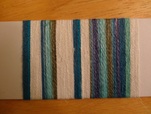
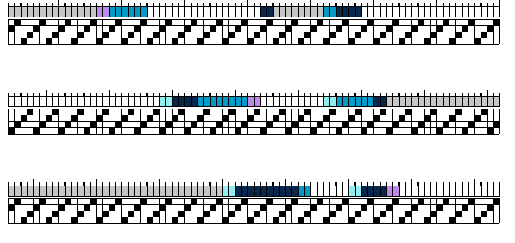
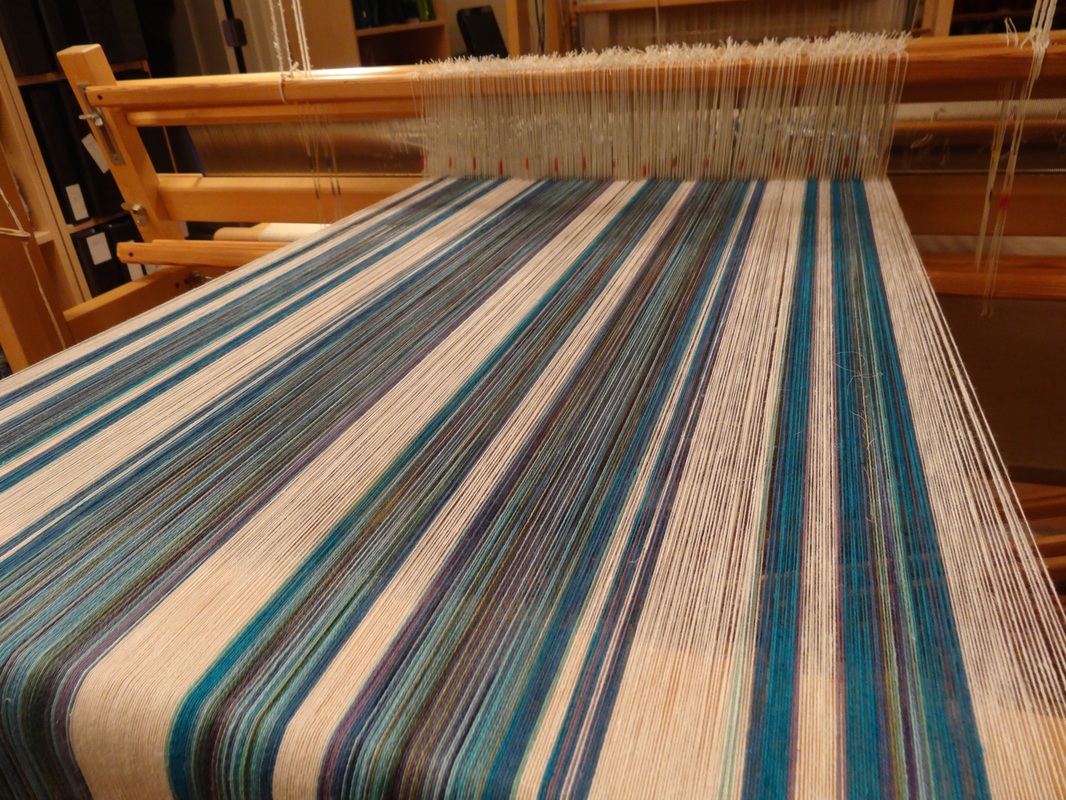
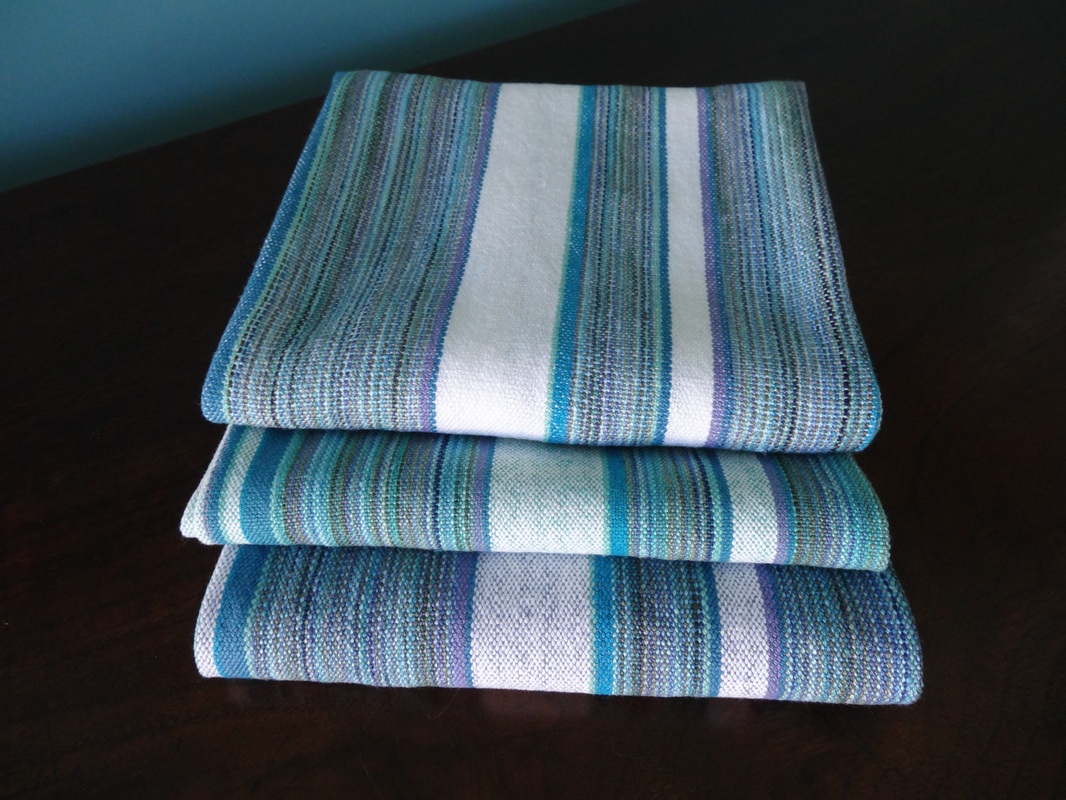
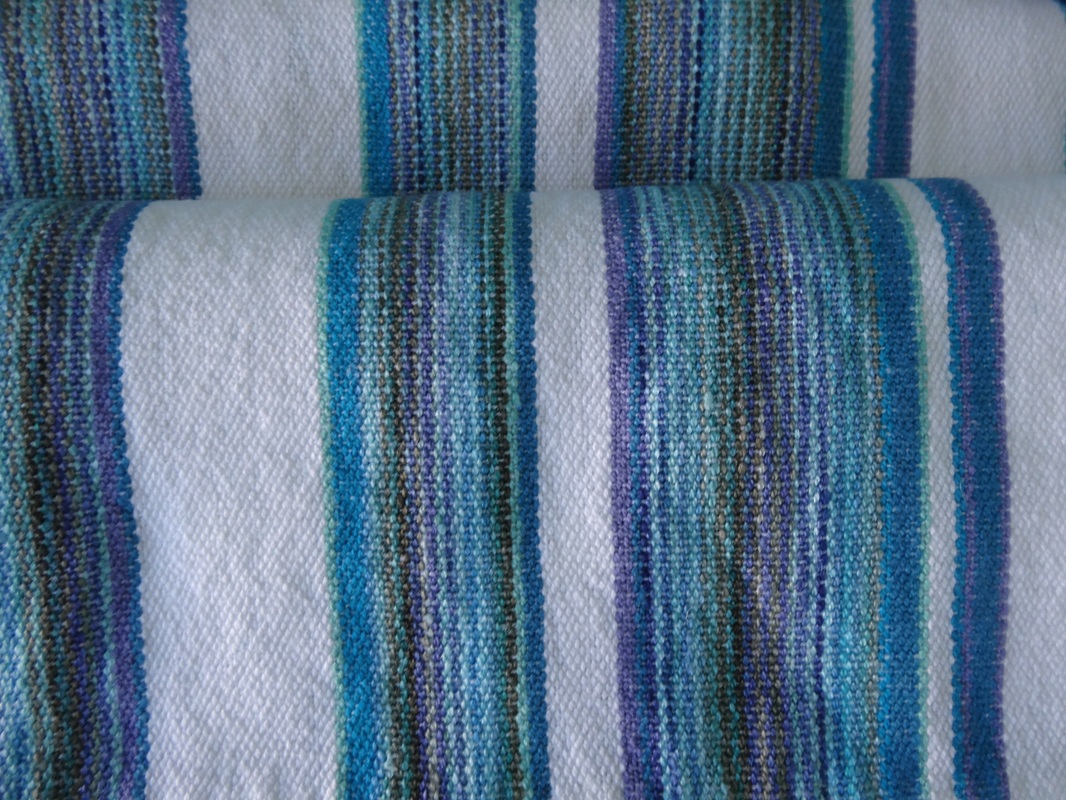
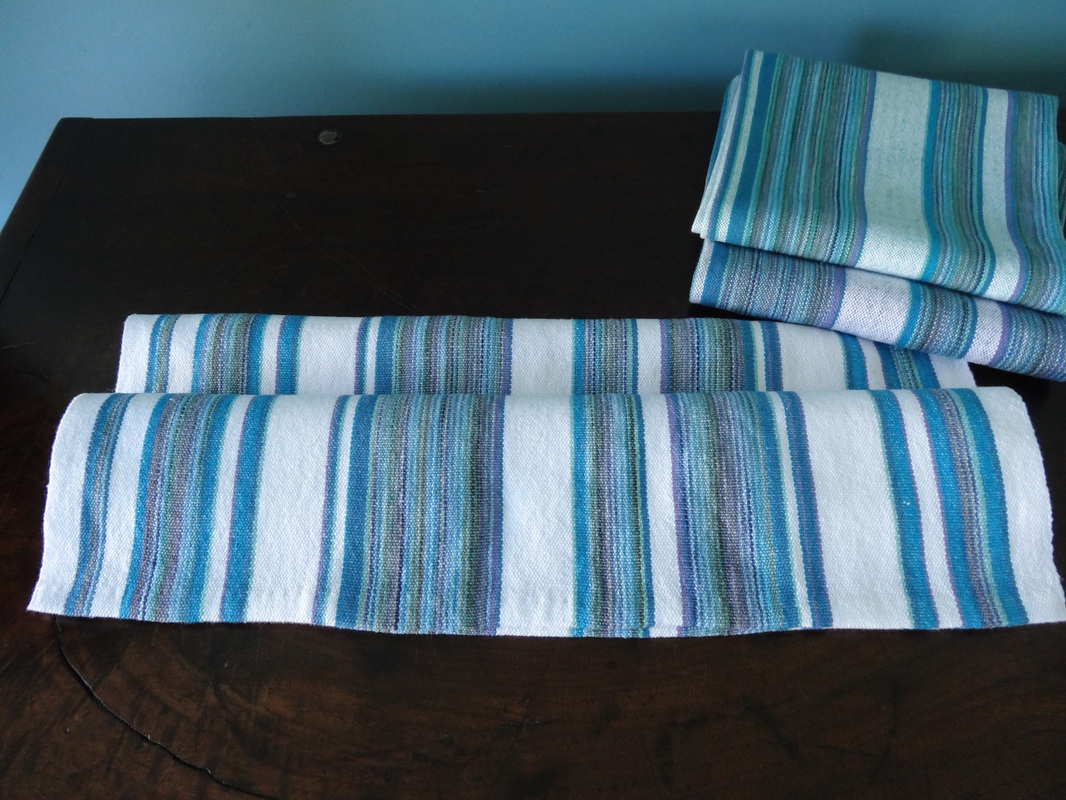
Stay tuned to this thread (Life History of a Scarf) for more on the planning, weaving and finishing of the new scarves that were inspired by the challenge scarf. Check out Life History-Day2 for the next installment. The plan was to weave 3 simple dishtowels. The inspiration was 2 beautiful skeins of hand painted linen - Linen Lace by Claudia, color way Ocean Depth. I have used this yarn before in a different colorway. Last time I combined a huck lace and a twill weave, and I wanted to do something a little different this time. I decided to keep the structure simple - plain weave - and make it all about the color. I used Fiberworks to design a stripe pattern where I had a background of white with stripes of the variegated linen that were bordered by narrow stripes of the solid colored cottolin. In the draft, the gray areas represent the variegated yarn. Shown below is about 1/3 of the draft. I fussed with the size of the variegated stripes until I was sure I would have linen for a warp for the 3 towels. What is important is that some of the variegated linen areas were 2-3" wide - more about that later.
So the towels went onto the loom and wove up very quickly. I only got about 16 ppi with this very fine weft which had me questioning whether I should have sett the warp at 24 epi instead of 27. I wove the first towel with white 16/2 cottolin, the second with aqua, and the third with lavender. I definitely liked the white the best. It was very fresh looking and did not wash out the warp colors at all, whereas the aqua and lavender barely had any effect on the overall color of the towels other than making them less crisp looking. Overall I was happy with the towels. They have a nice, soft hand which will only get softer with successive washings. There is much room for improvement, however, on these simple plain weave towels Lessons learned:
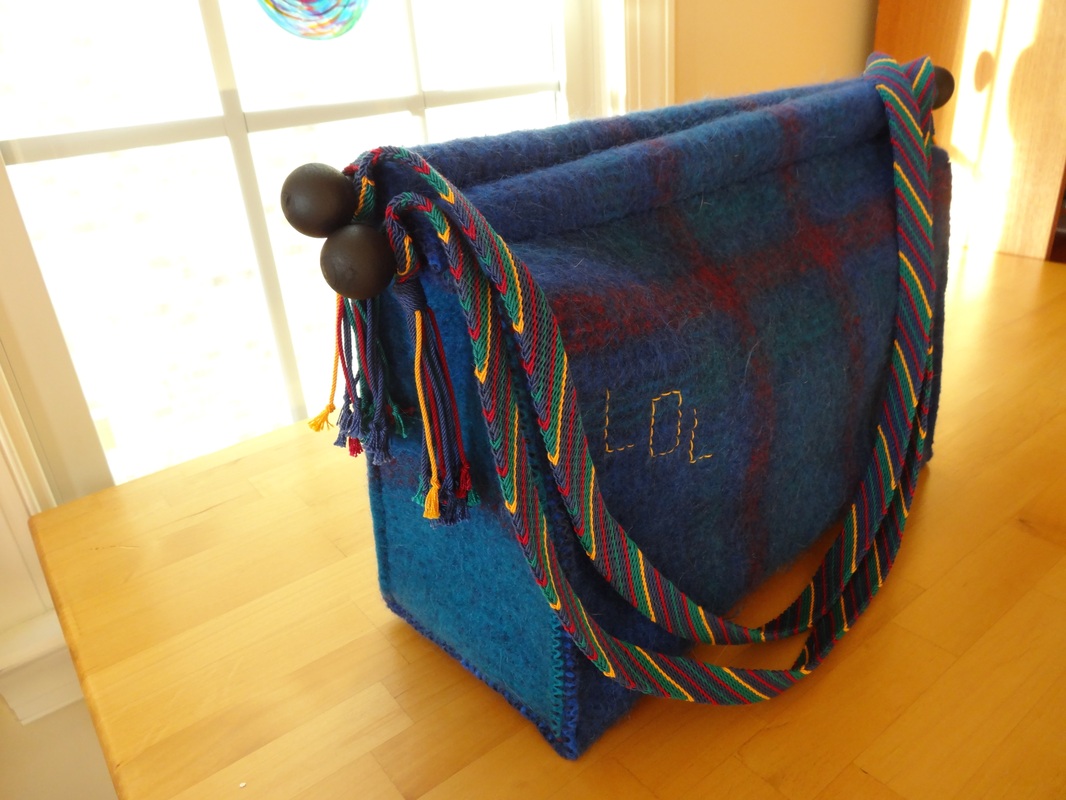
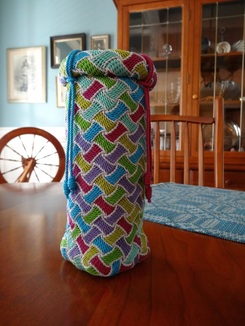
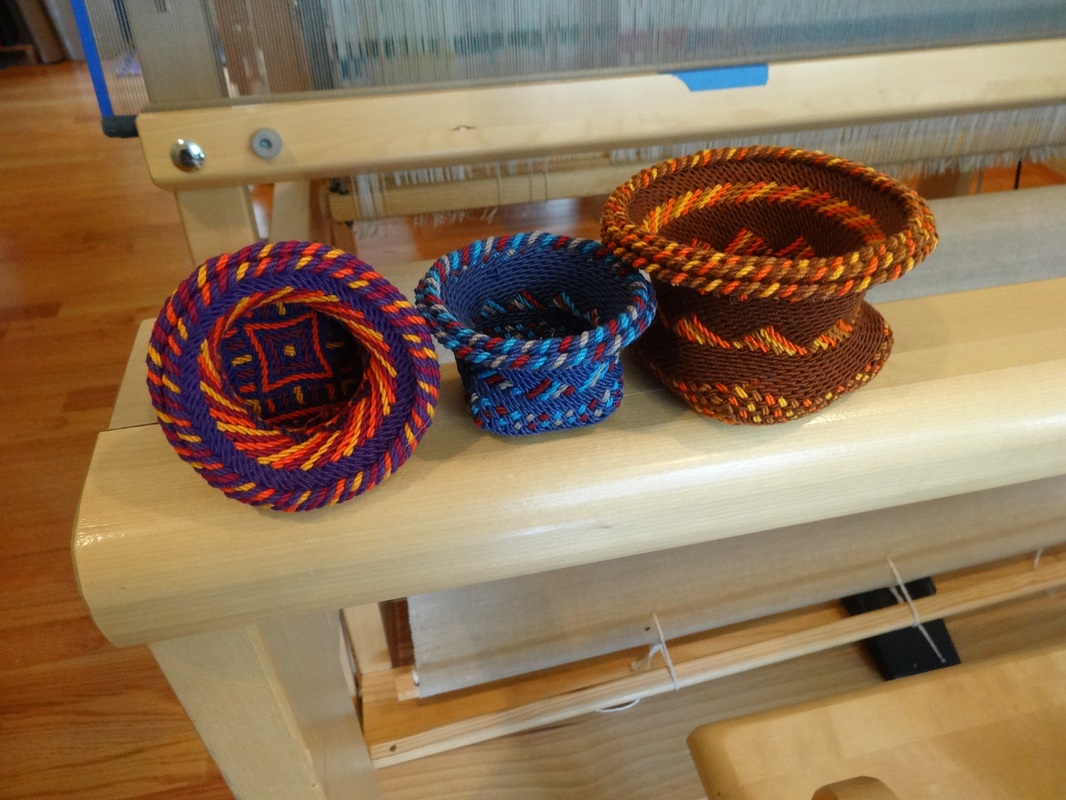
Final day of the challenge. Odds and ends. The first picture is of a large bag that was made from a piece of woven wool that was felted and sewn by hand into a tote bag. The straps are made from a technique called ply split braiding. The initials LOL are for my company Lamb on the Loom. The second picture shows a basket that is also done in ply split technique (pattern compliments of Louise French). And the third picture shows 3 baskets made in the same technique (pattern compliments of Linda Hendrickson).
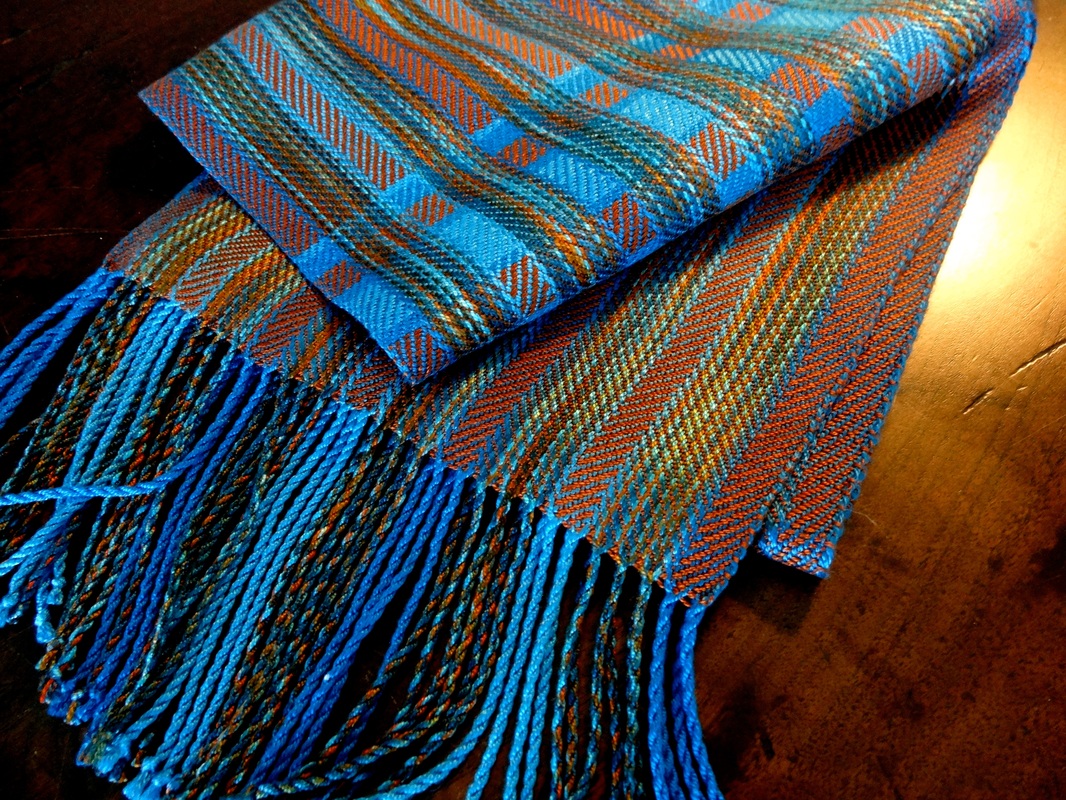
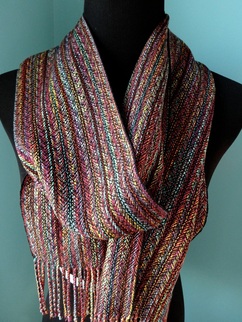
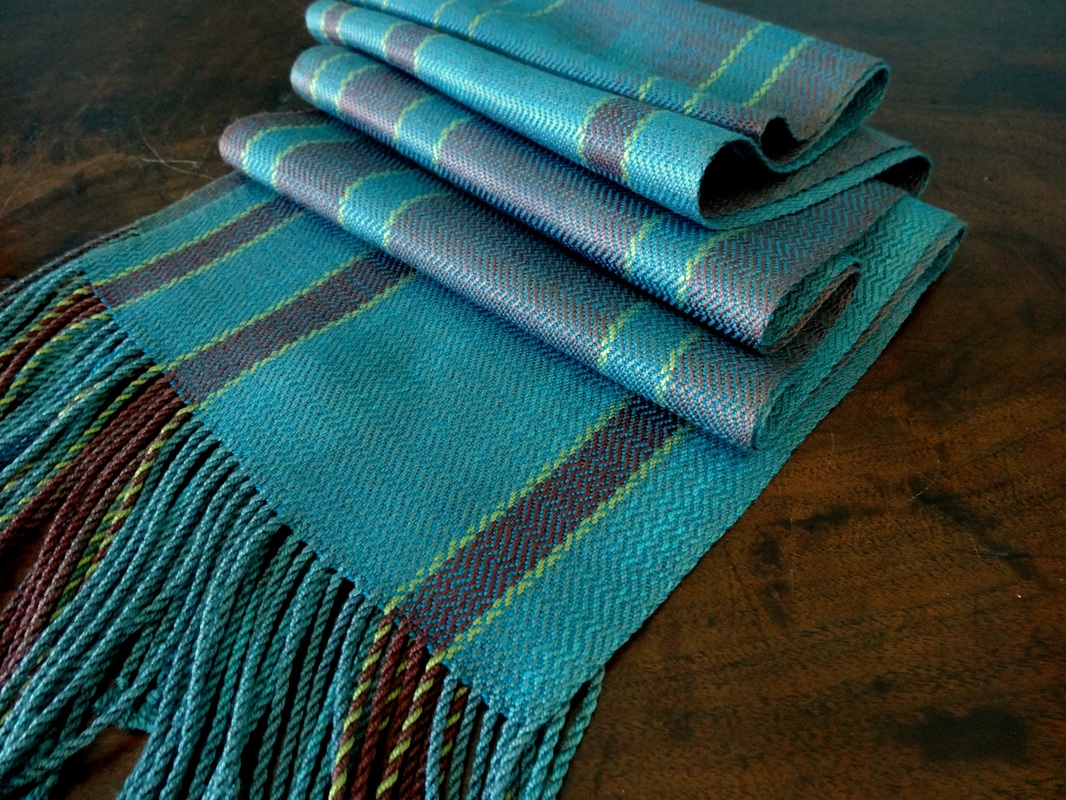
Three scarves for today. The first is a tencel scarf using rust, turquoise and a variegated yarn that results in some nice iridescence. The second one is one of my favorite scarves that ises a feathery twill weave with a variegated tencel with highlights of solid cotton pinstripes. And the third is a silk scarf that I dyed the warp for.
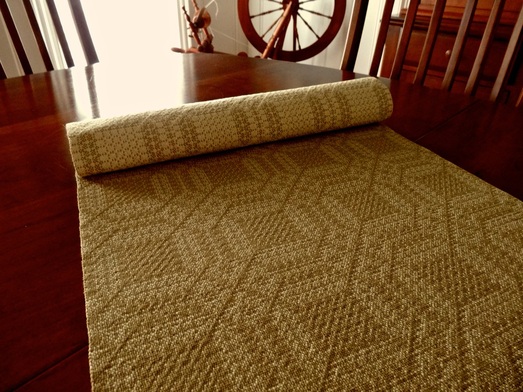
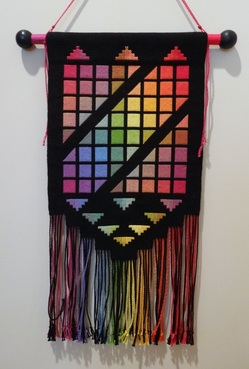
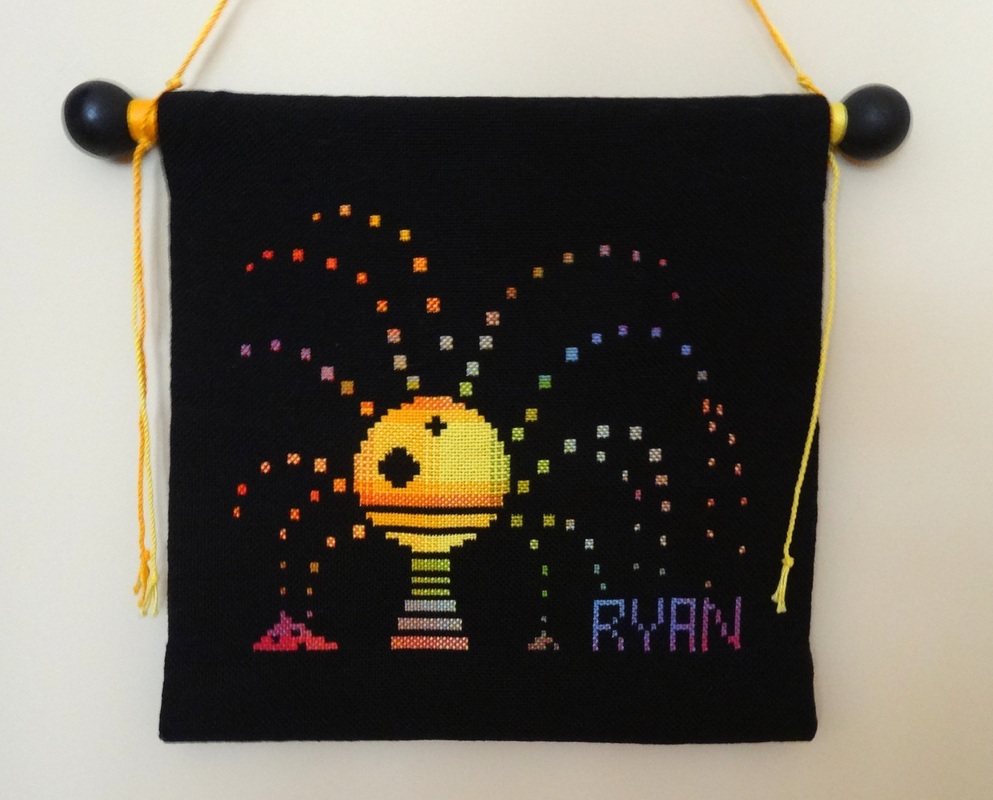
Doubleweave in its various forms. The first piece is a recent table runner. Woven in doubleweave overshot, it is 100% cotton and very practical. The other 2 pieces are older and examples of my rare adventures in "art" pieces". They are both doubleweave pick up, fondly know in the weaving world as "slow cloth", because they take so long to weave. The first of the two is a color gamp. The second one is what I refer to as a portrait of my son when he was little: he is self destructing and getting himself back together, which he did frequently every day. Now I am happy to say he is all grown up and has his act together.
|
Pattie LambI have been happily weaving since my son was born in 1988. Archives
June 2023
Categories
All
|




 RSS Feed