Lamb...on the Loom
  • Home
  • SHOP
    • Scarves
    • Shawls & Wraps
    • Throws & Baby Blankets
    • Bags & Purses
    • For the Home
    • Odds & Ends
    • Shop All Handwovens
    • Schacht Equipment
  • Blog
  • Events
  • Gallery
    • Scarves
    • More Scarves
    • Shawls
    • Baby
    • For the Home
    • Just for Fun
    • The Wedding
    • Komen
    • Baby Wraps
  • About
    • Storyboard

LIFE HISTORY OF A SCARF: DAY 3 - Measuring the Warp

2/11/2016

2 Comments

 
I warp from back to front.  Almost always. I find it is a very fast, efficient, tangle-free method for warping all of my looms - large and small​. Because I warp from back to front, I make all of the color transitions in my warp on the warping board rather than at the loom.

Picture
Picture

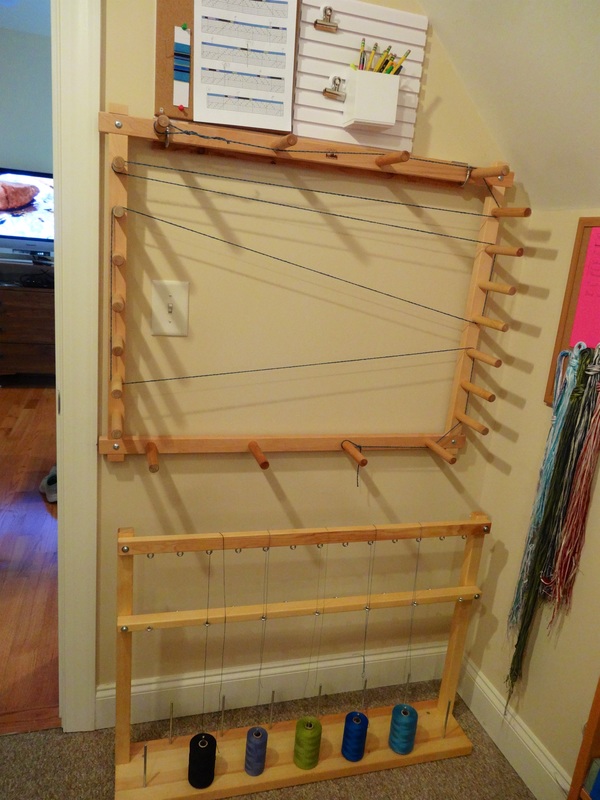
Remember from Day 2: The warp is 11.8" wide (281 ends, sett at 24 epi) and 228" long)
  1. I measured a guide yarn that was the length of the warp (228") and fitted it onto the warping board.
  2. I decided that I needed to divide the warp into 4 chains  (of 69, 72, 72 and 68 ends) because I like to keep the chains to between 3" and 6" whenever possible.
  3. I will twine a counting thread at the cross to help me load the raddle later.  
  4. I did a little math before I started measuring to make sure I can center my warp in the raddle without having to count threads.  
  5. Chain 1 will have 20 threads in the first bundle and 24 threads in each of the last 2 1" bundles (68 threads total)
  6. Chains 2 & 3 will have 3 1" bundles of 24 threads (72 threads each)   See photo below.
  7. Chain 4 will have 2 1" bundles of 24 threads followed by 1  bundle of 21 threads (69 threads total) See photo below.
Picture
Picture
<== I started measuring my warps here, reading from the upper right corner of the draft.

I started measuring the first chain of my warp at the post that was farthest away from the cross (the starting post) so I would have only continuous loops at the end post at the cross end of the warp (the ending post). This is where the apron rod will go later.

Whenever I changed colors I tied the new color on to the old color near the end post​.  This might be either the starting post or the ending post, depending on the draft.

I twined the counting thread at the cross (usually every inch / every 24 ends) as indicated in the diagram above.

When I was done measuring warp chain #1, I made the following ties before I removed the chain from the warping board:
  1. I tied a bow in the counting thread
  2. I tied  cross ties on each of the 4 "legs" of the cross with a separate tie
  3. I tied very snug choke ties about 15-18" from the cross and about every yard along the warp (these are the ties that will keep the warp threads tidy while I wind on)
  4. I labelled the chain near the cross: "Chain 1", "Chain 2", etc.  This is very important if there are color changes to insure that the color order is preserved when I go to the loom.
Tip:
I like to place a stocking loop or tie on either side of the starting post and the ending post.  
  • At the ending post (the cross end), it helps to preserve the spot where the apron rod will go, even if I have created a "false cross"
  • At the starting post, it provides a no fuss way of cutting the end loops when it is time to thread the loom.
Picture
The counting thread, at the cross, tied in a bow.
Picture
The 4 cross ties shown above and one of the choke ties shown near my hand.
Picture
Label for warp chain #1, and stocking loop ties at the ending post near the cross.
Picture
The entire warp with all ties in place.

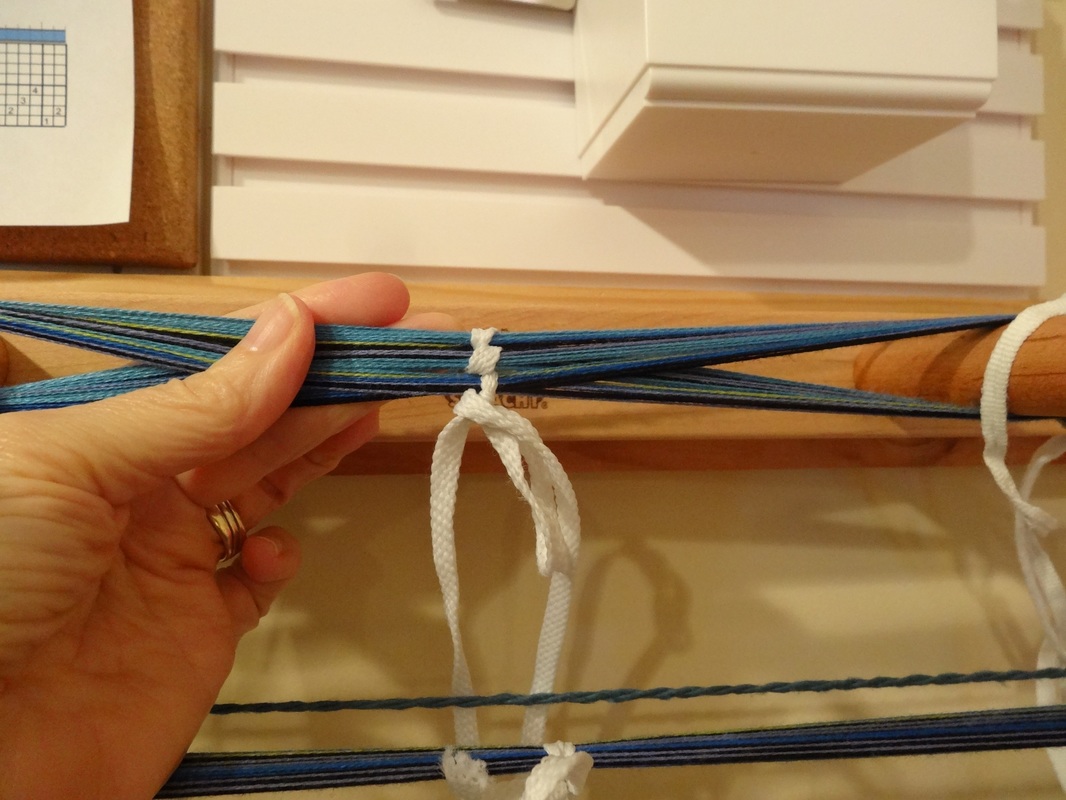
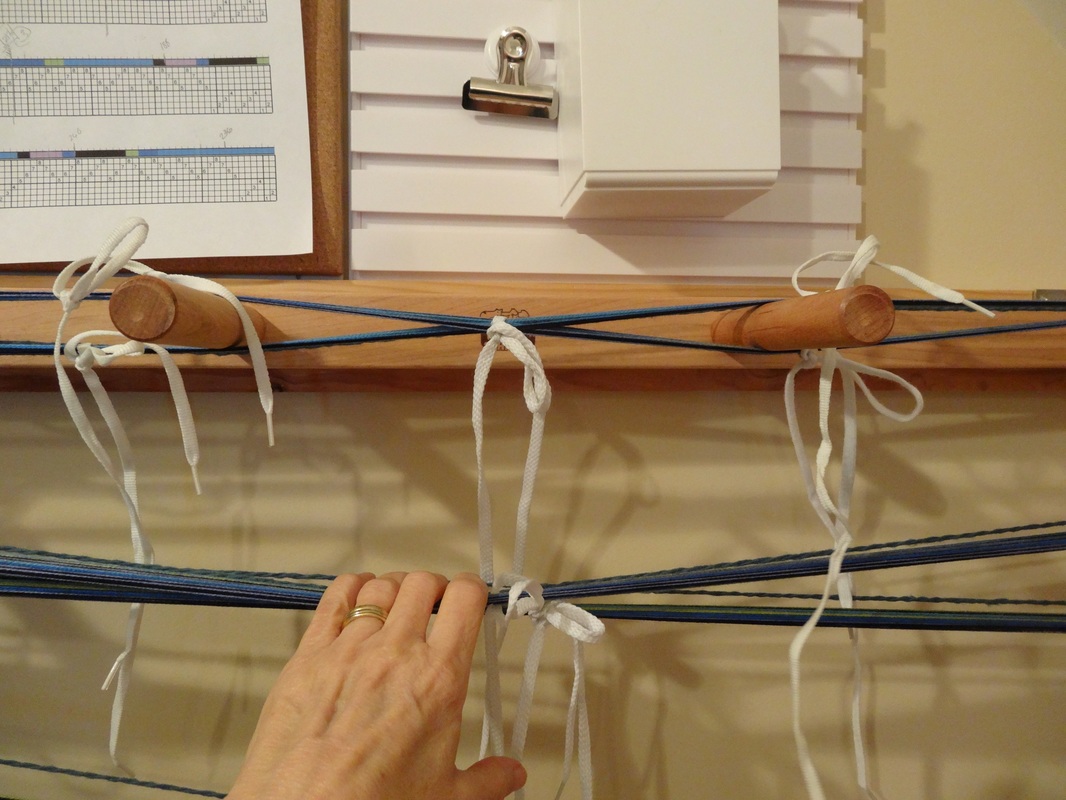
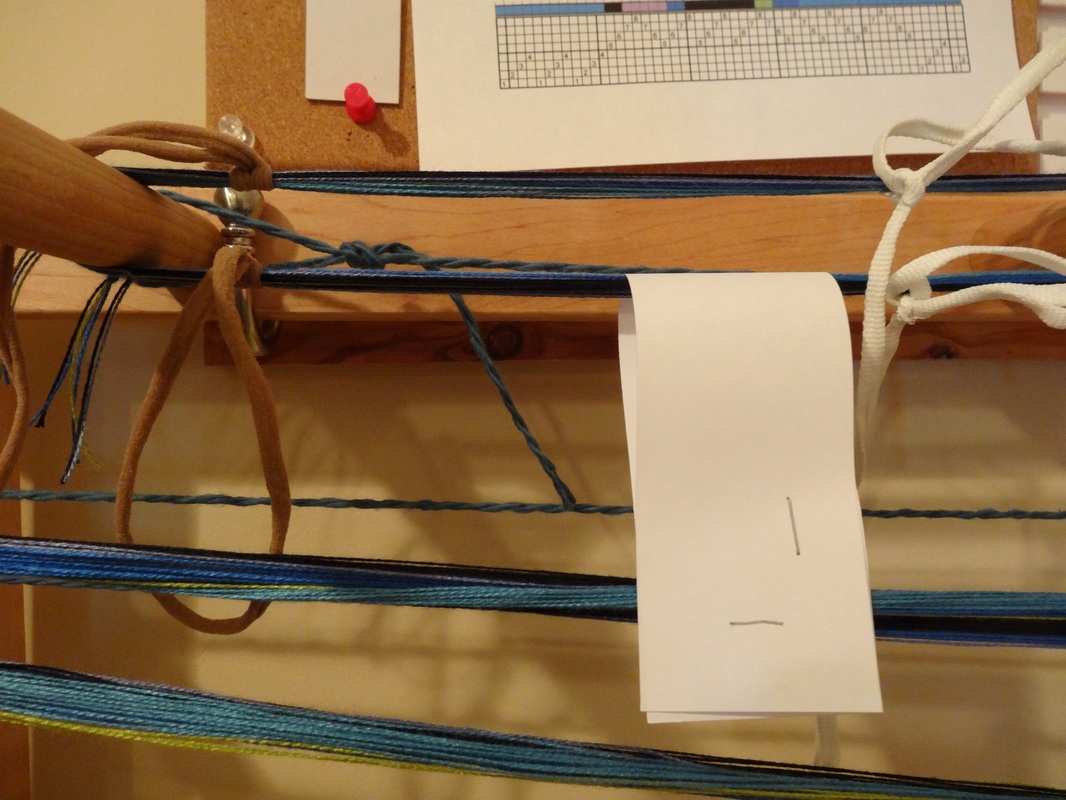
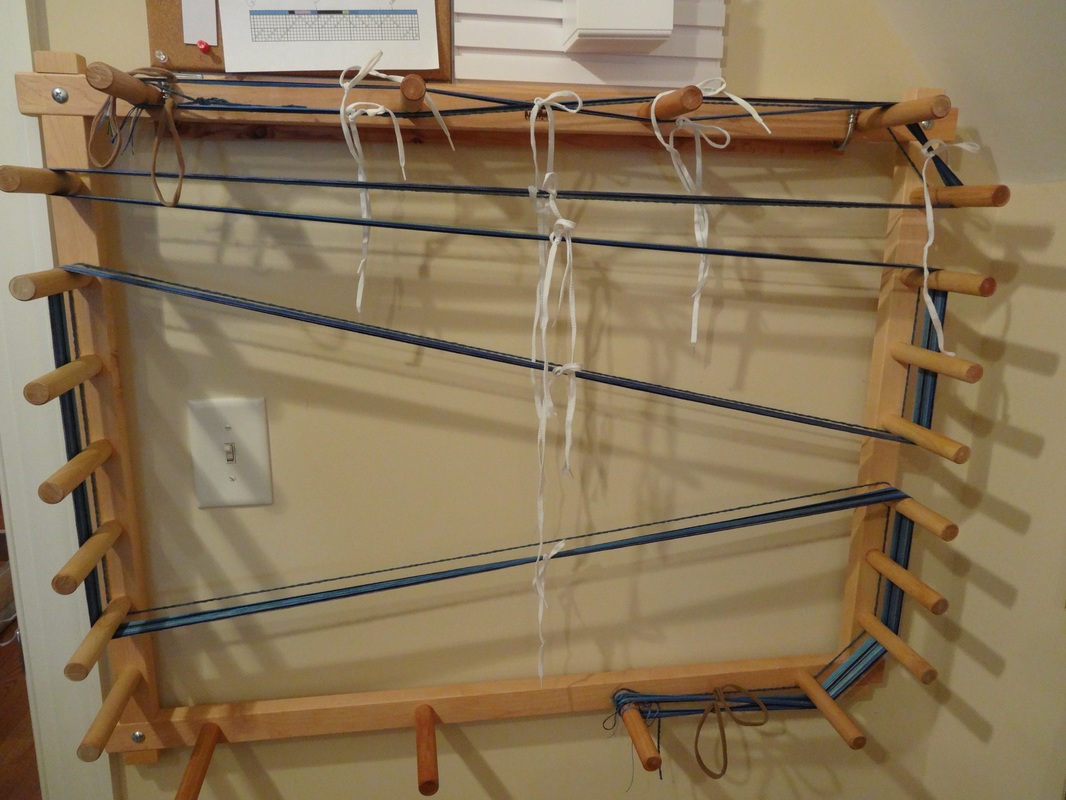
I chained off warp chain #1, beginning at the starting post.  I chained loosely and only up to the cross portion of the warp chain.  I took the warp to the loom and laid it across the front beam on the right side of the loom.  I measured chains # 2 & 3 in the same way and laid them on the front beam to the left of chain # 1

I measured warp chain #4 in the same way with a couple of exceptions:
  1. I measured 2 bundles of 24 ends followed by the final bundle of 21 ends (see diagram above).
  2. Because there were an odd number of threads, I had to make an adjustment.  That last thread (#281), in the normal course of winding would have ended at the ending post nearest the cross. That is a no-no is back to front warping!  So after end #280 I wound the warp thread around the starting post several times and cut it.  I then made a loop and tied an overhand knot in the last warp end and looped it over the ending post near the cross and wound the last end in the opposite direction, ending at the starting post.  Now there were only loops at the cross end of the warp.  See photo below.
Picture

The photo on the left shows the  "false cross" that was created between the ending post and the real cross when I added that last odd thread. I added the stocking loops on either side of the false cross so I know where to put the apron rod later and so that last loop doesn't get lost in the shuffle. 
I tied off Chain #4, labelled it. chained it off the warping board, and took it to the loom where I laid it across the front beam to the left of Chain #3.

​Stay tuned for Day 4 - Winding onto the Loom.  Go to Life History-Day 4
​
To review, go back to Life History-Day 2

2 Comments

    Pattie Lamb

    I have been happily weaving since my son was born in 1988.

    All pictures on my blog are "zoomable" - just click on them to enlarge.

    Archives

    March 2023
    June 2022
    November 2020
    October 2020
    February 2020
    October 2019
    June 2019
    May 2019
    June 2018
    July 2017
    June 2017
    May 2017
    April 2017
    February 2017
    January 2017
    August 2016
    July 2016
    May 2016
    February 2016
    February 2015
    January 2015
    October 2014
    September 2014

    Categories

    All
    Artificial Intelligence
    Baby Wraps
    Blankets
    Block Twill
    Block Weave
    Block Weaves
    Cat's PJs
    Challenges
    Charity
    ChatGBT
    Classes
    Commissions
    Deflected Doubleweave
    Design
    Doubleweave
    Dyeing
    Facebook Challenge
    Felting
    Hemstitching
    John C Campbell
    Knitting
    Lace Weaves
    Leftovers
    Life History-Day 1
    Life History-Day 2
    Life History-Day 3
    Life History-Day 4
    Life History-Day 5
    Life History-Day 6
    Life History-Day 7
    Life History-Day 8
    Life History-Day 9
    Life History-Final
    Life History Of A Scarf
    More Than Pink
    Paper Quills
    Plain Weave
    Ply Split
    Process
    Rugs
    Runners
    Scarves
    Selvedges
    Shawls
    Storyboard
    Study Group
    Tencel
    Tie-ups
    Tip Of The Month
    Tips
    Tools
    Towels
    Travel
    Treadling For Dummies
    Turned Twill
    Twill
    Videos
    Walking Pink
    Warping
    Weaving
    Weaving Pink
    Weaving Tips
    Wedding
    Yarn Wraps

    RSS Feed

         HOME        //      SHOP      //       BLOG       //        EVENTS       //       GALLERY     //      ABOUT       //      CONTACT

  • Home
  • SHOP
    • Scarves
    • Shawls & Wraps
    • Throws & Baby Blankets
    • Bags & Purses
    • For the Home
    • Odds & Ends
    • Shop All Handwovens
    • Schacht Equipment
  • Blog
  • Events
  • Gallery
    • Scarves
    • More Scarves
    • Shawls
    • Baby
    • For the Home
    • Just for Fun
    • The Wedding
    • Komen
    • Baby Wraps
  • About
    • Storyboard