
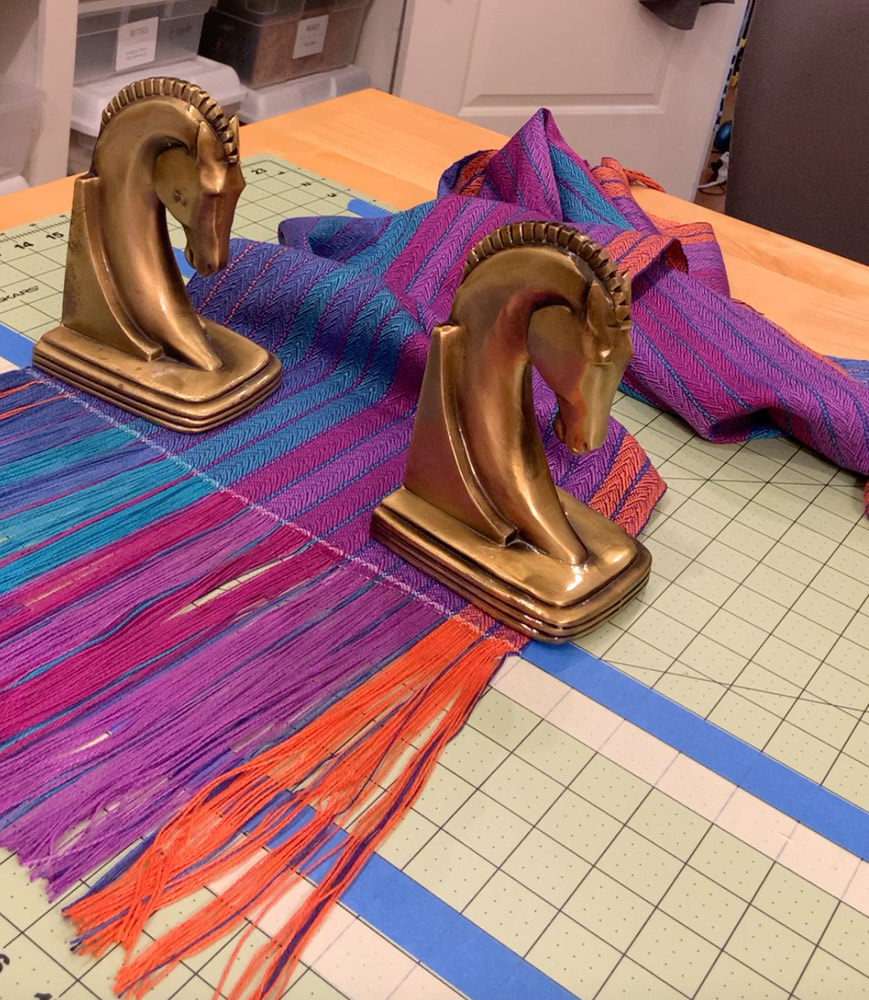
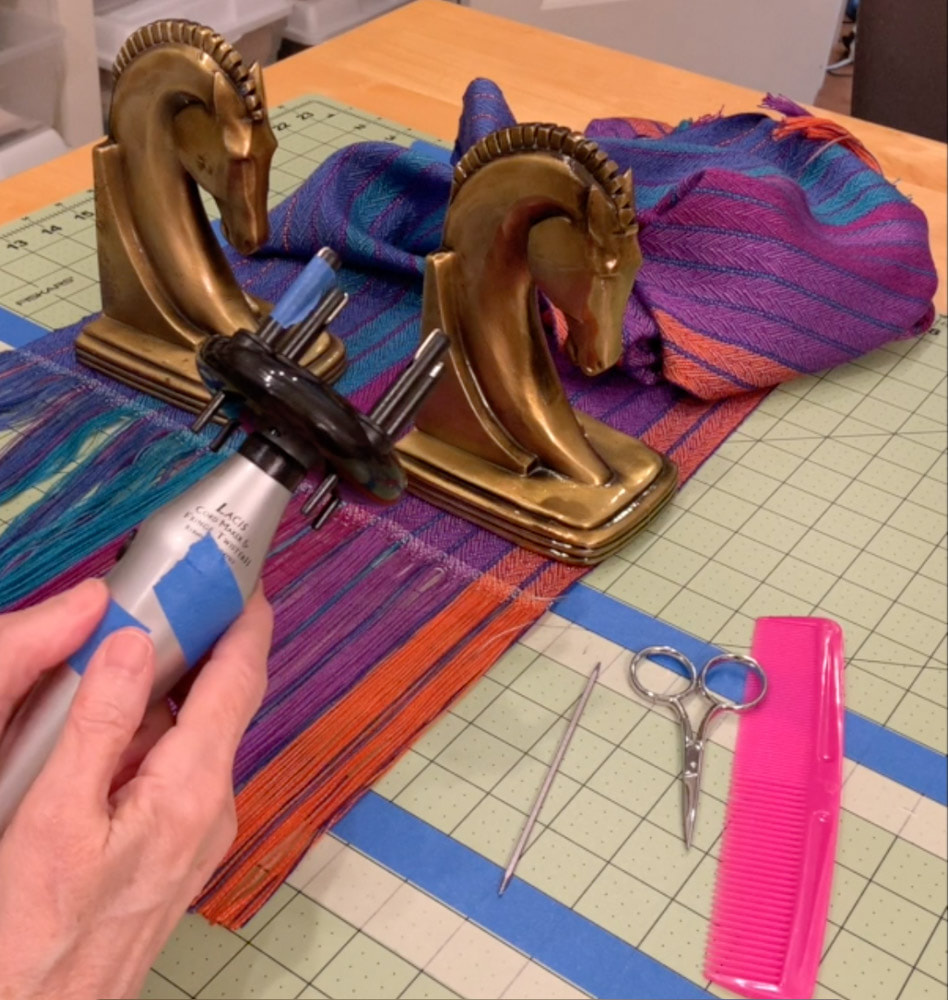
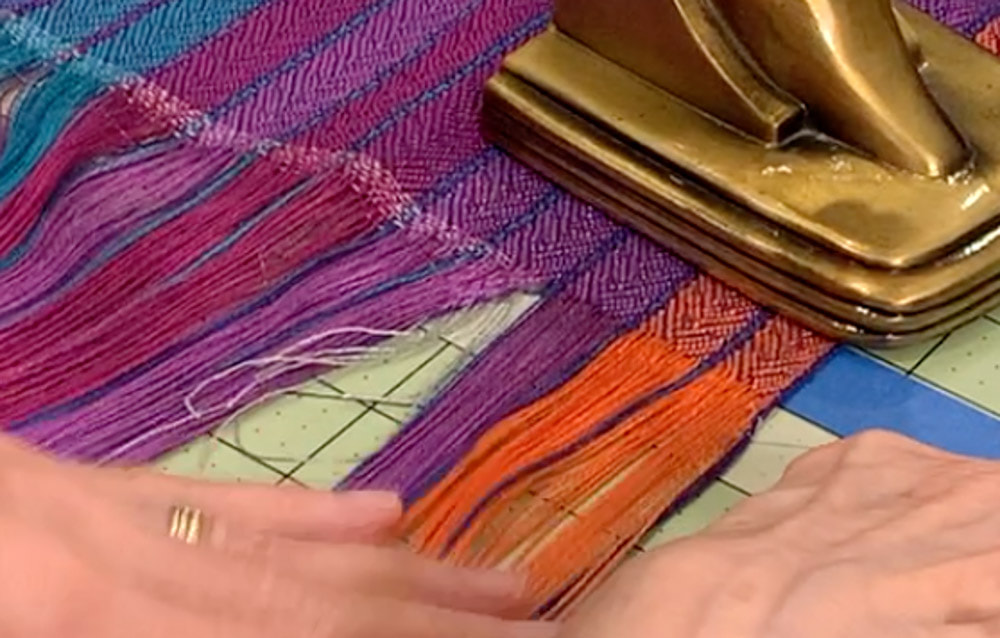
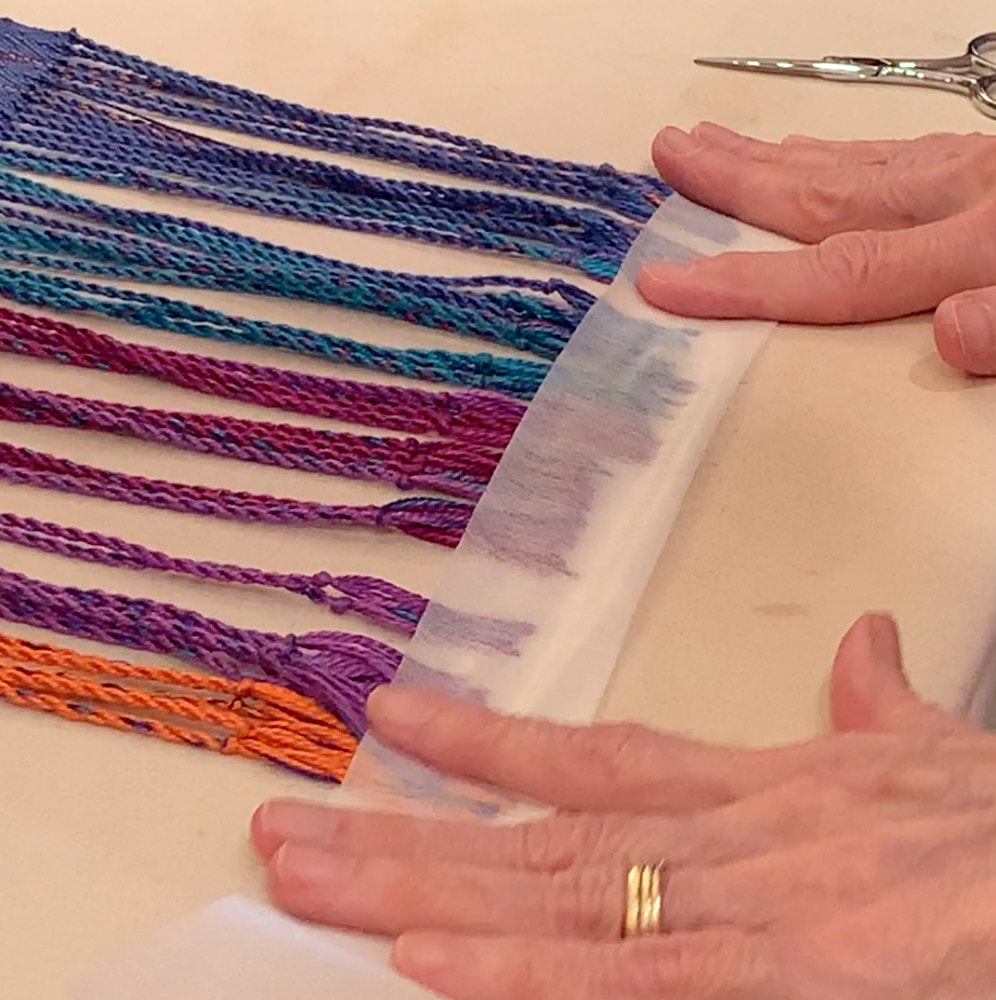
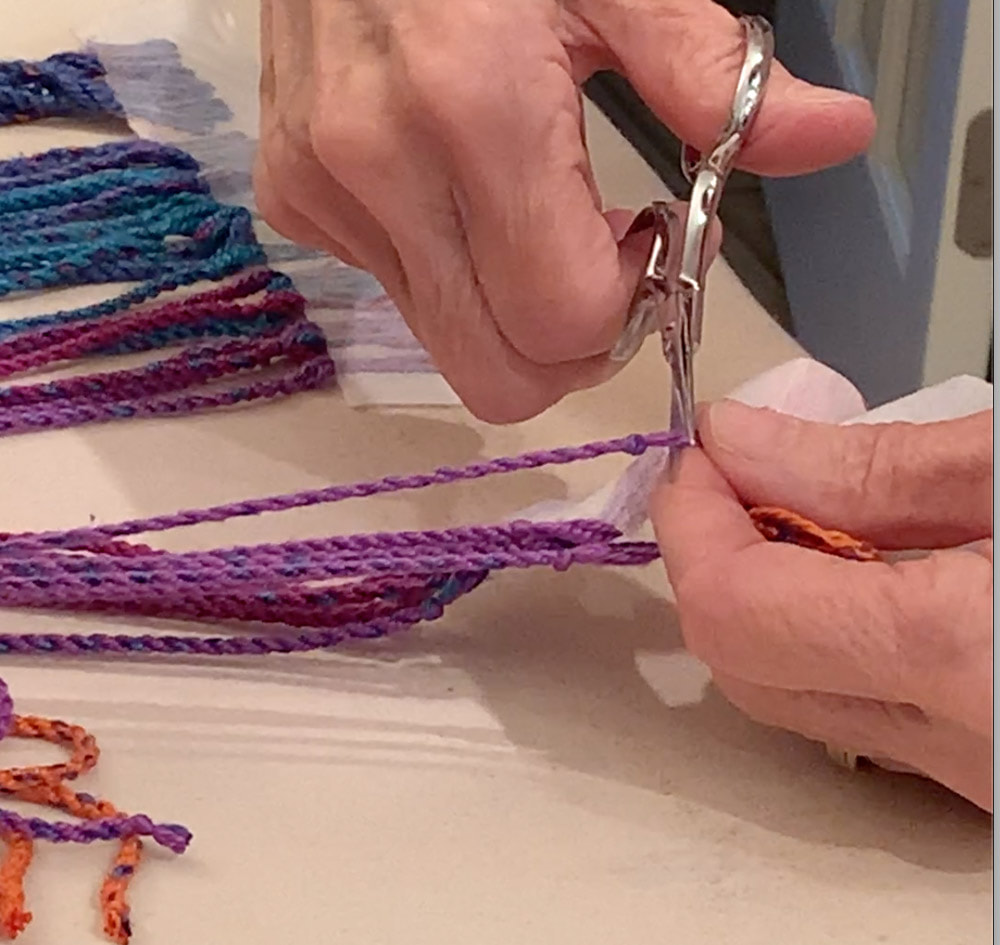
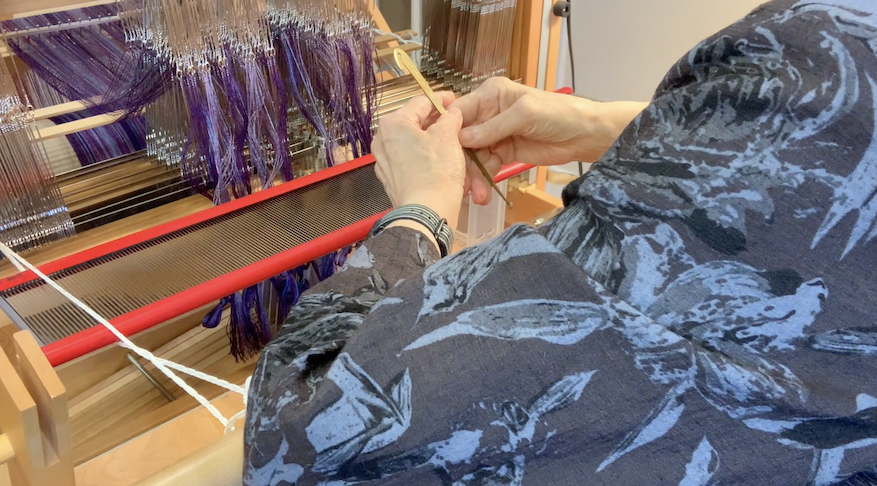
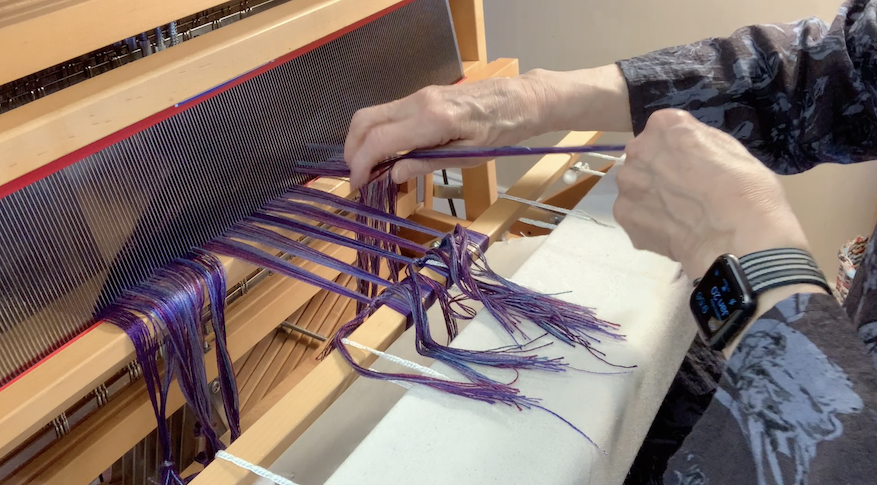
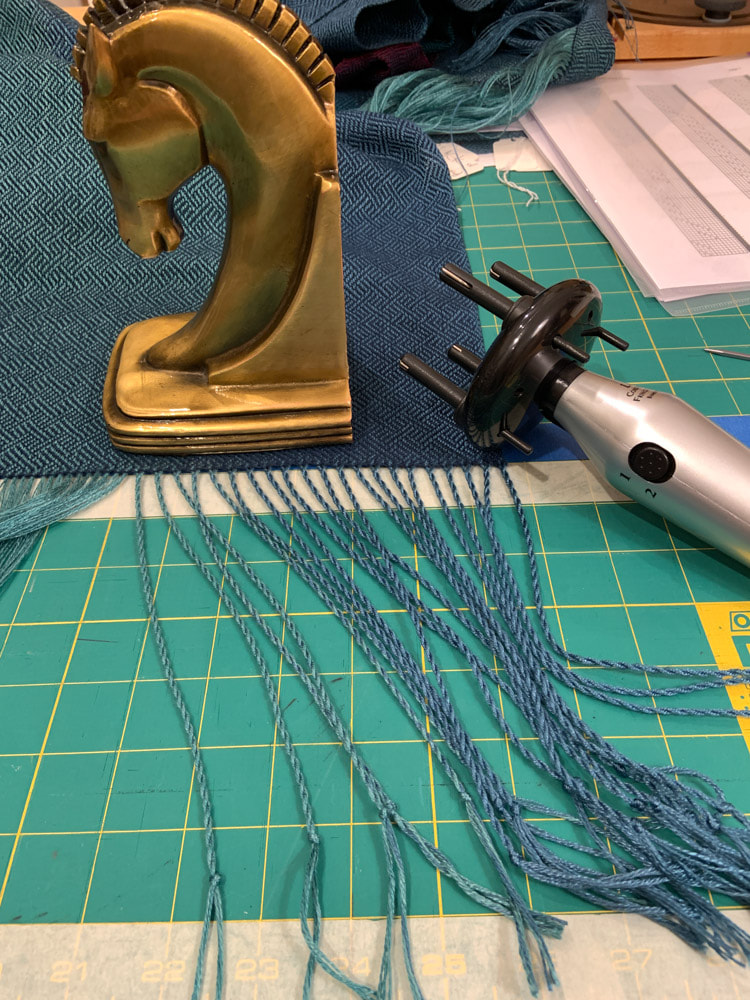
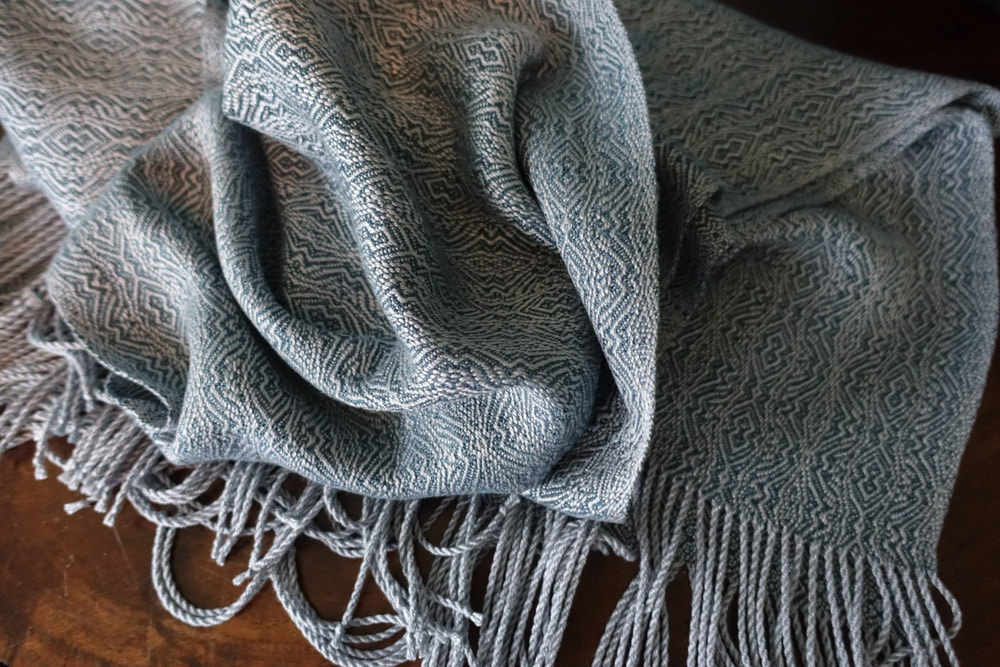
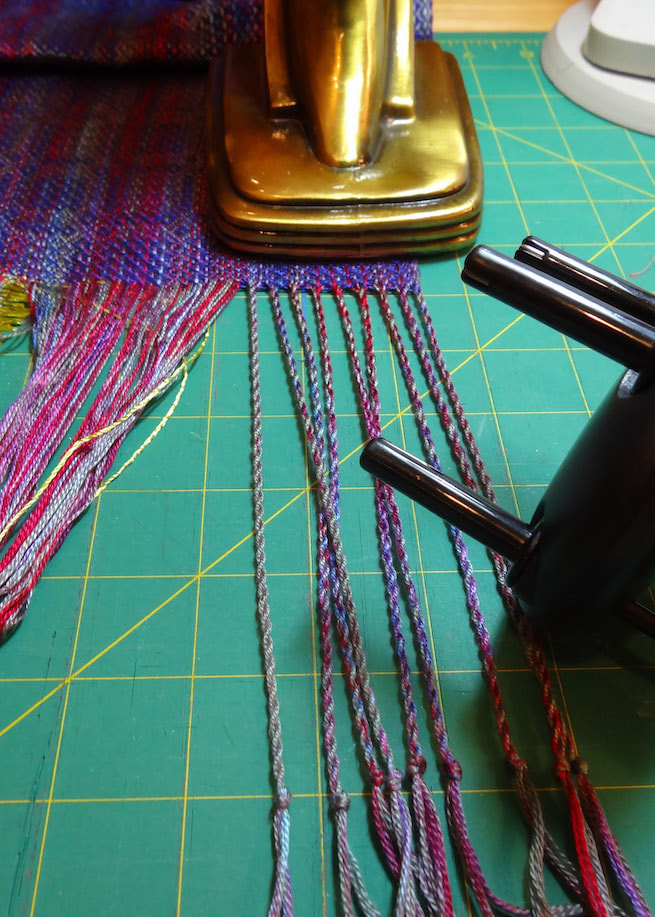
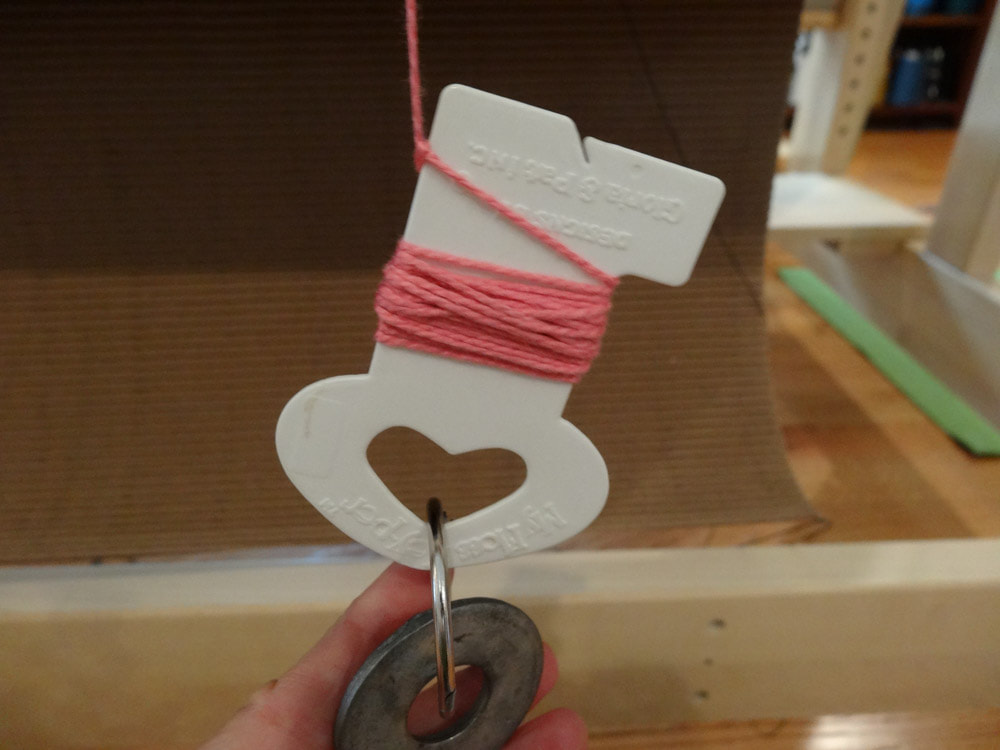
 Most of my scarves and shawls have twisted fringe because I love twisted fringe. I like the way it looks. I like the way it feels when I run my fingers through it. But making good twisted fringe takes practice and a plan. I have just posted a video on YouTube showing my process. By all means watch the video, but I will describe the basics here. (Click on any photo to zoom in)
0 Comments
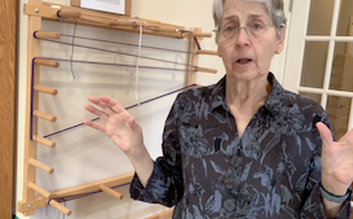
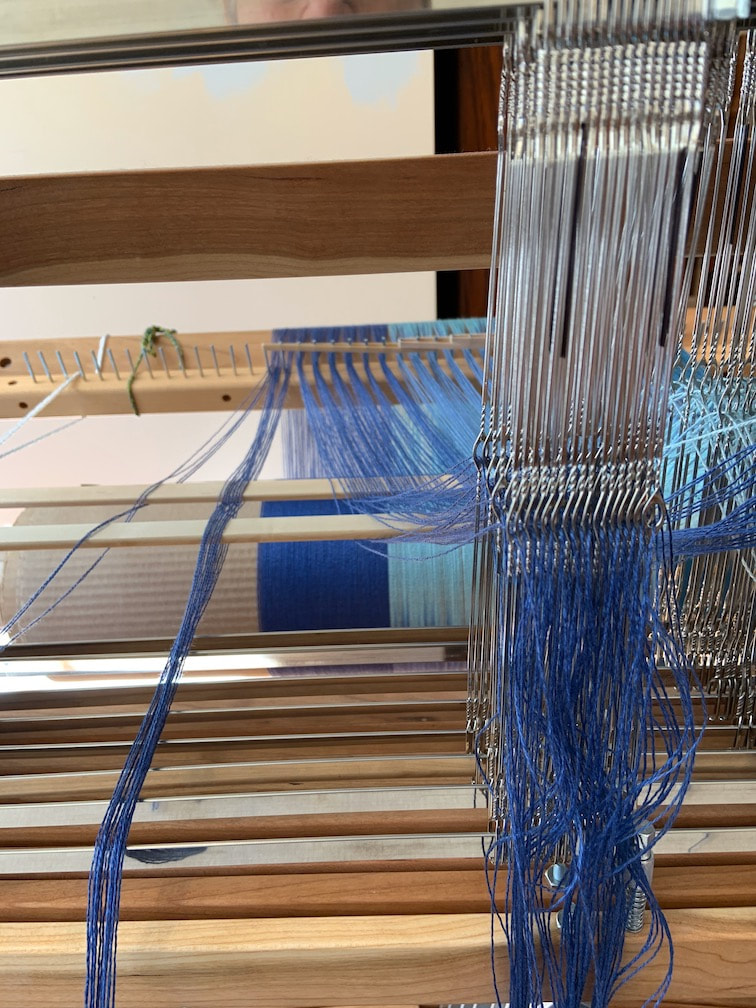
Clearly it is not perfect, but it sure was able to describe the process pretty darned well. I have to wonder how it would do if I gave it a more detailed or specific prompt. A project for another day... I am back to work on my blog after a long hiatus. The first thing I want to do is share some videos with you that I have created. Jane Stafford I am not, and I can promise you these videos are not professional, but I think that they do a pretty good job of showing my process for warping back to front. I also think that even more experienced weavers might benefit from a host of tips that I share in the videos. Over the past two years of the pandemic, I taught a "next step" Weave a Scarf class on Zoom. The class was intended to be for students who had taken a beginning weaving class and warped a loom before but who might not be super comfortable yet going through the steps for getting their warp on the loom. To prep for the class, I created 5 "refresher" videos to help my students get through the process of setting up their looms at home. I hope you enjoy the videos. Send me feedback! To view the videos, click on the hyperlink (the blue title) or on the photo next to the video description.
Click on any picture to zoom in
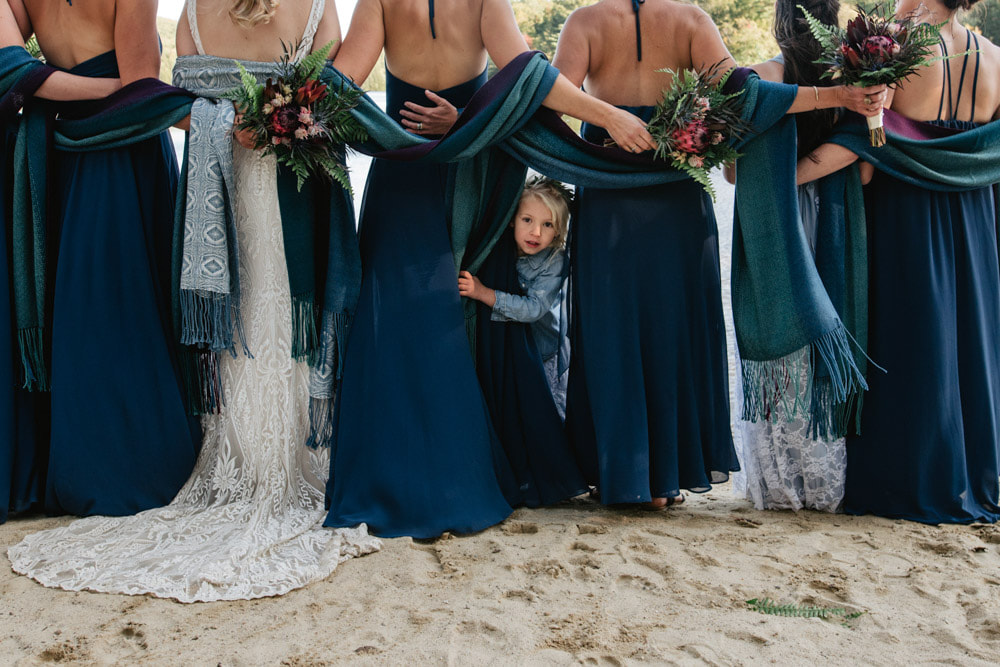
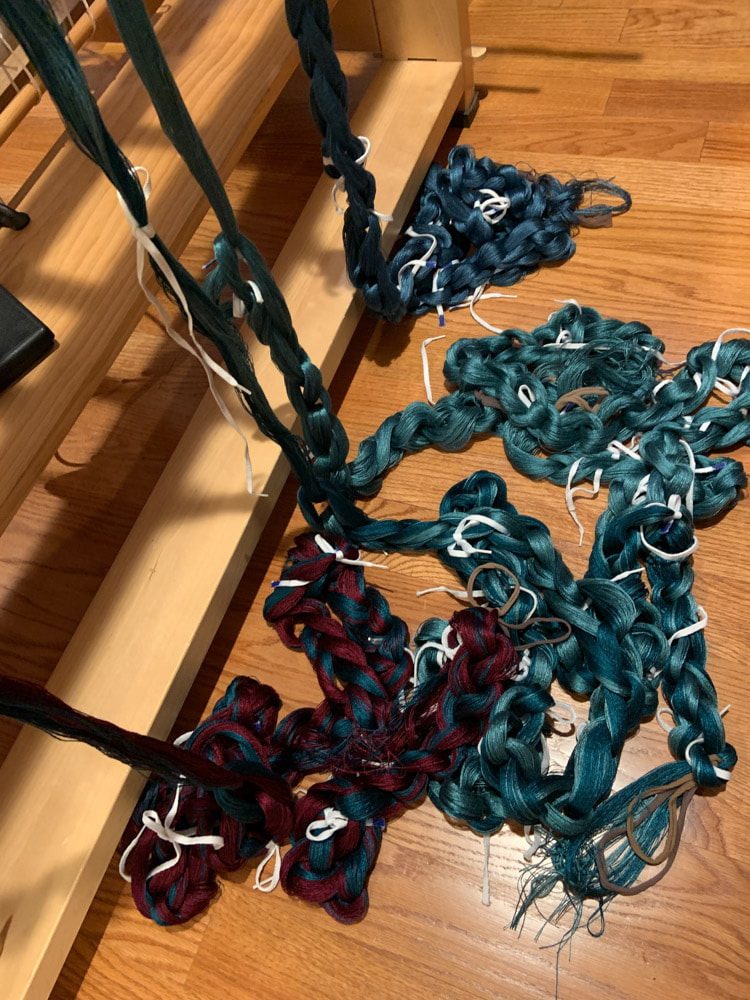
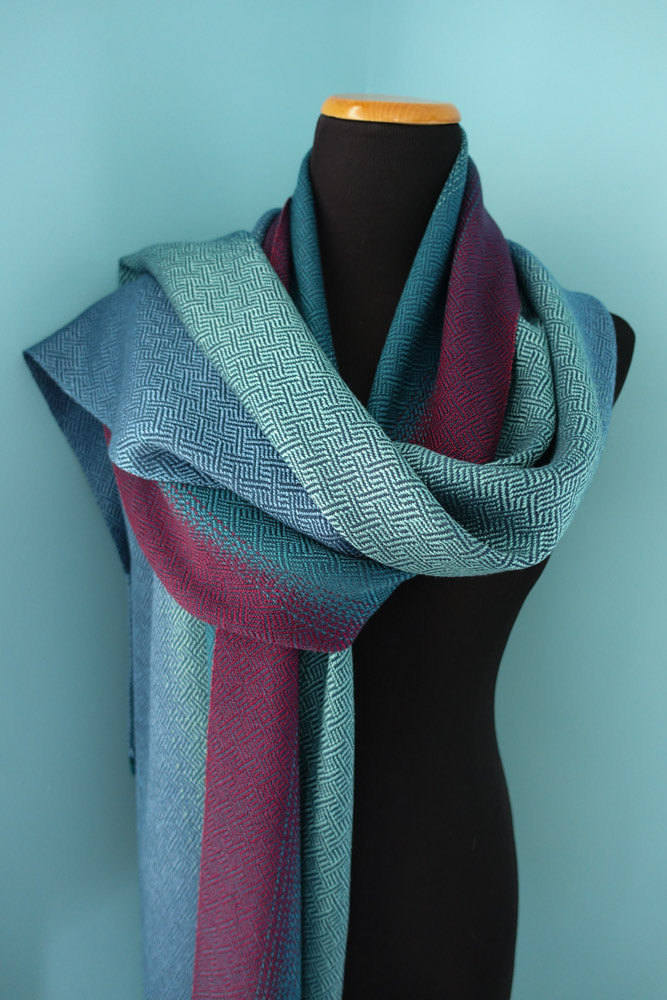
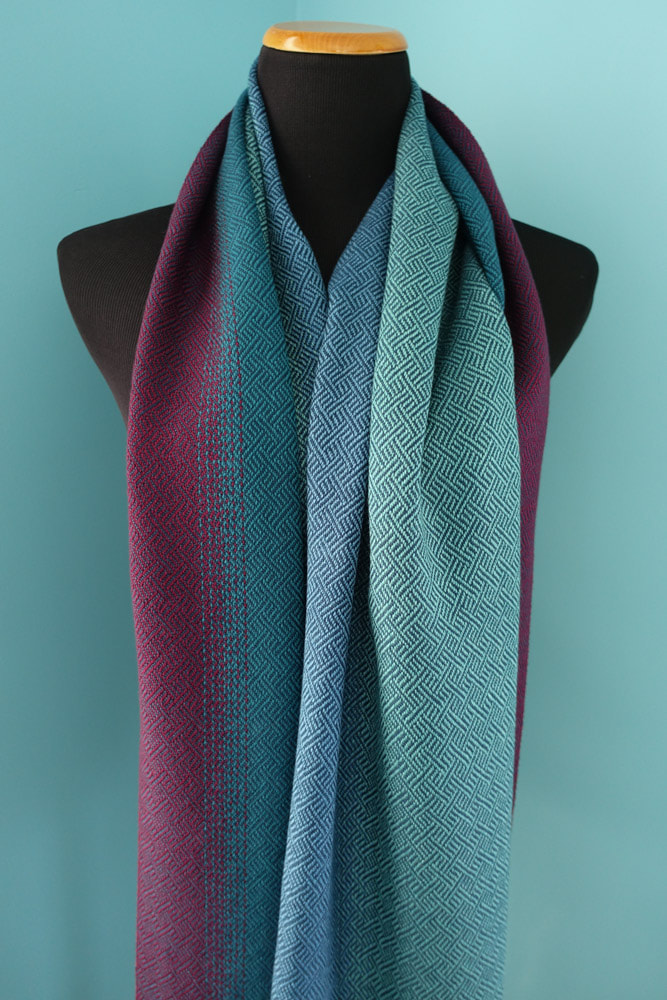
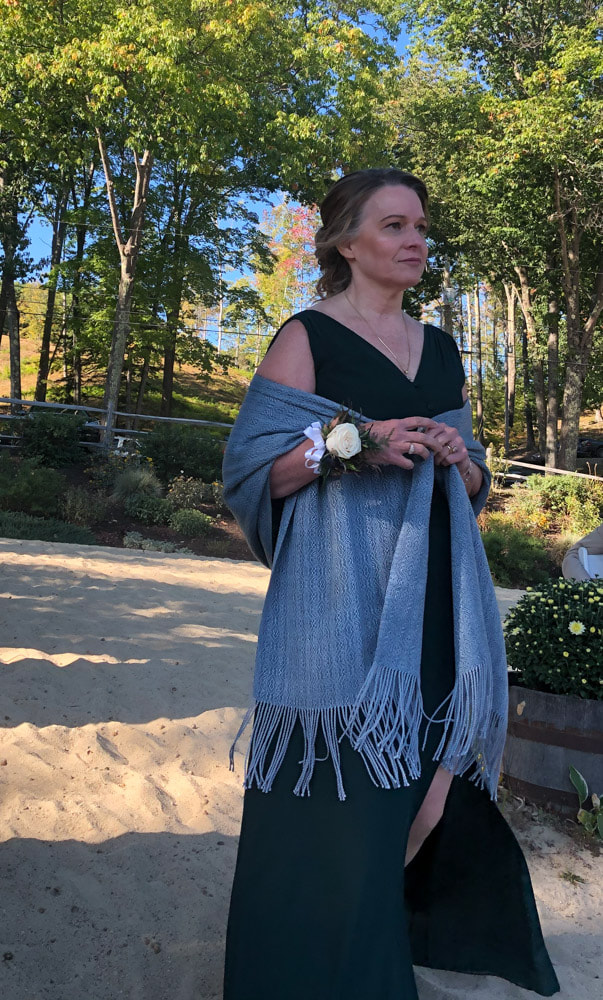
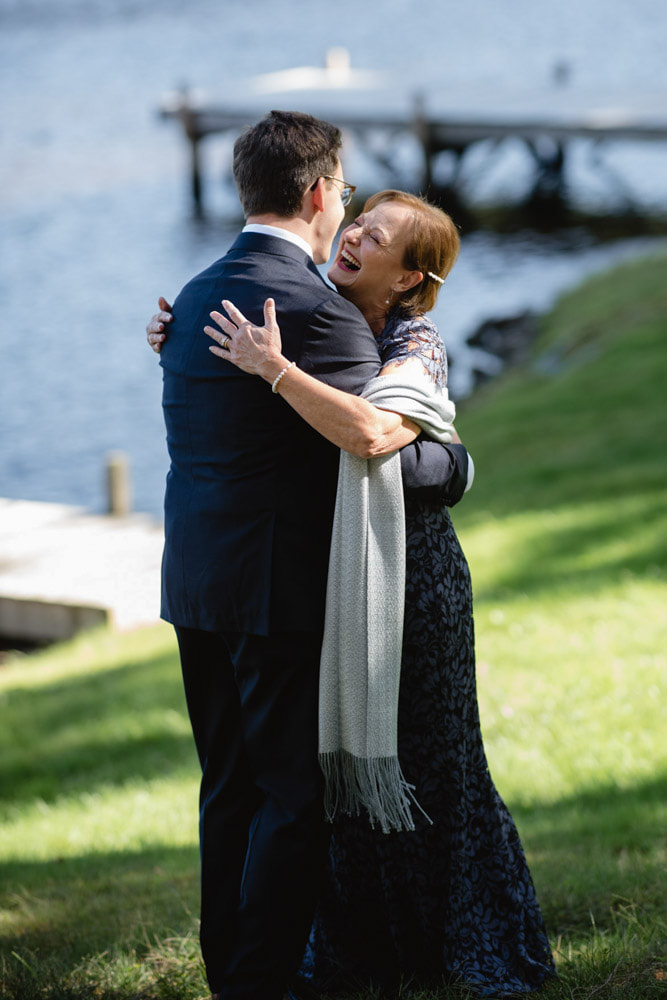
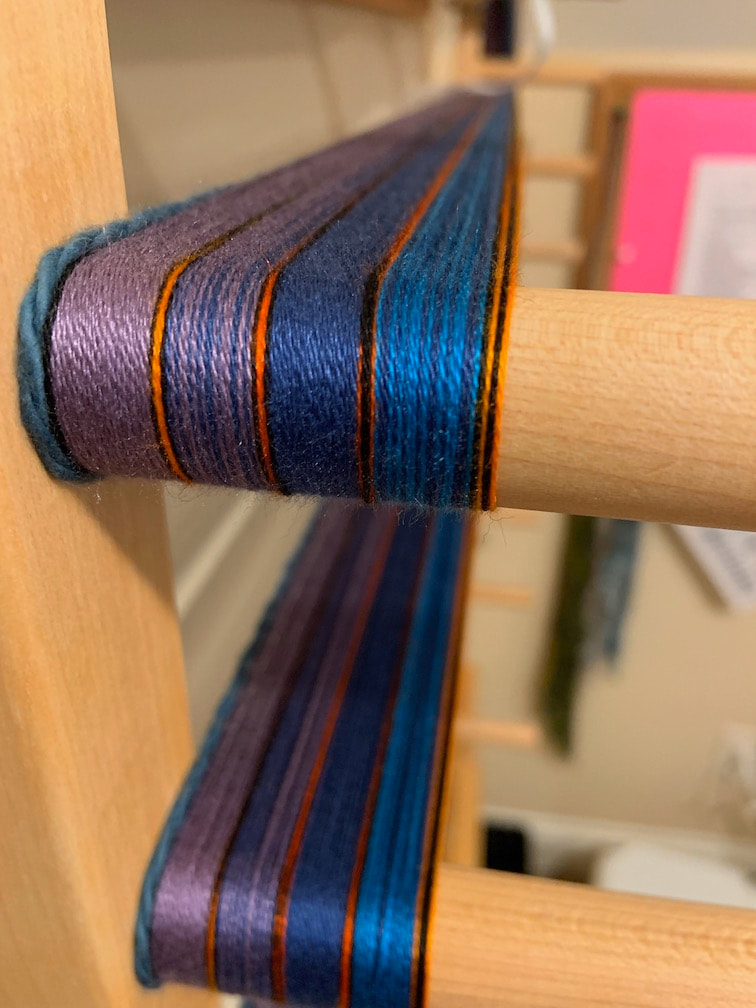
Collette decided on the navy blue Tencel weft. I wove the shawls over the next month. Lots and lots of fringe! Almost 800 bouts of twisted fringe took a few more days and, finally, the shawls were ready to be shipped off to her.
A couple of months before the wedding, Collette reached out to me to have shawls woven for her mother and future mother-in-law.
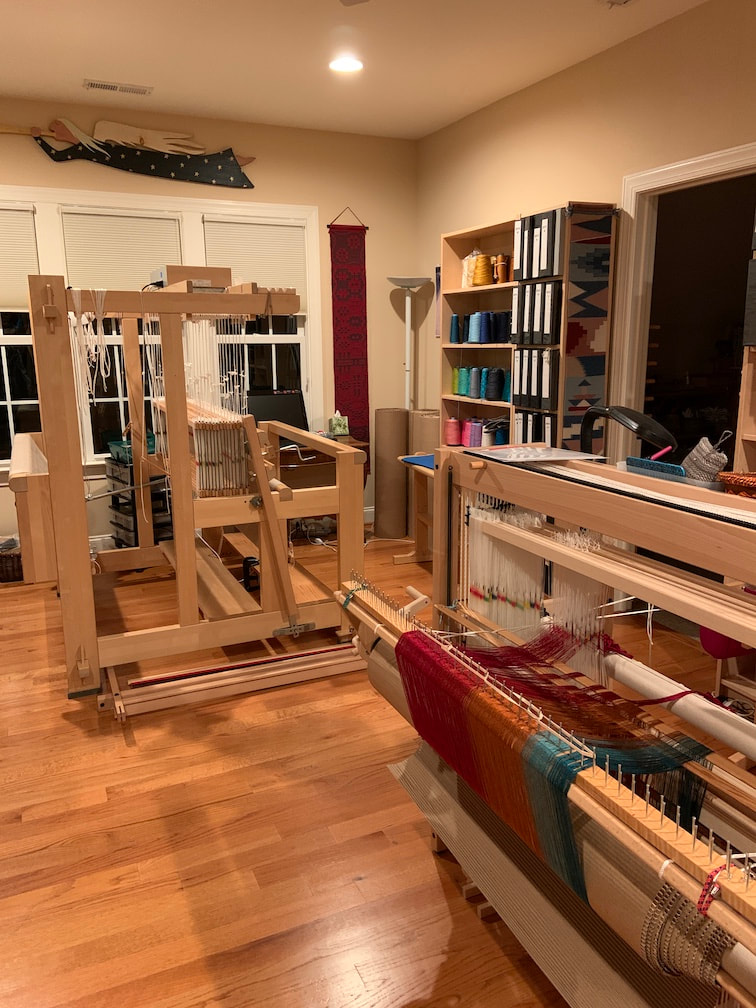
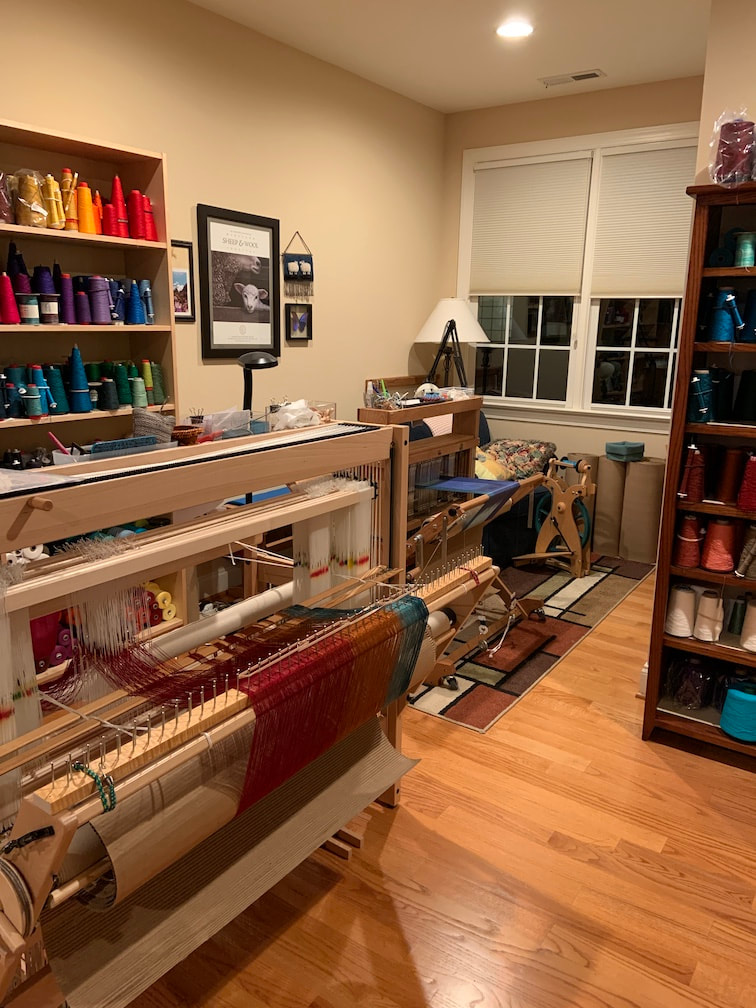
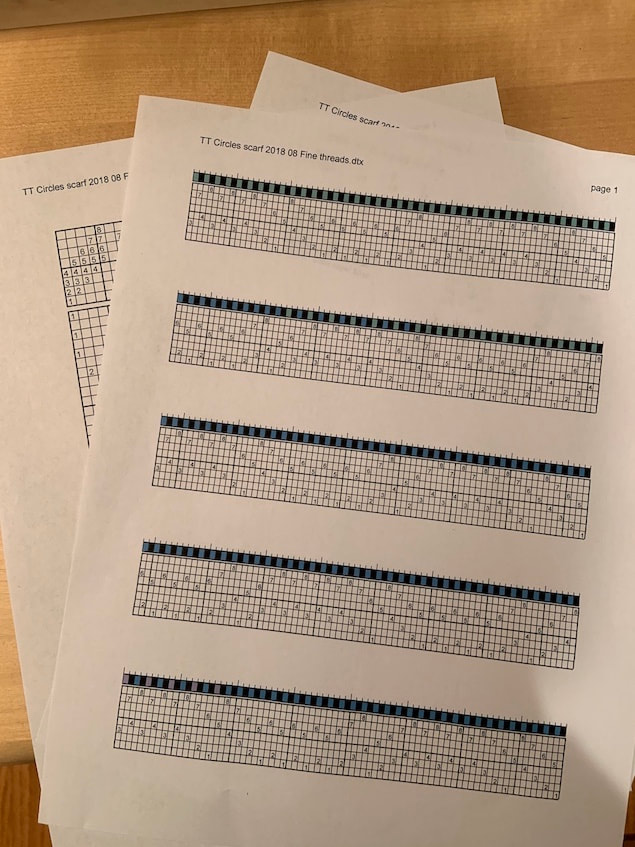
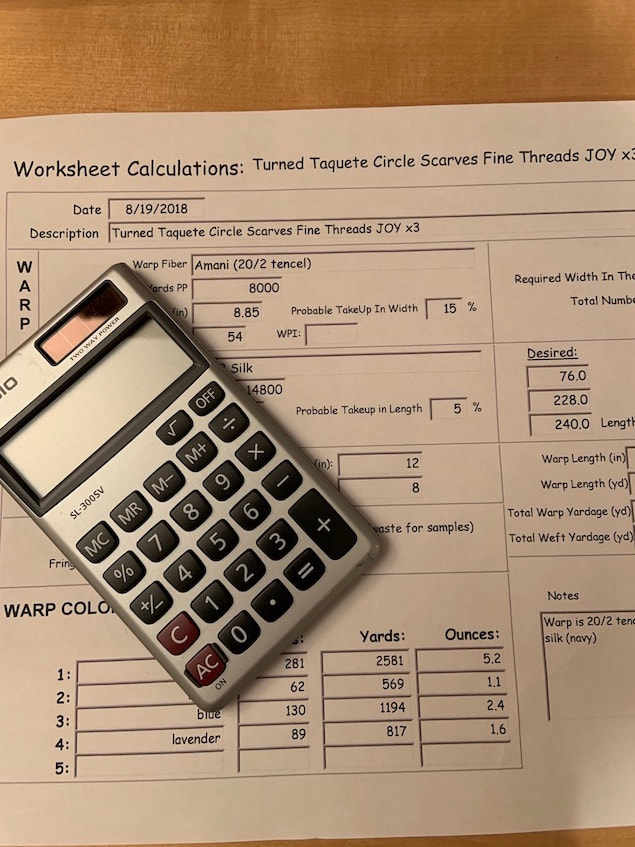
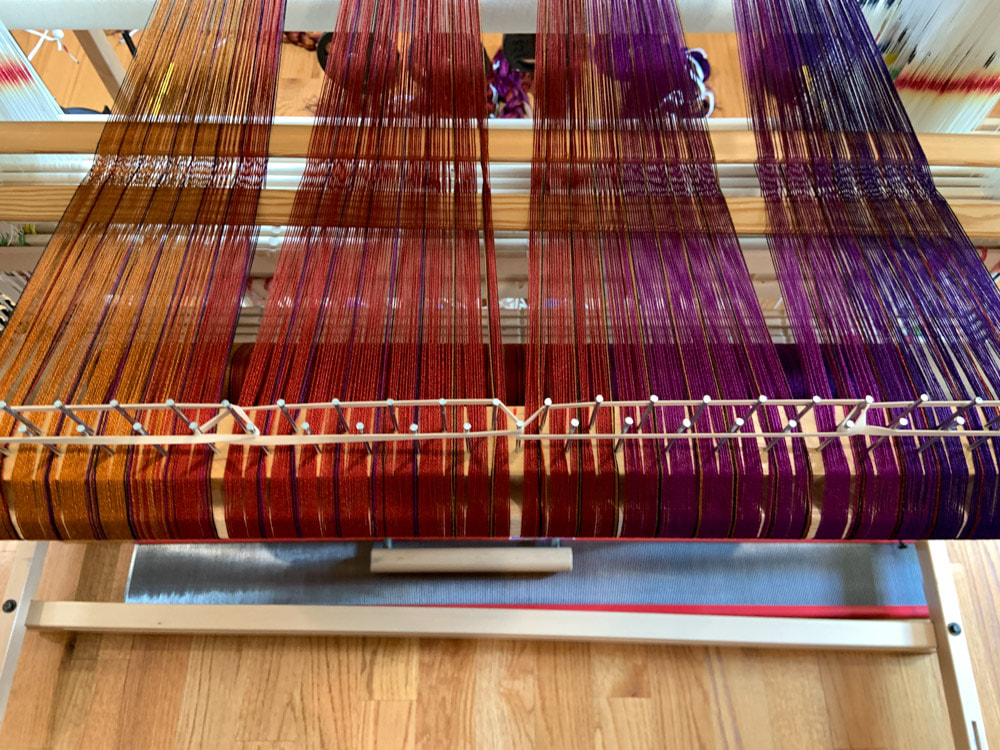
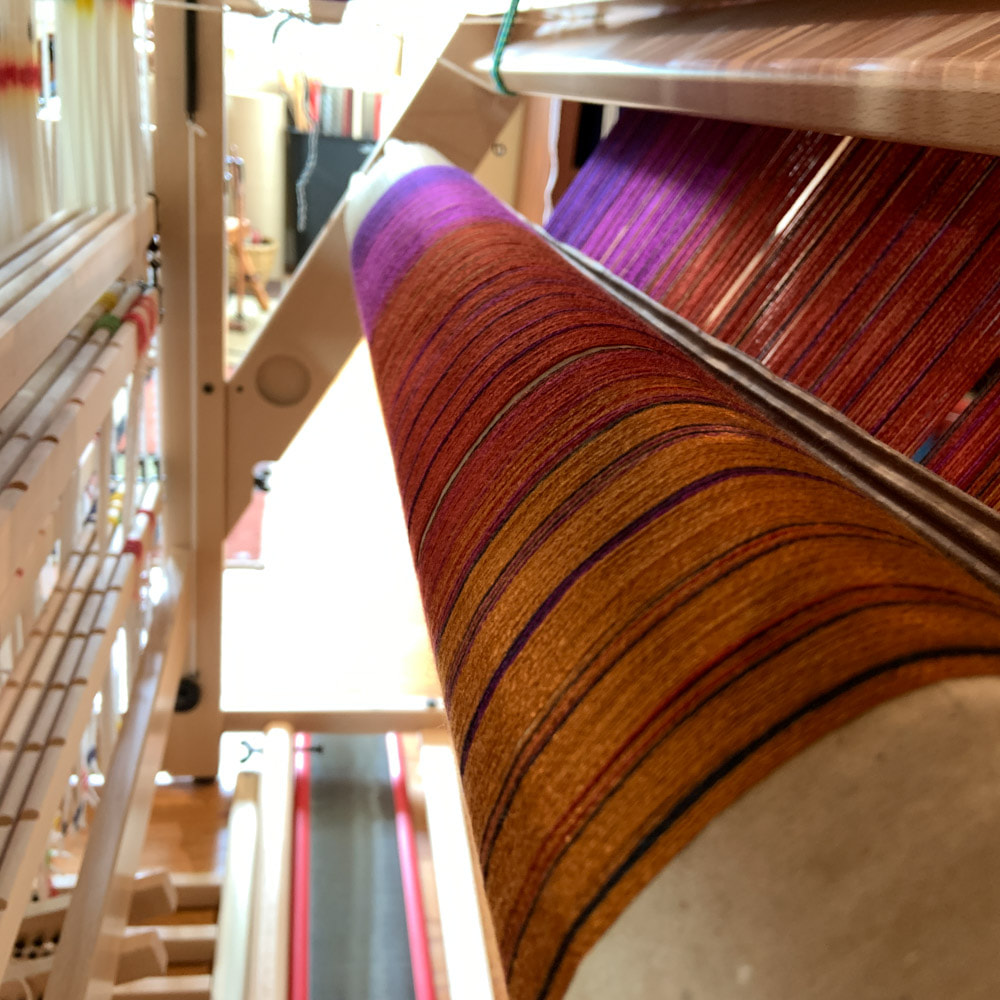
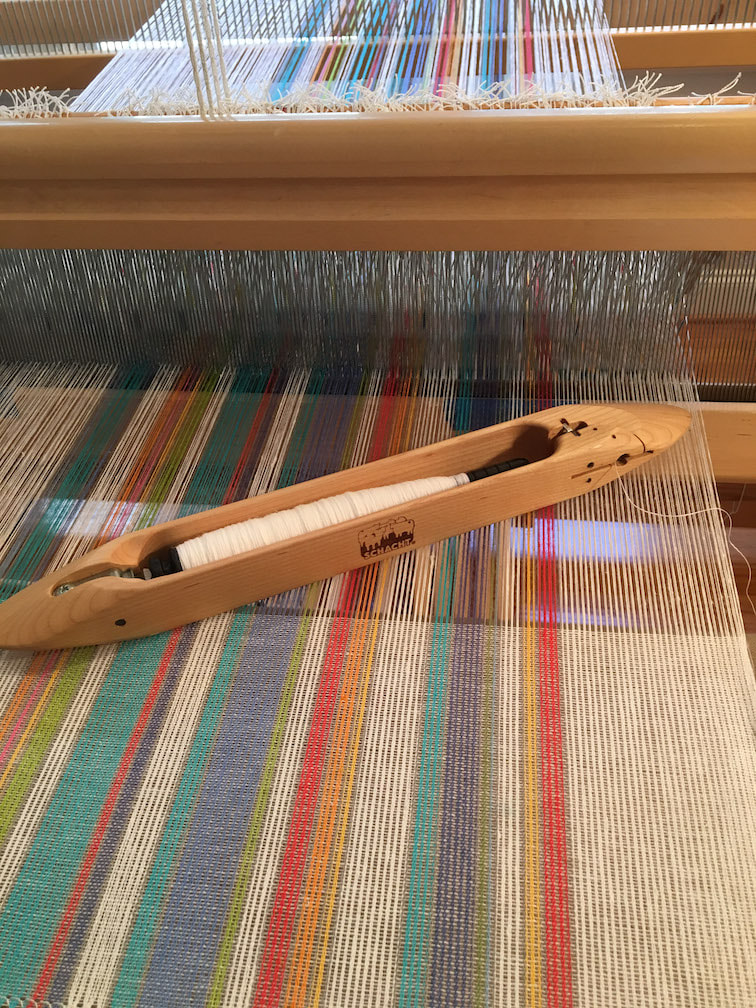
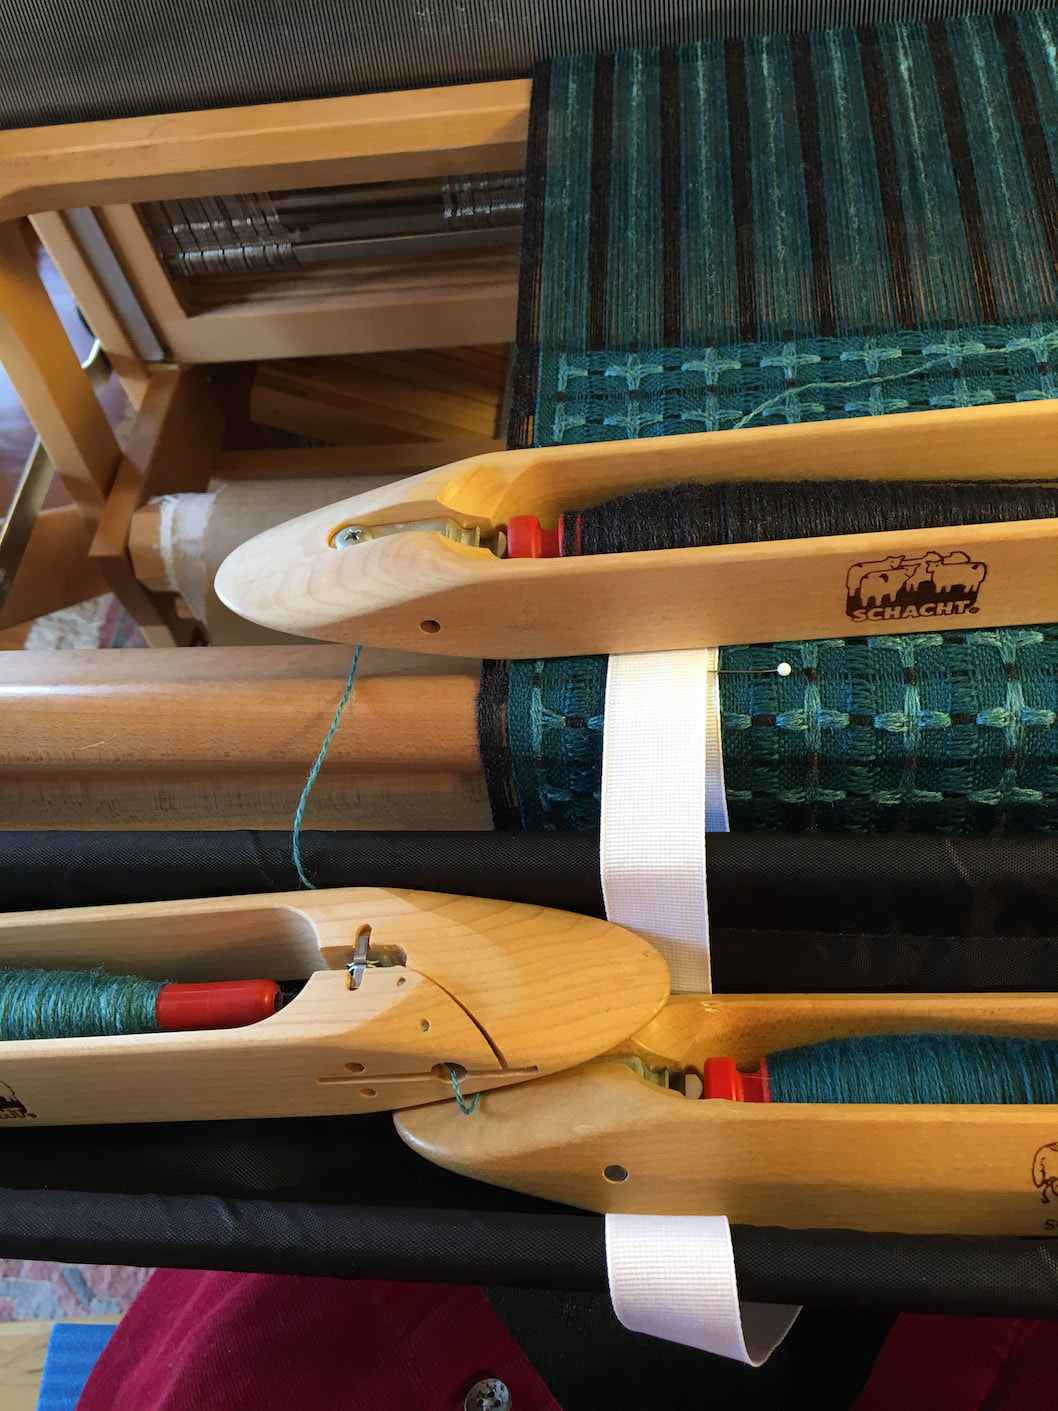
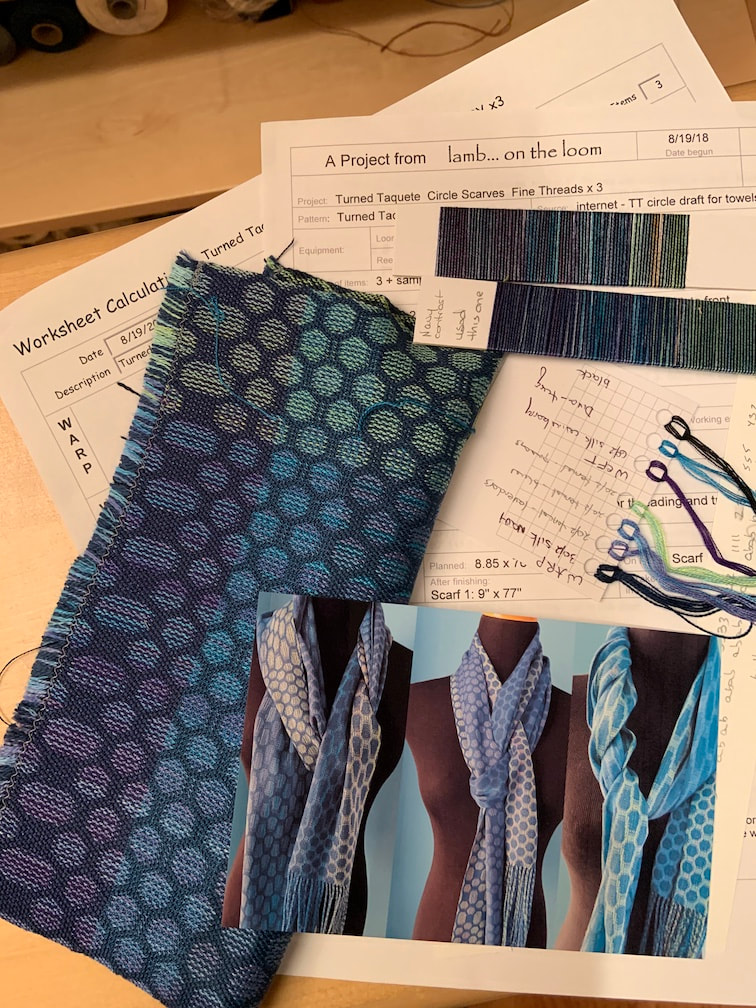
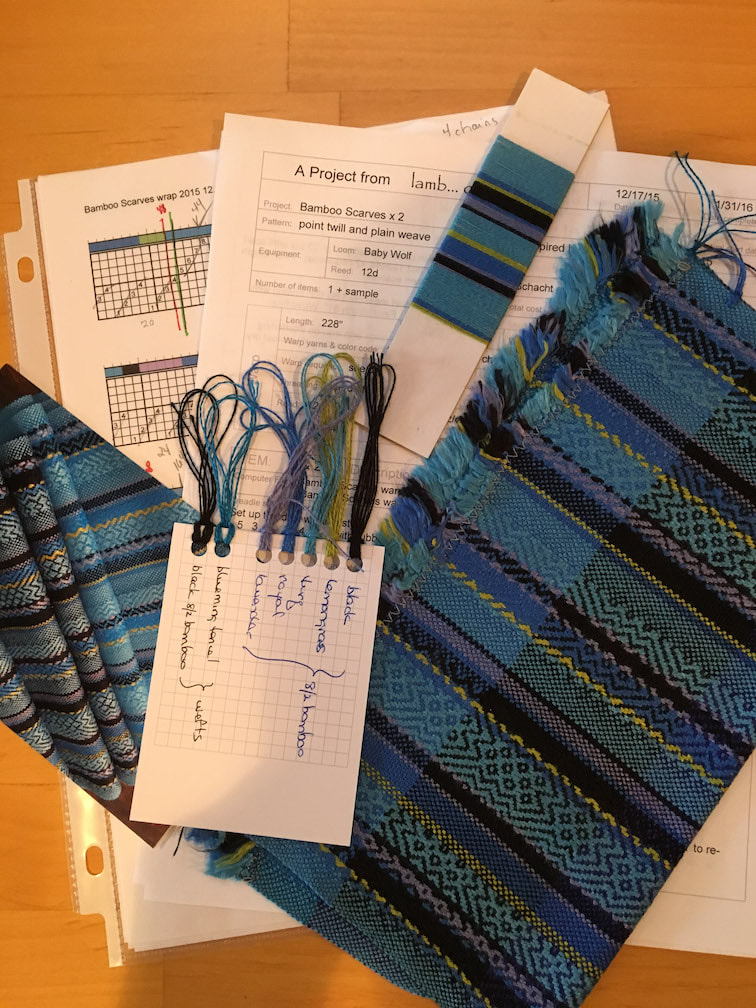
People ask me questions about my process all the time. How long does it take to make a piece? What kind of machine do you use to do this? What steps do you go through to get a finished piece? Why is this scarf so expensive? Those are hard questions to answer in 10 words or less. Obviously it varies vastly from piece to piece. Some pieces are easy to plan and set up and take a long time to weave: we call those slow cloth. Some pieces weave up quickly but the planning and loom setup take a long time. Below is a storyboard of the steps involved in creating a piece in my studio.
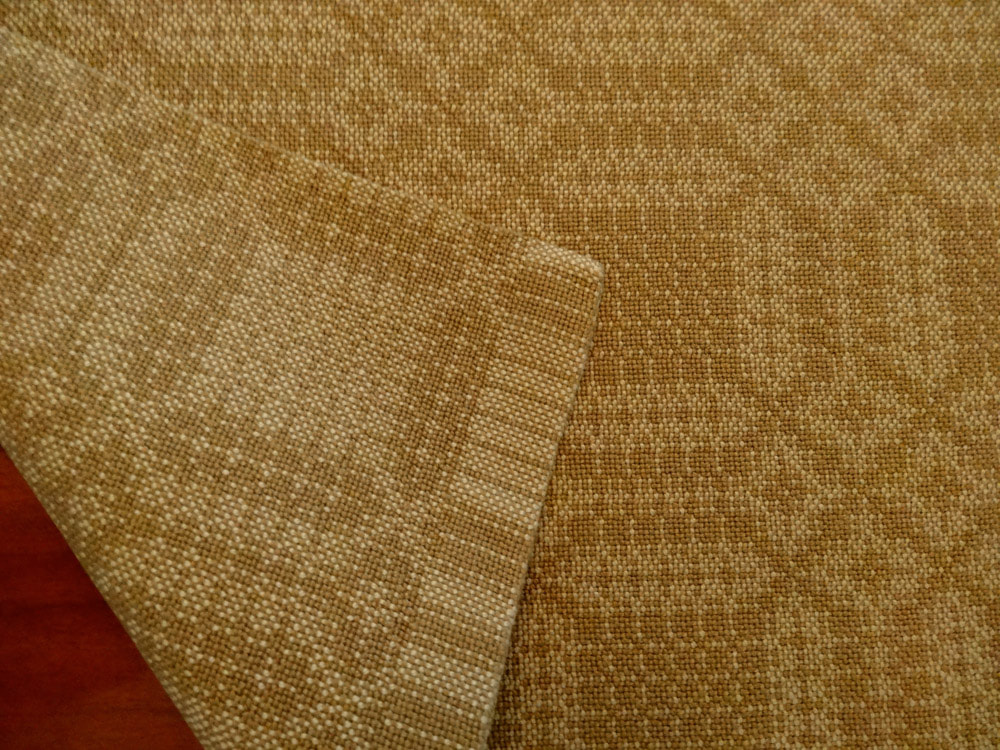
FinishingTotal time 1-3 hours
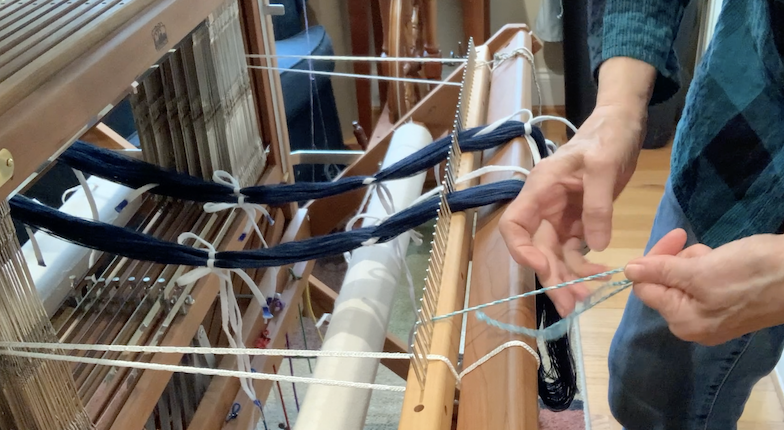
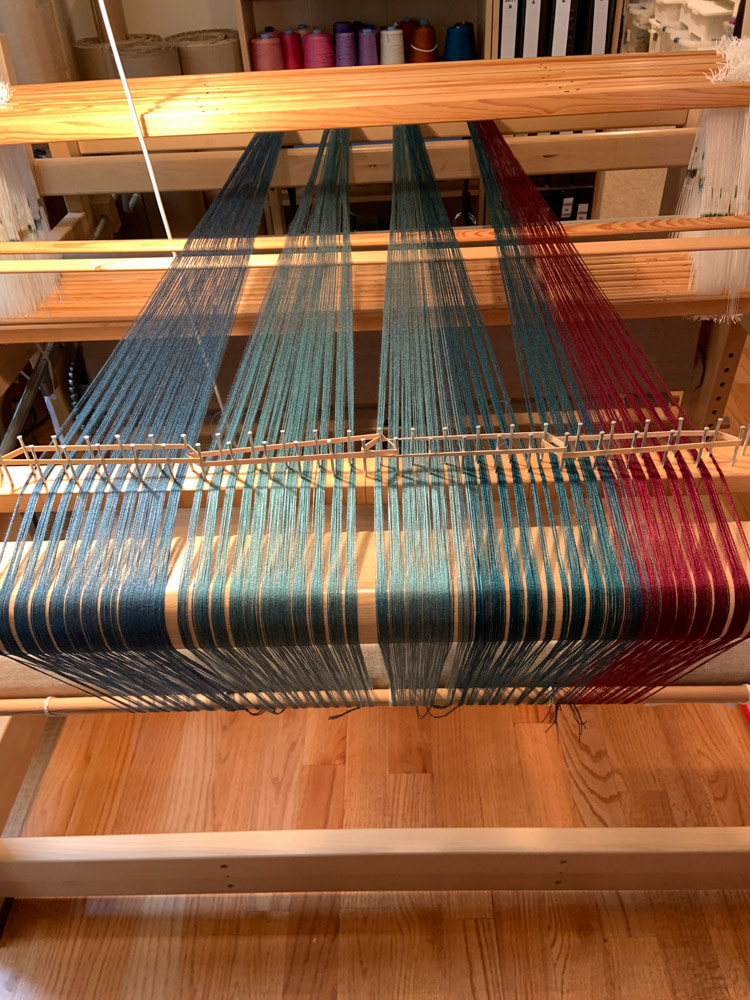
From Wrap to Warp
Click on any photo to zoom in Why Wrap?
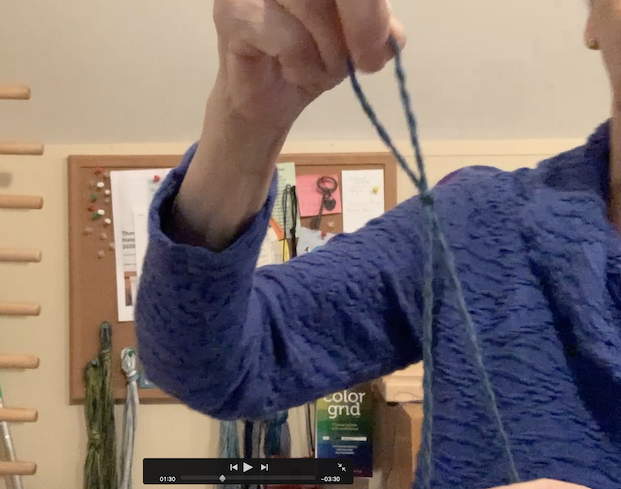
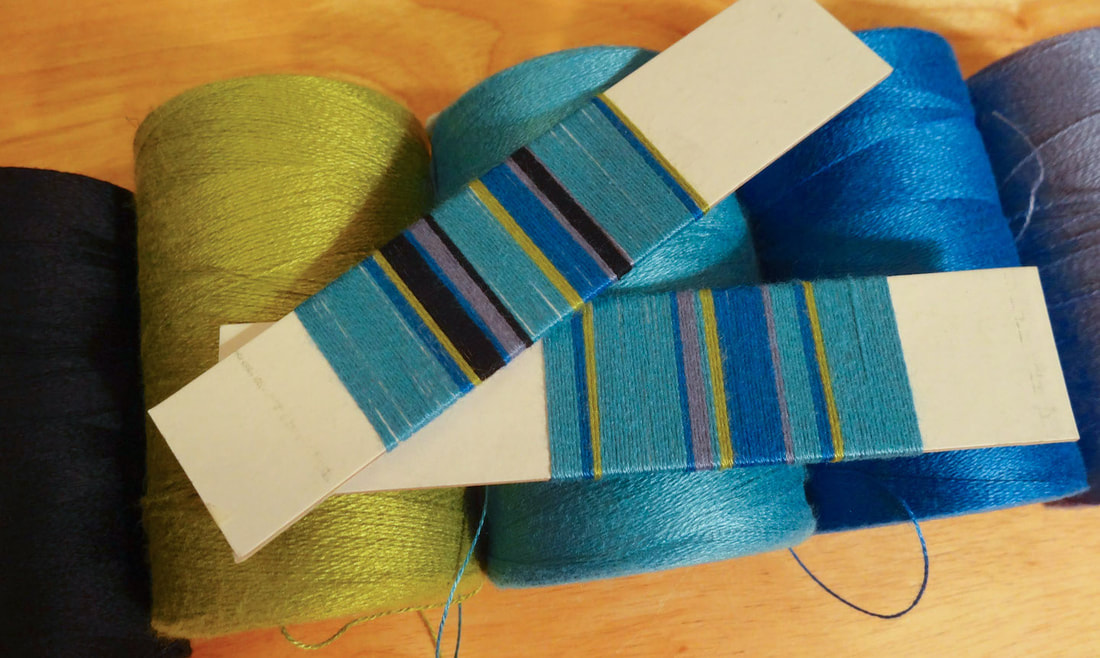
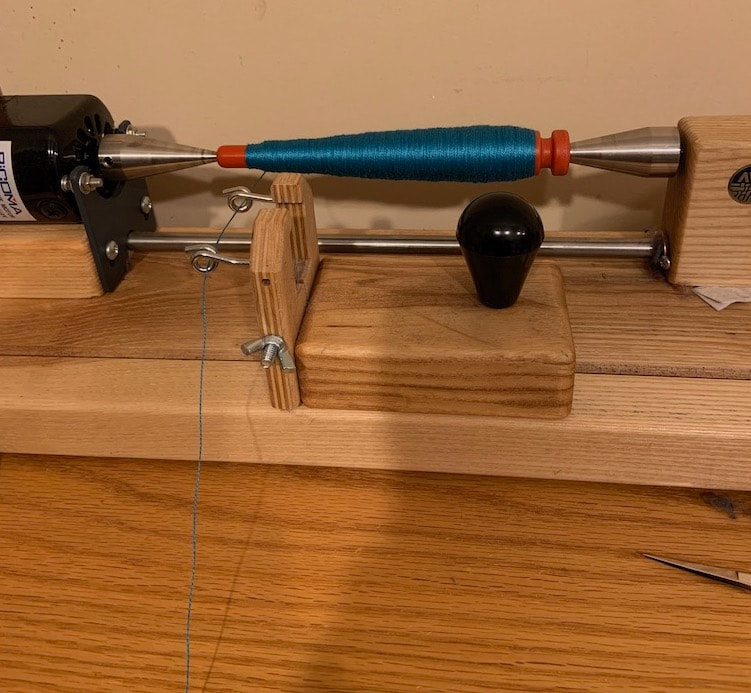
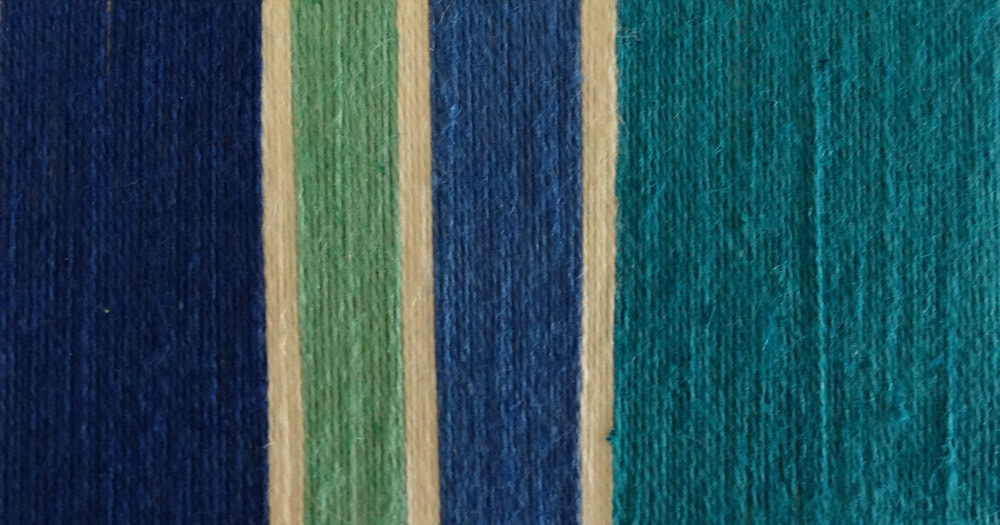
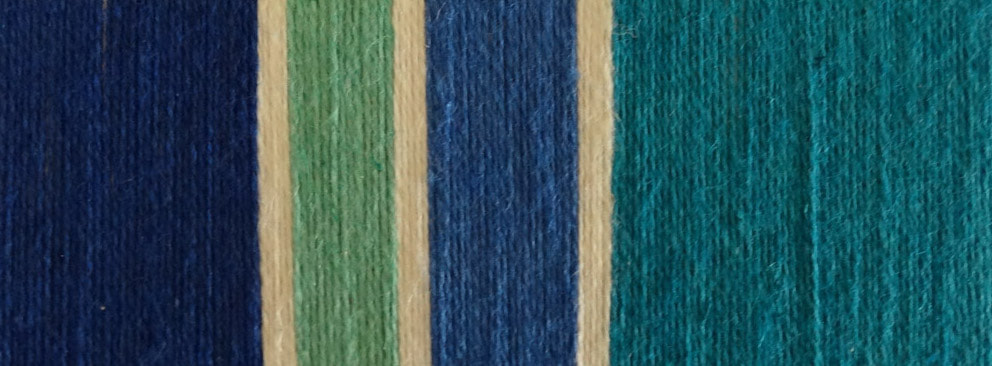
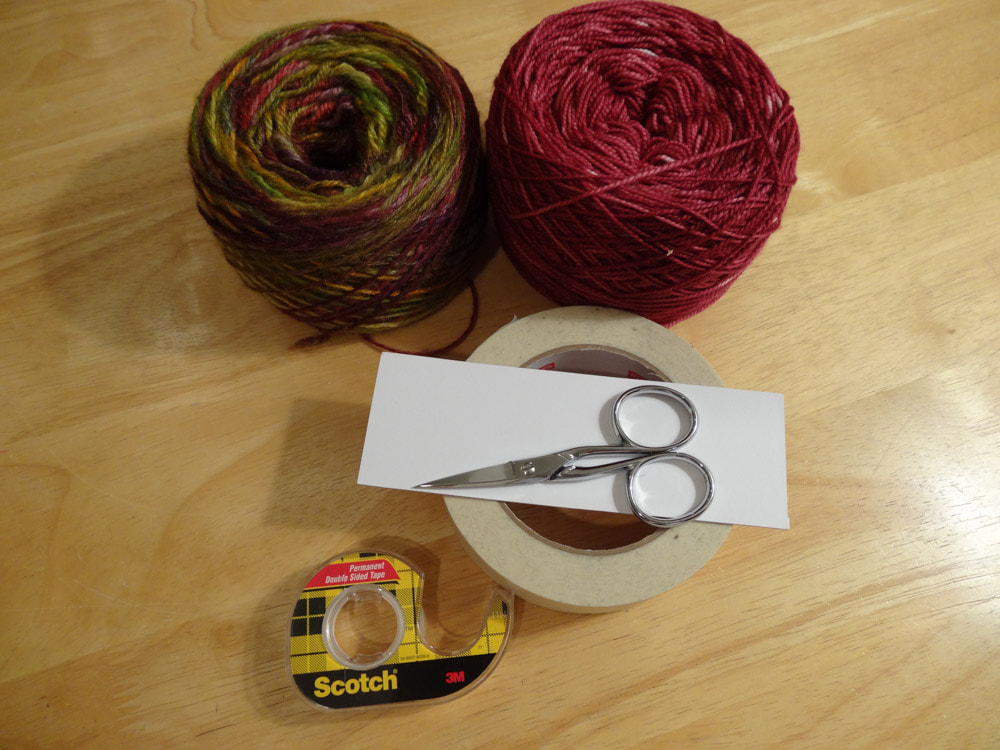
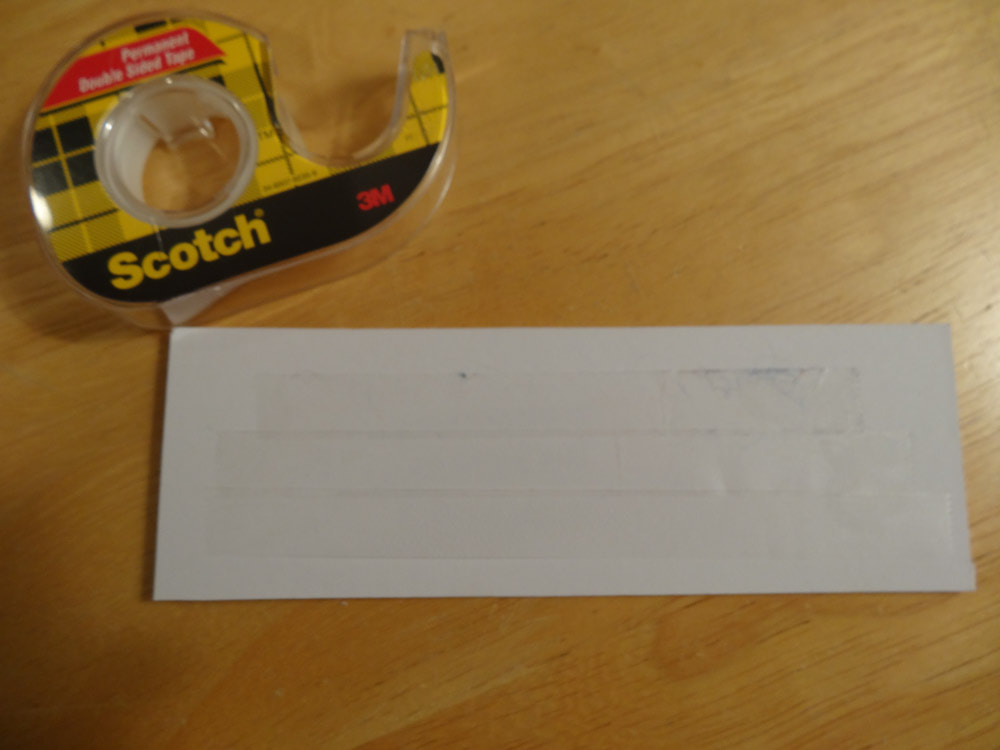
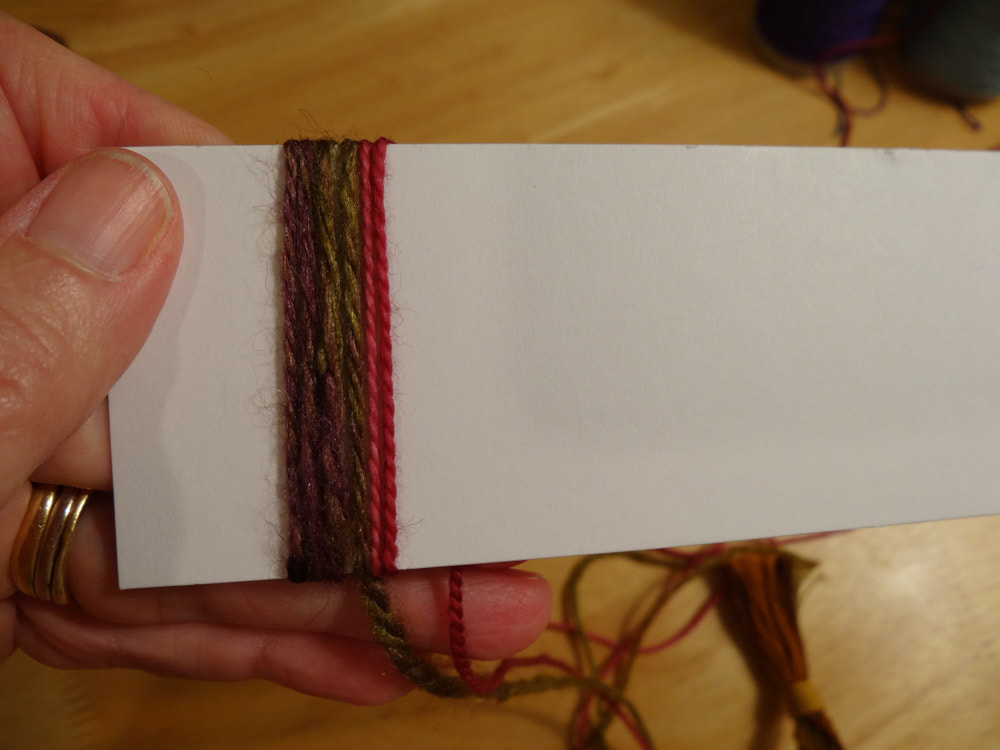
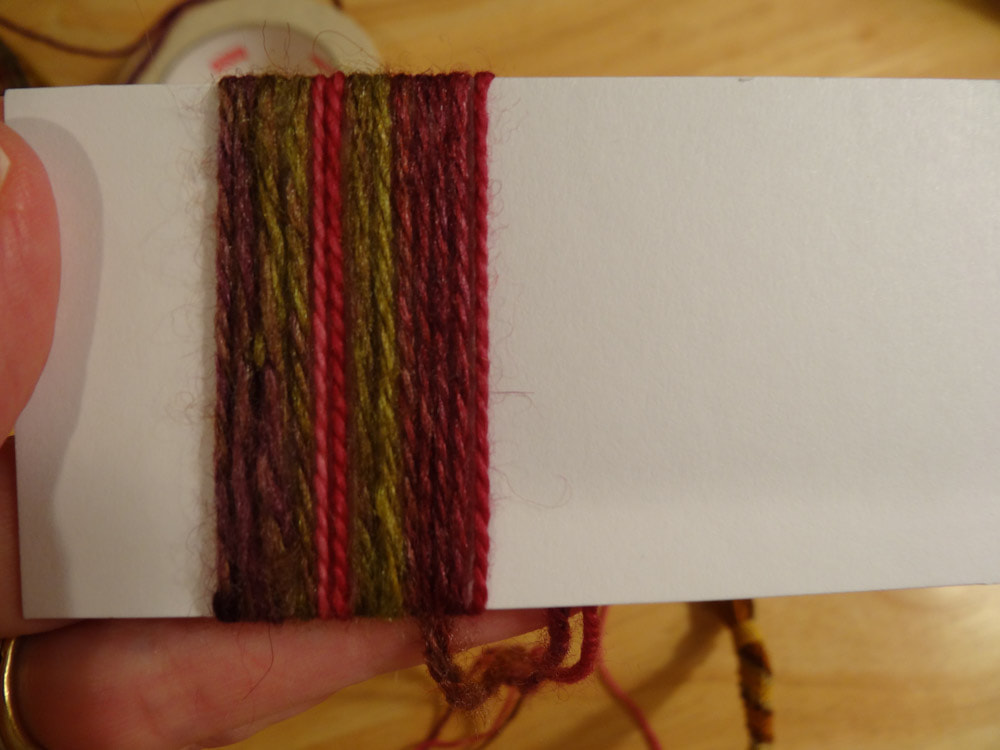
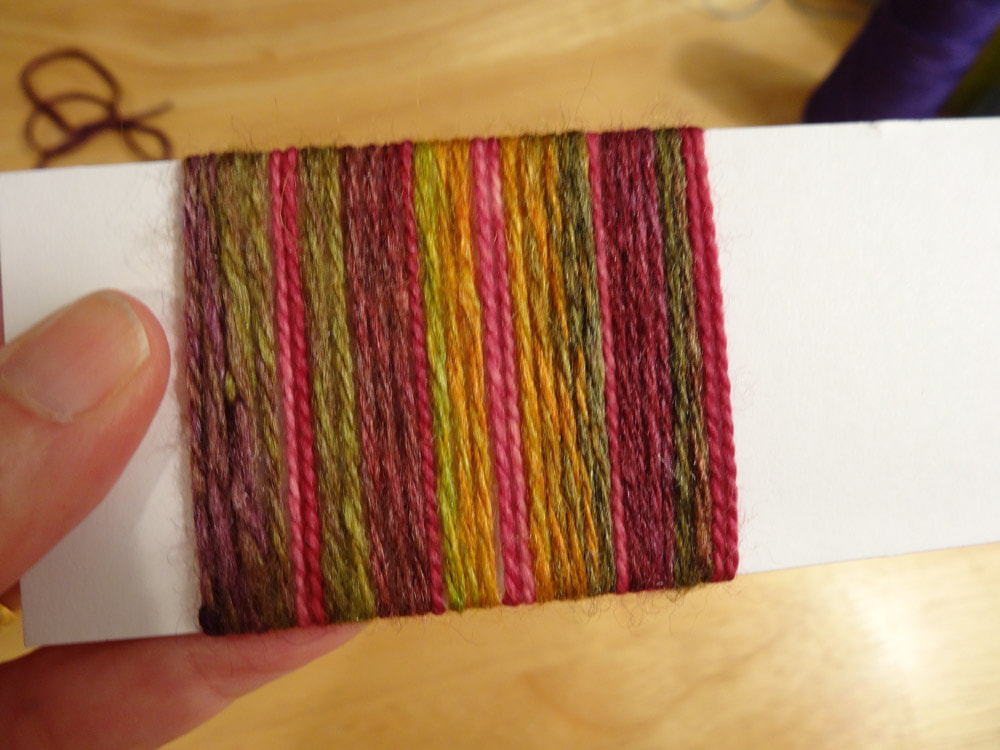
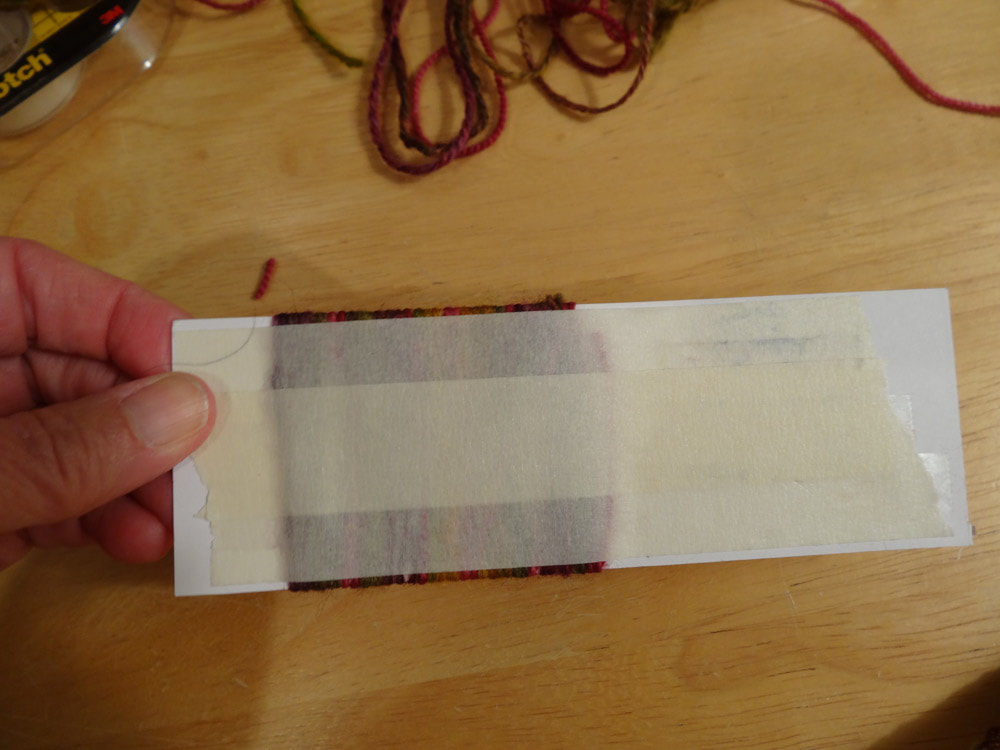
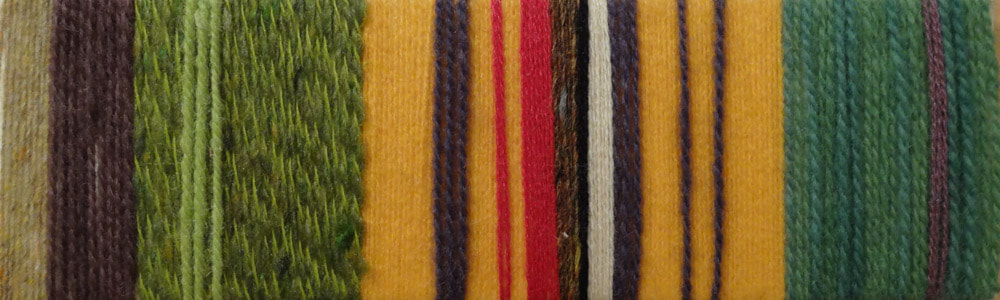
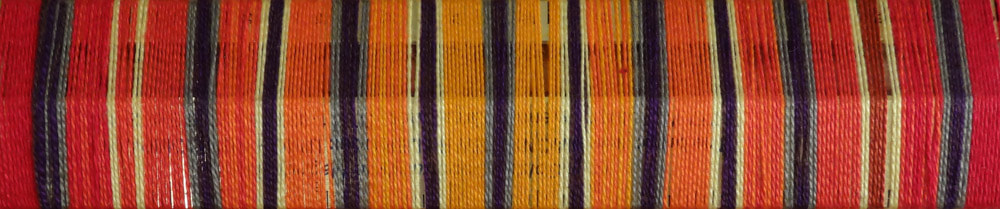
Mechanics of making a yarn wrap
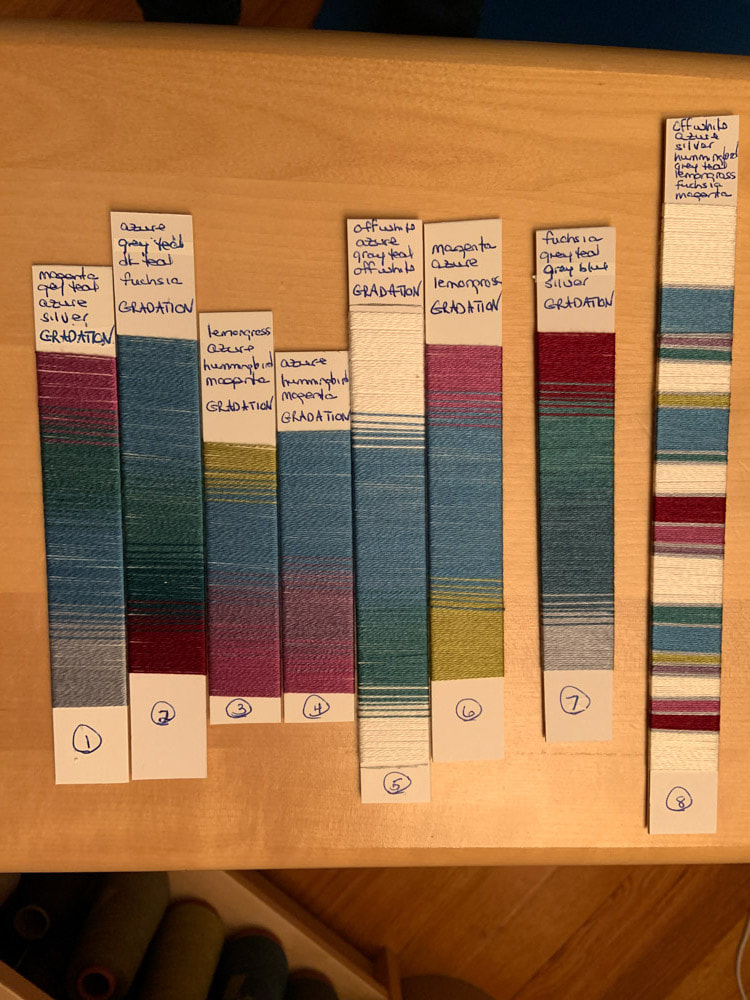
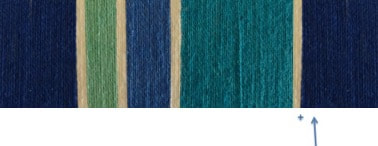
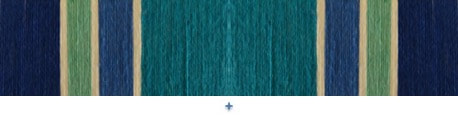
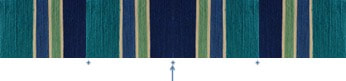
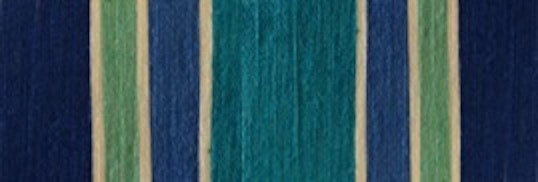
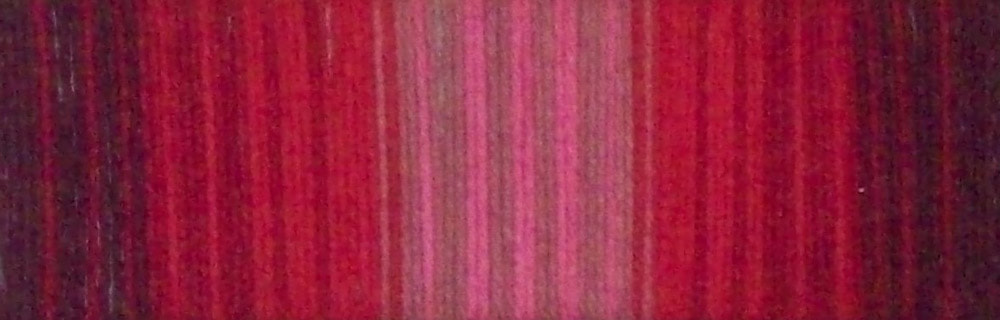
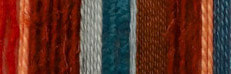
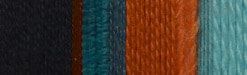
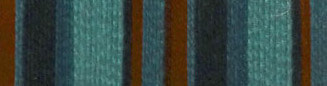
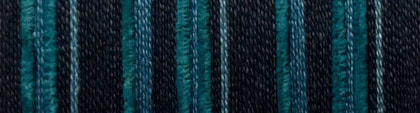
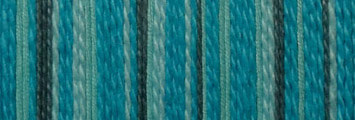
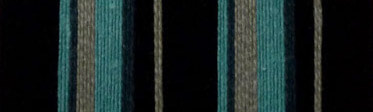
Color inspirations for yarn wraps
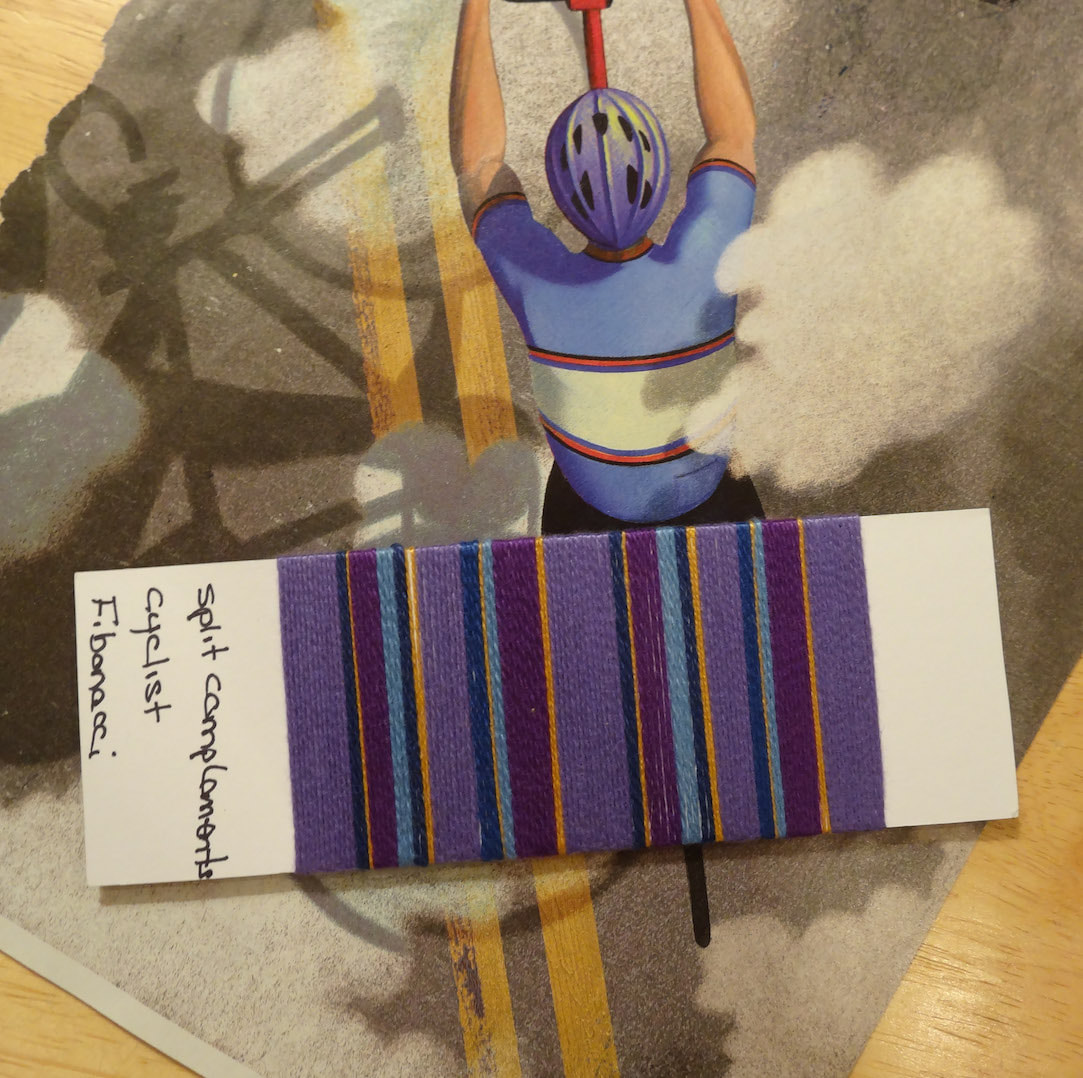
Designing the wrap: the artistic part of the work
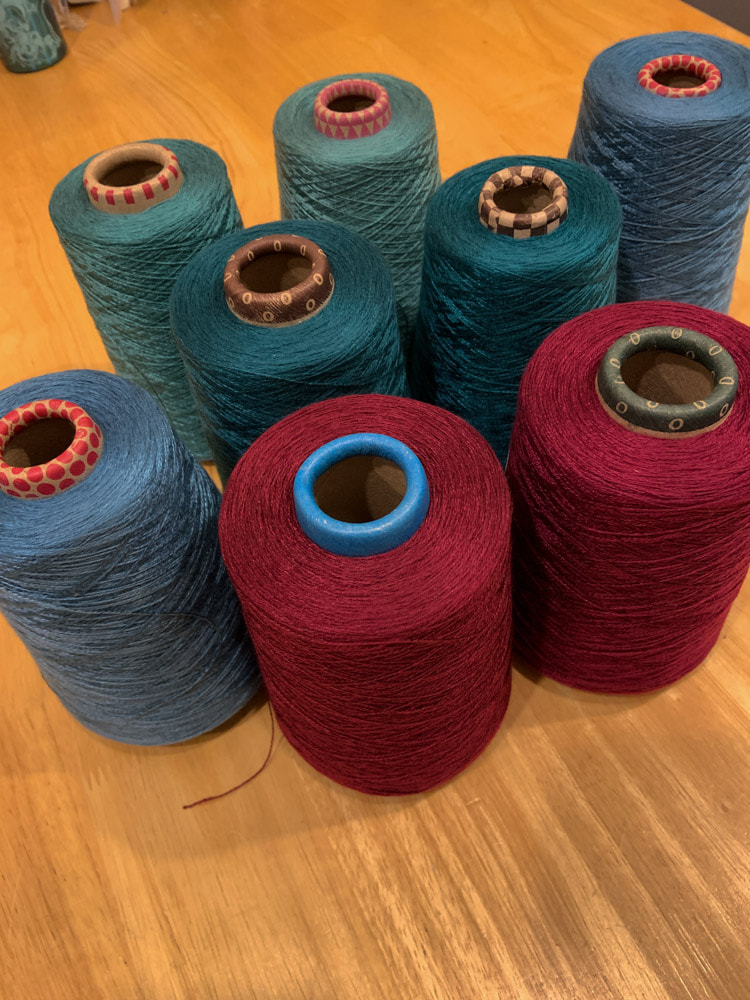
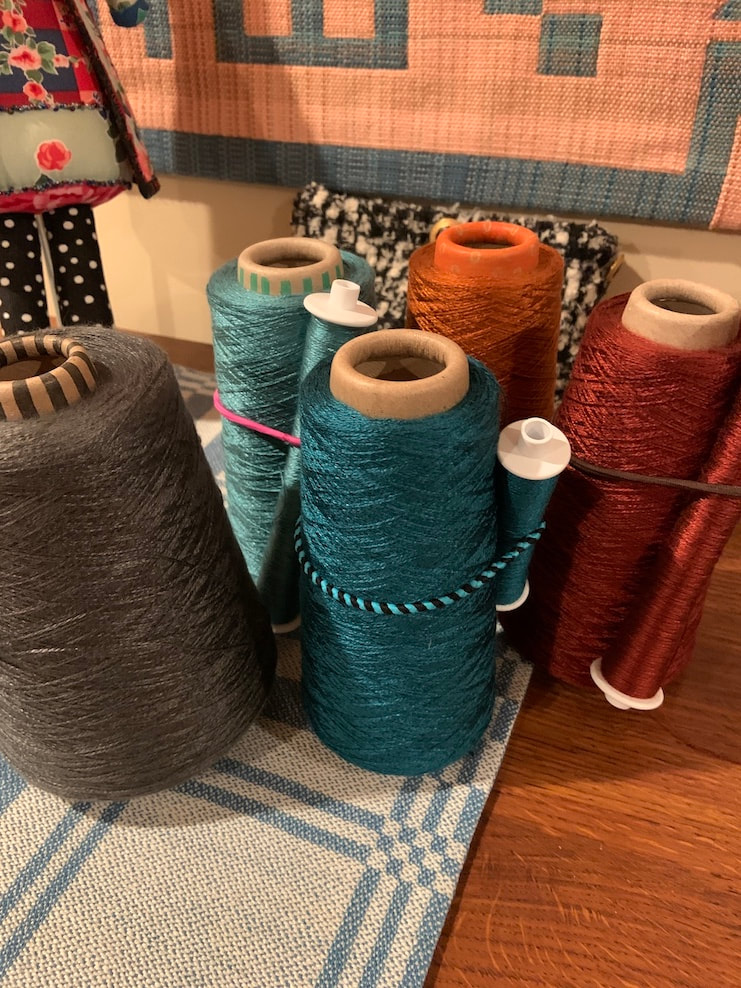
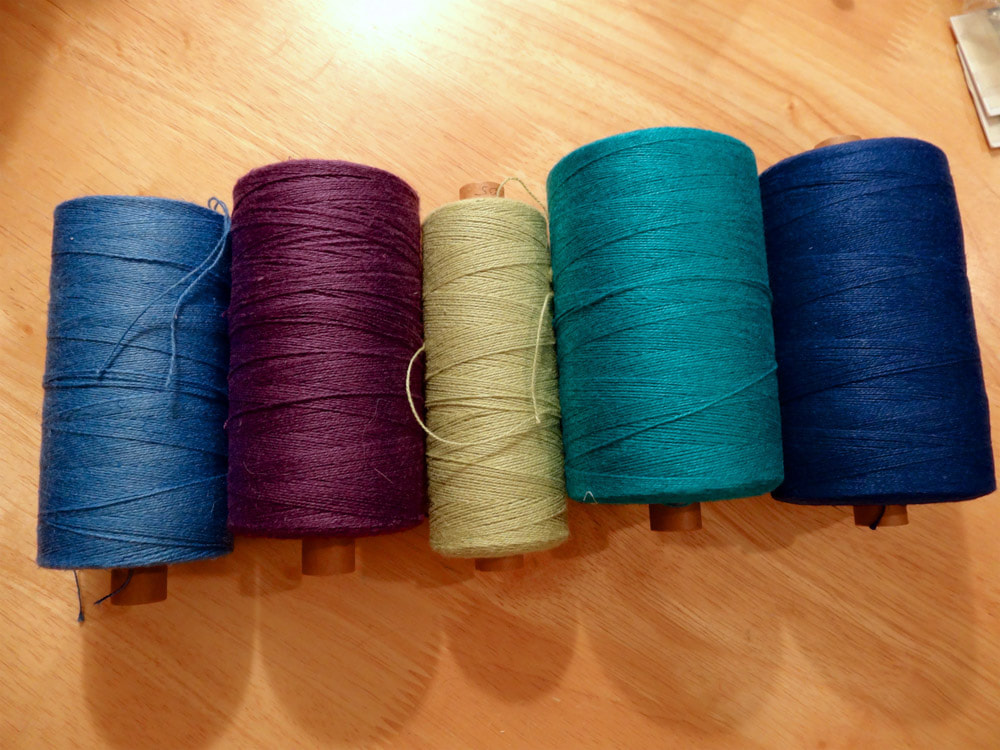
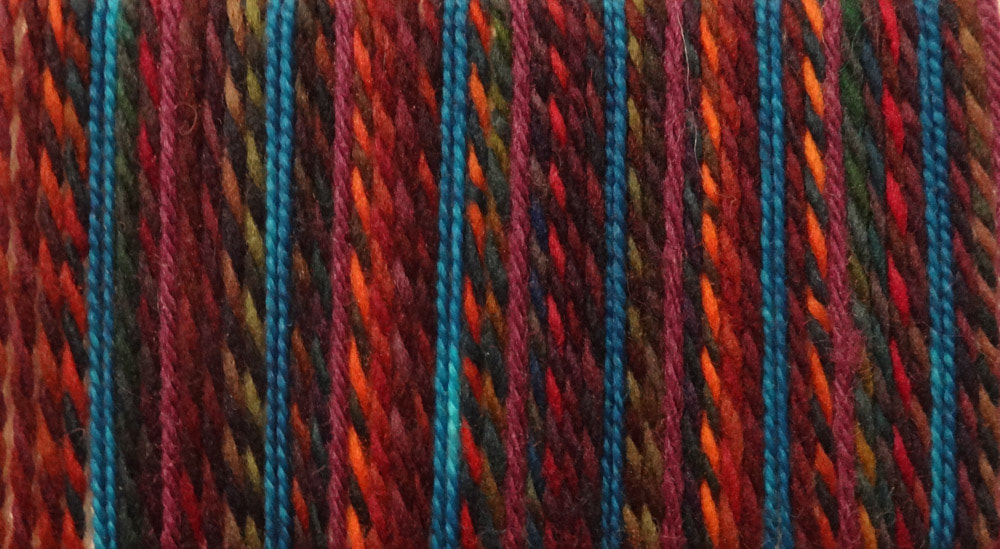
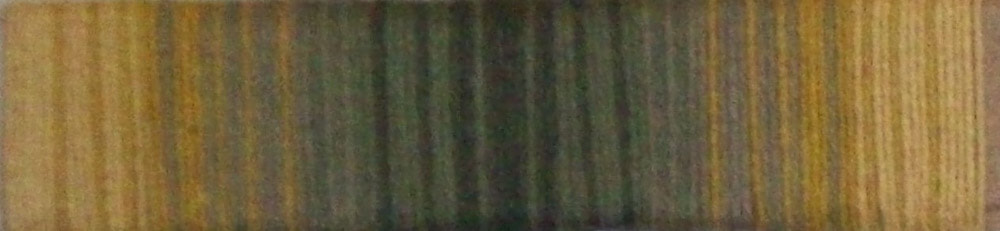
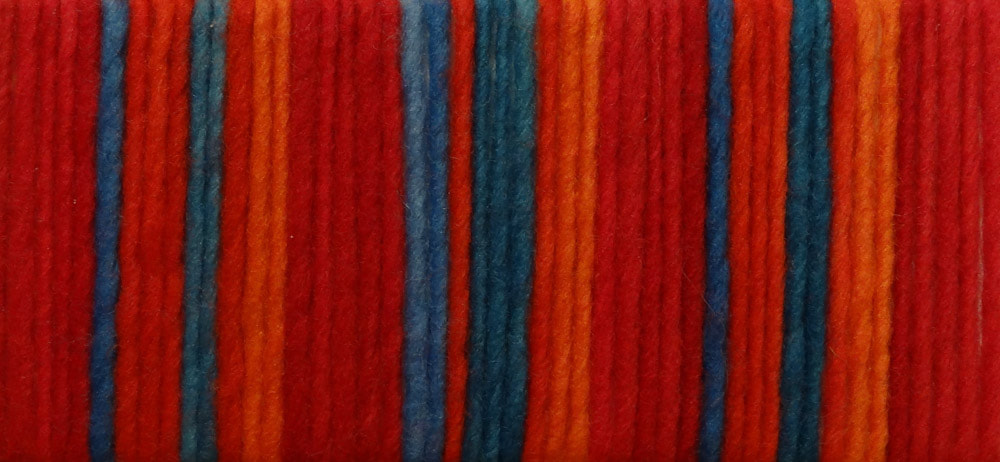
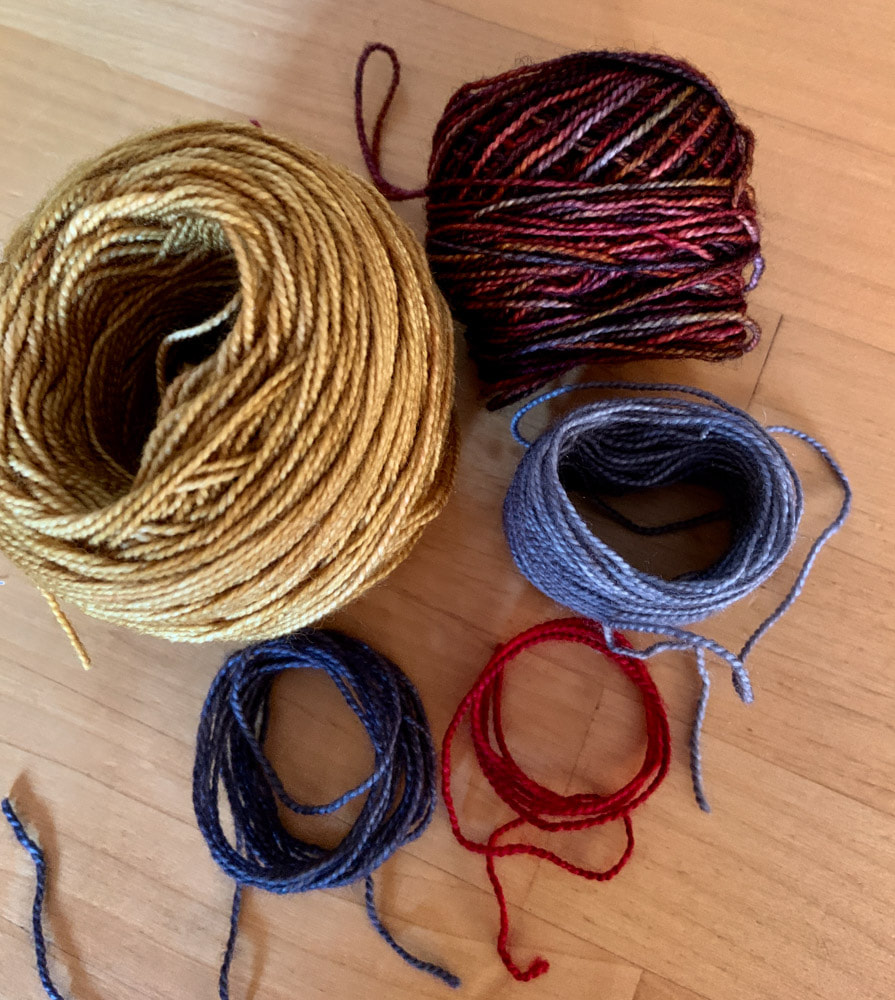
Inspiration from yarns
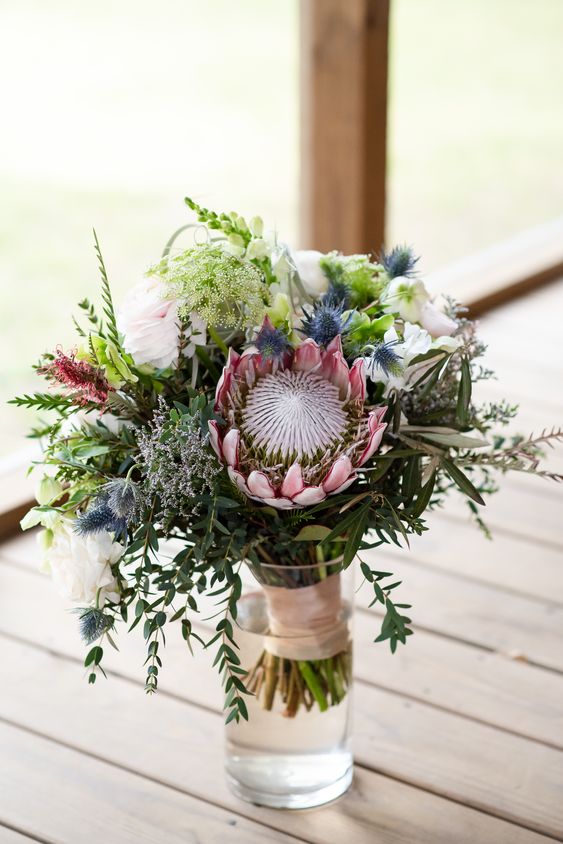
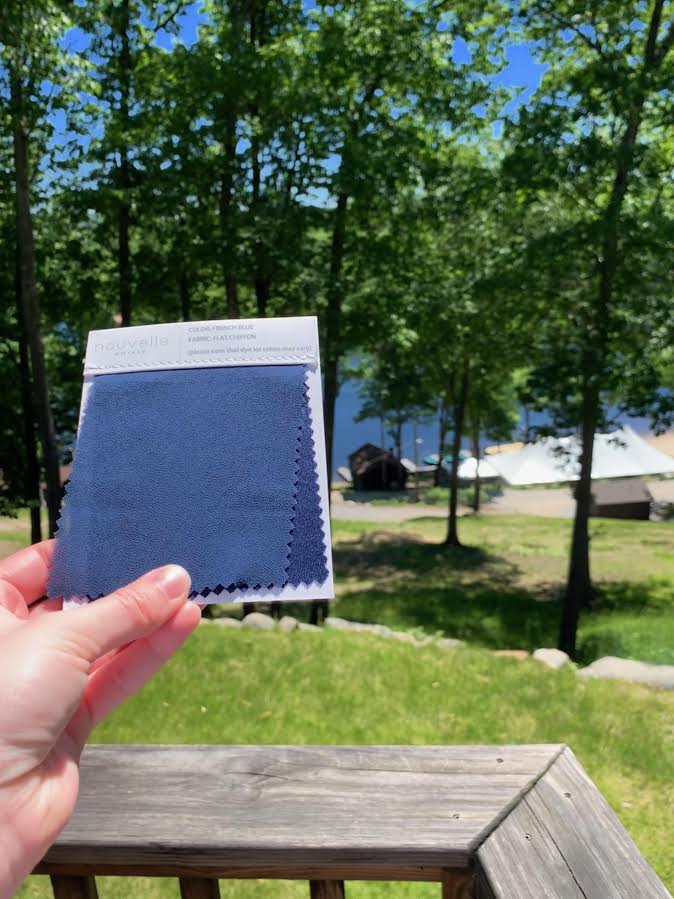
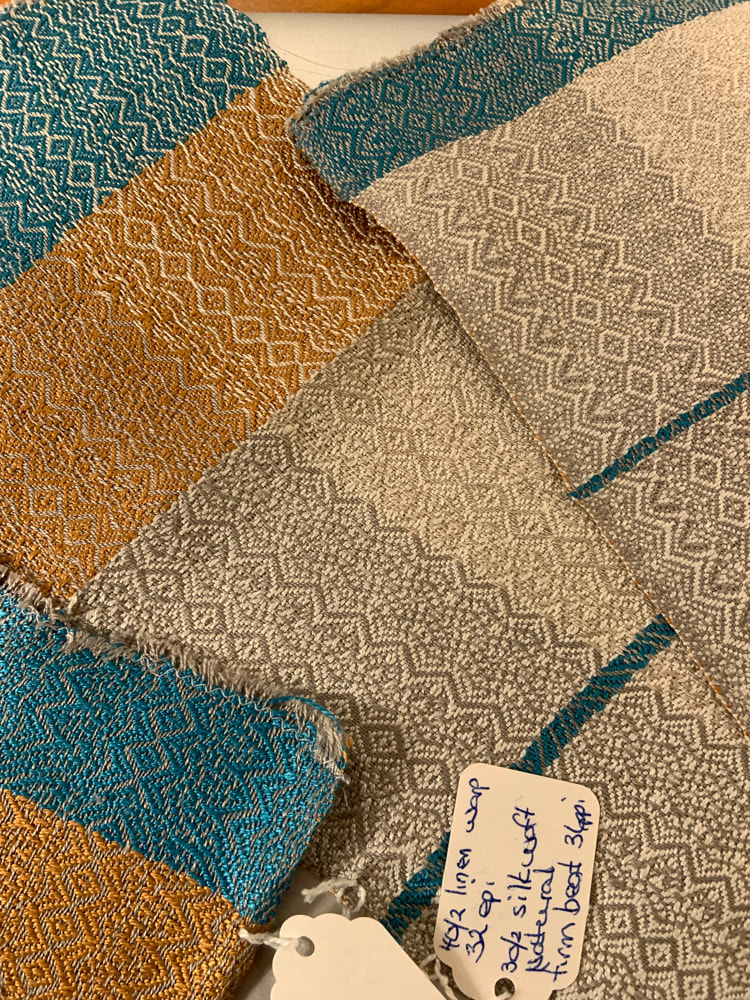
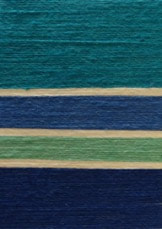
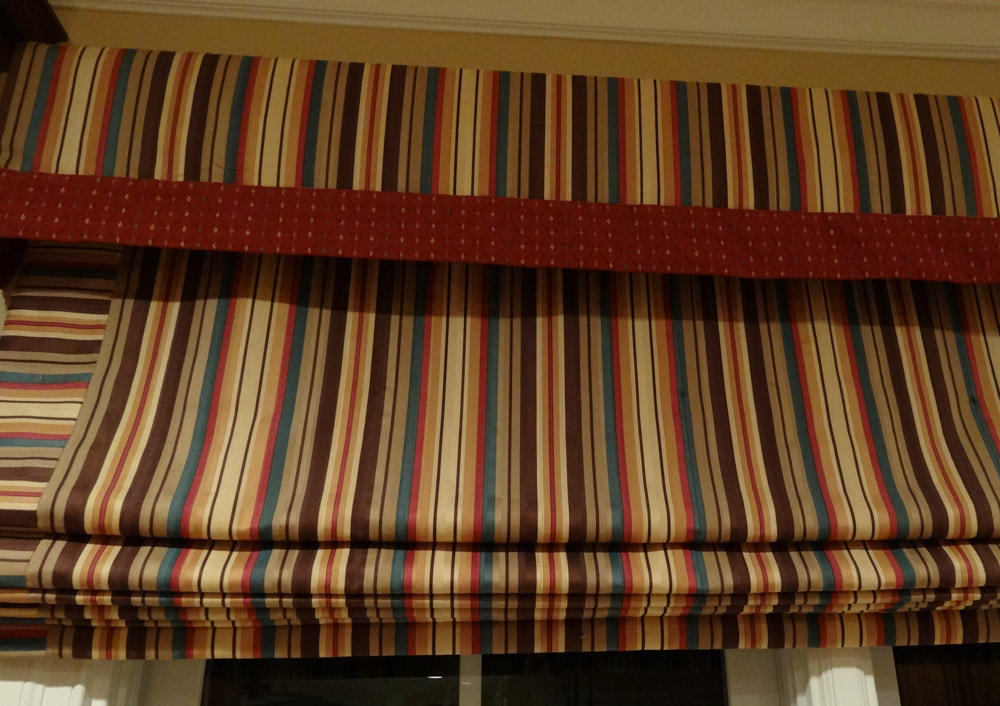
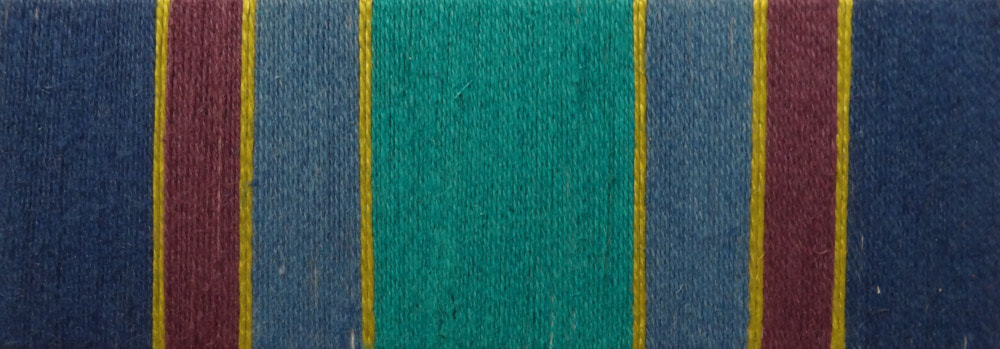
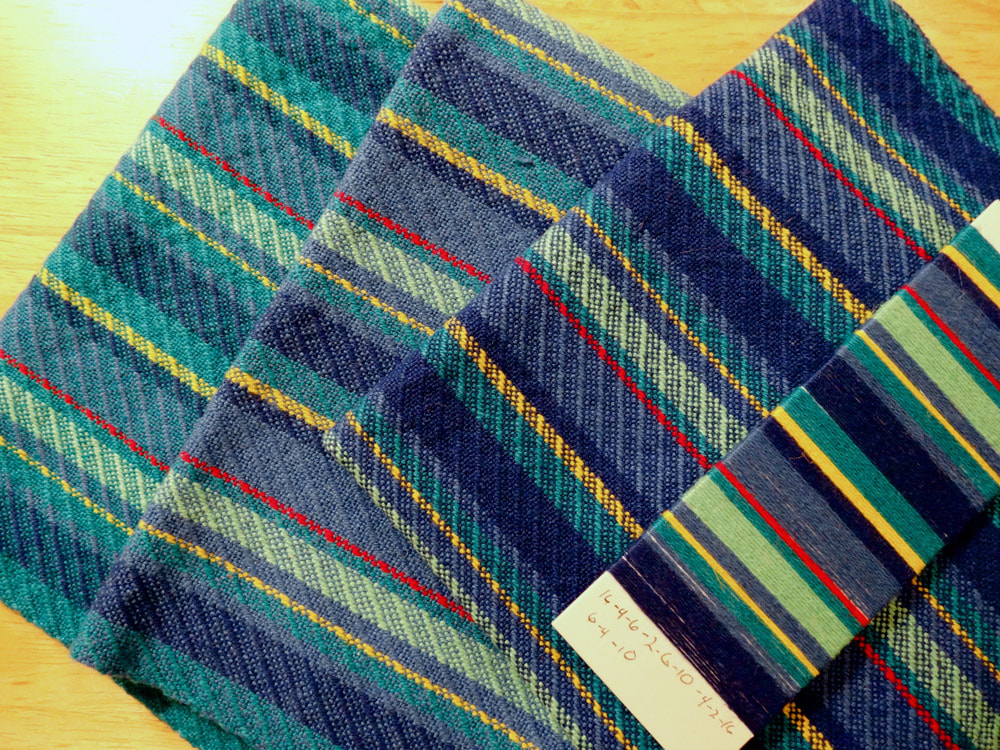
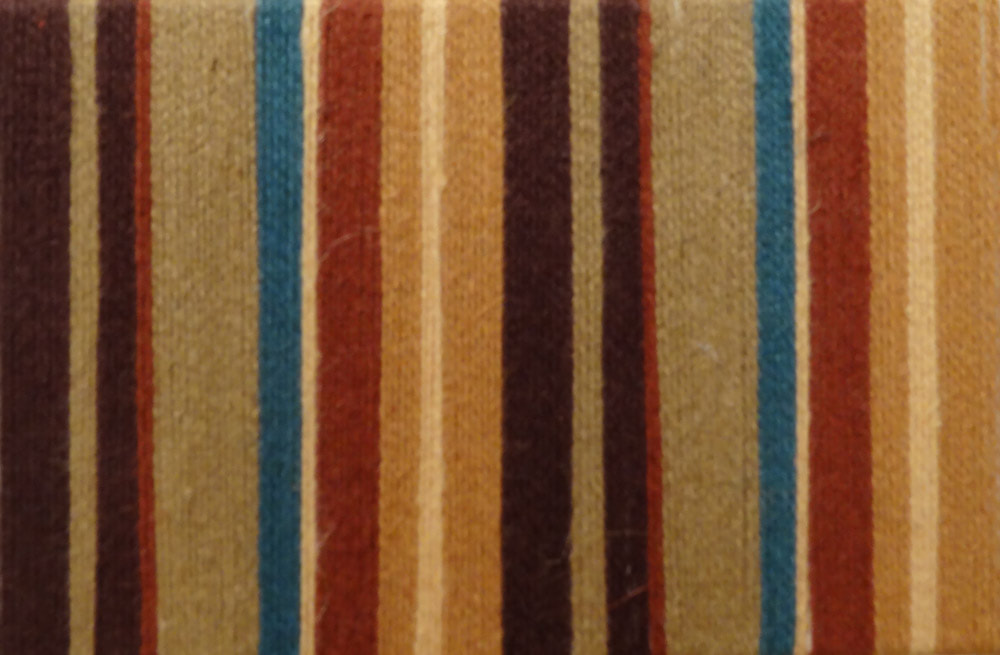
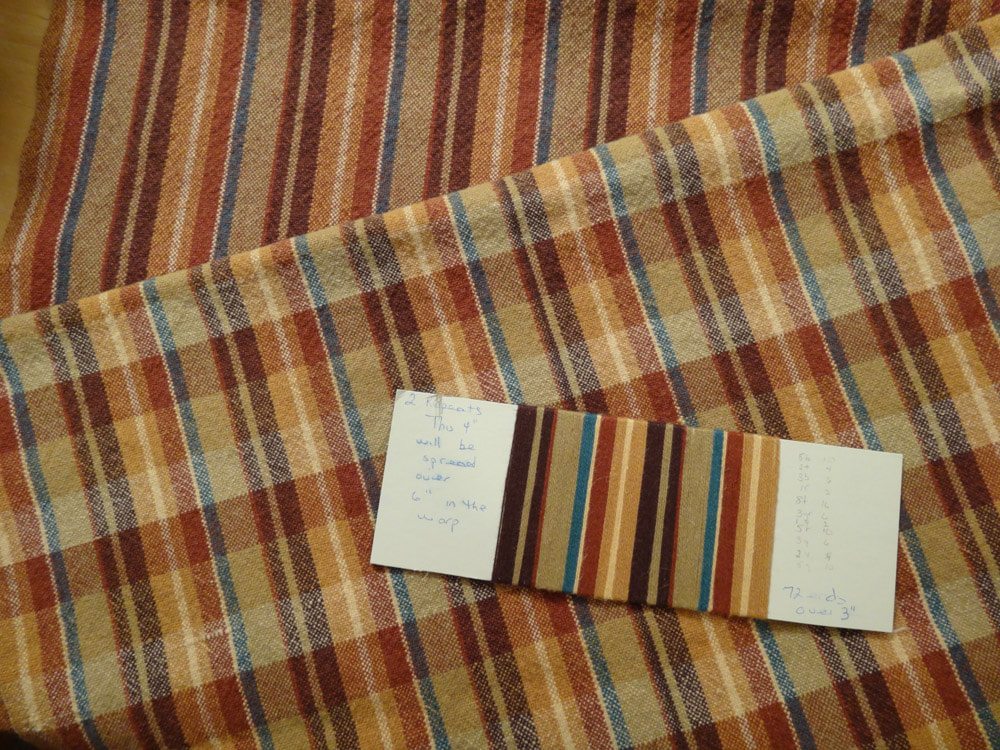
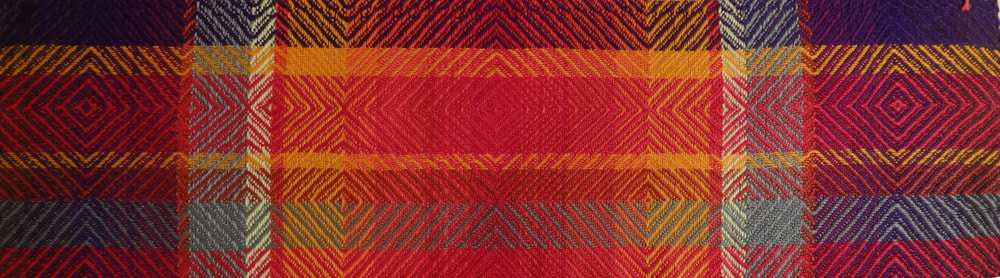
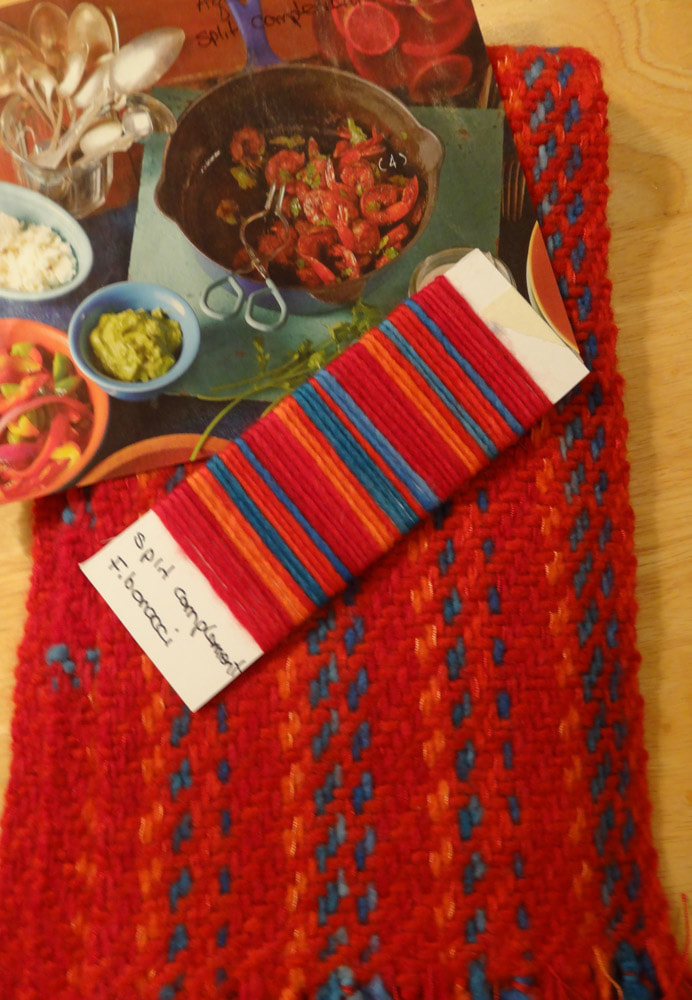
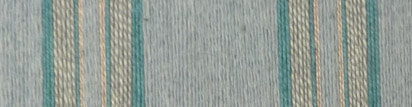
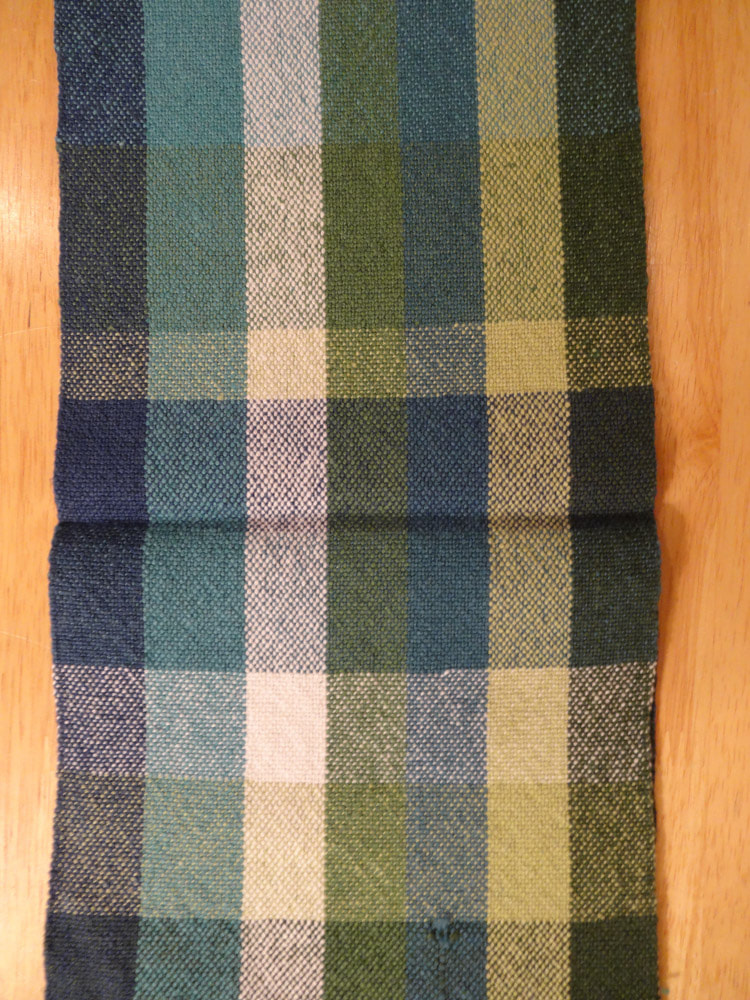
Inspiration from fabric
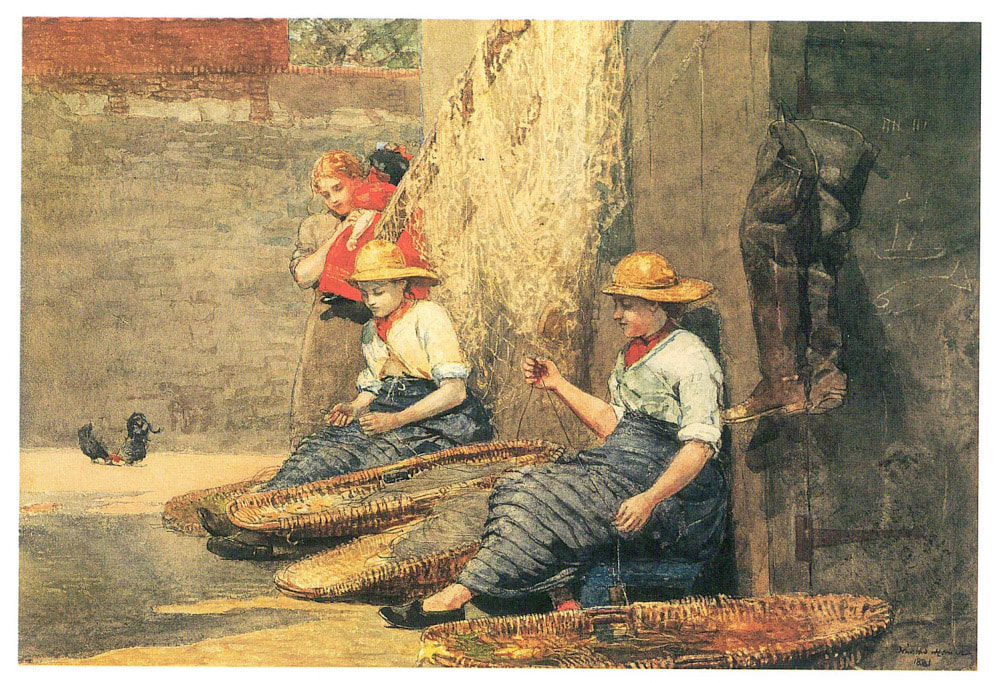
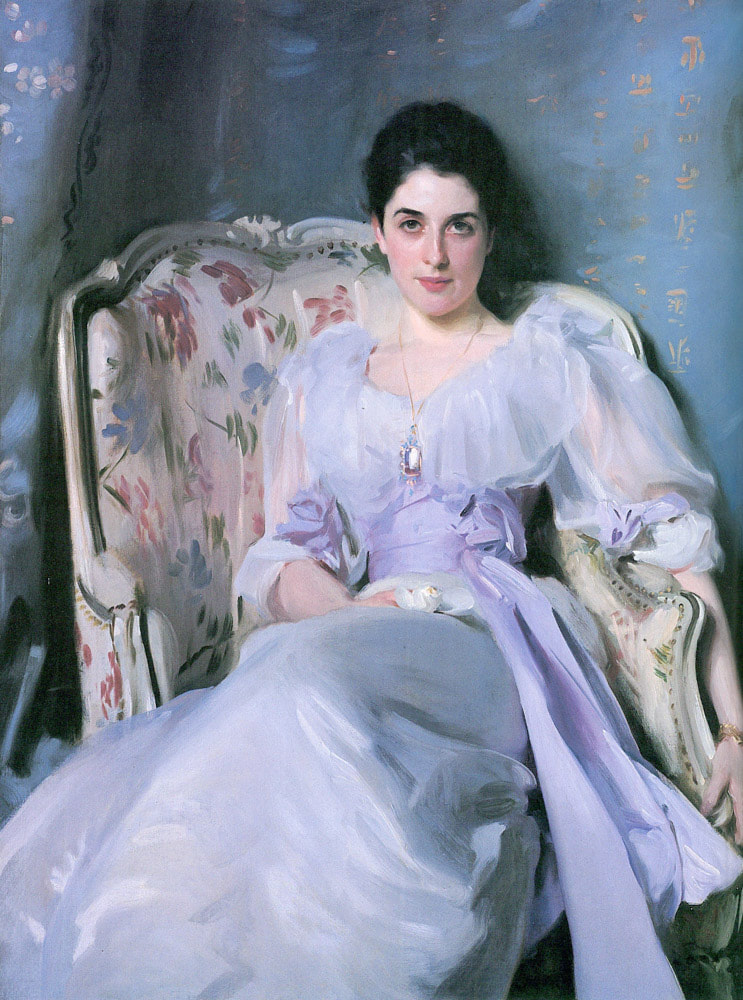
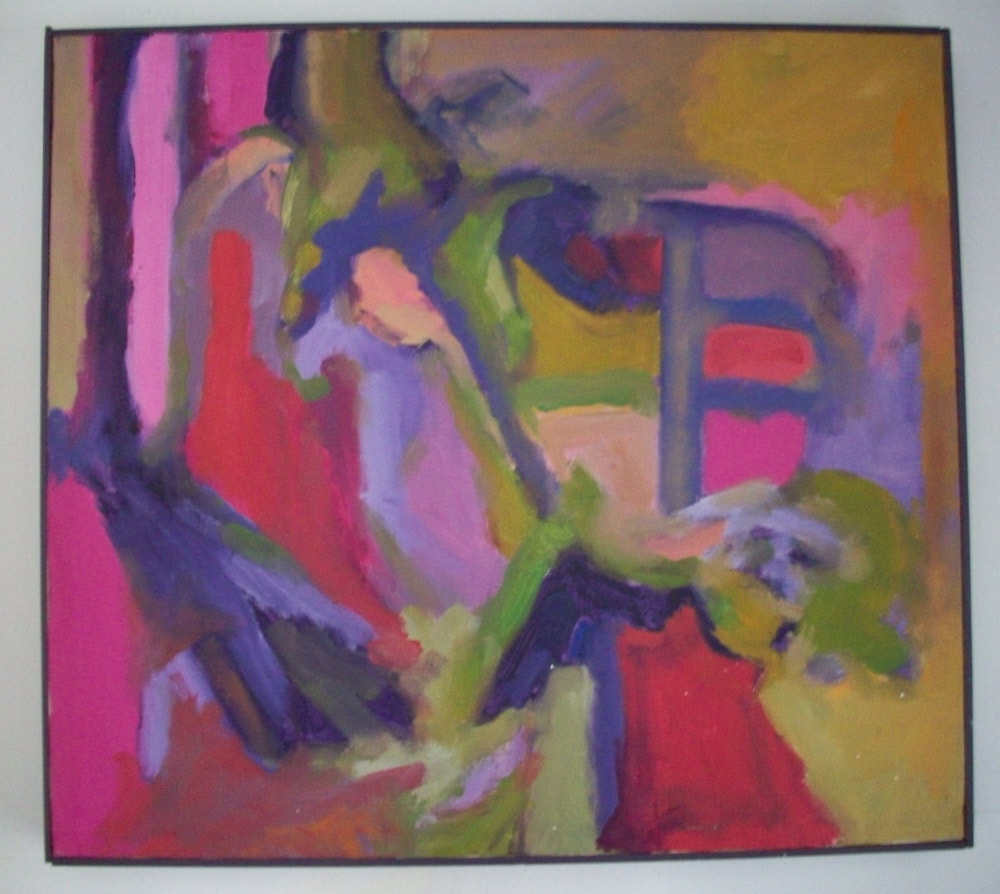
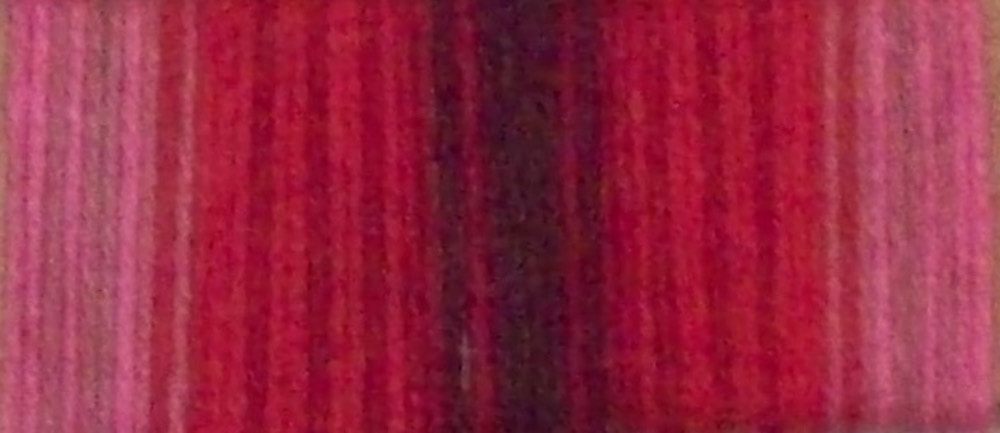
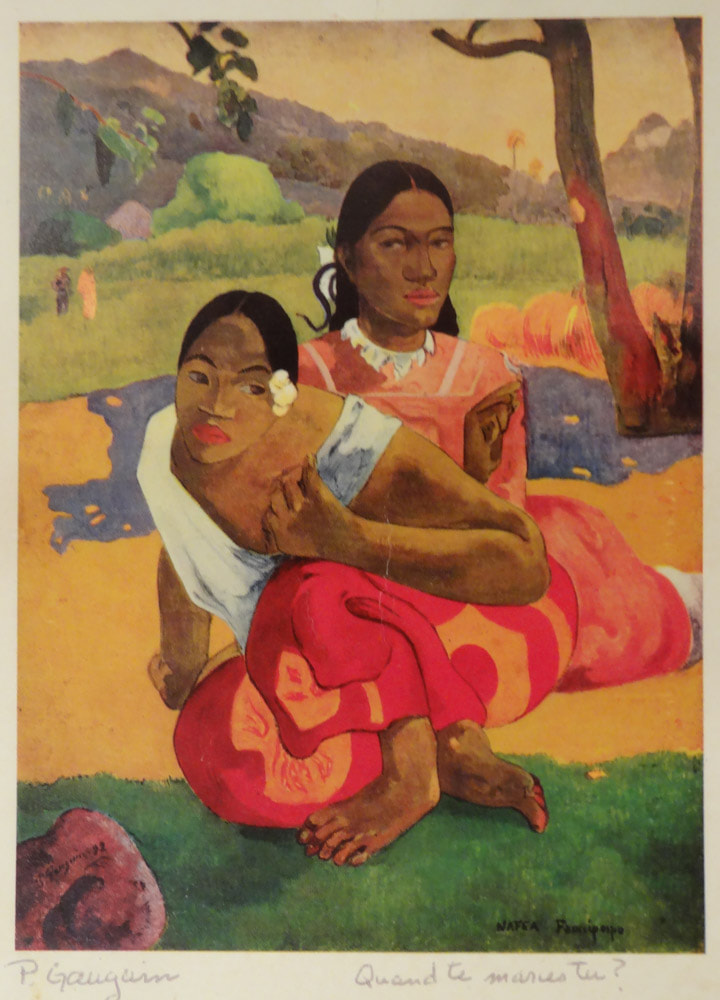
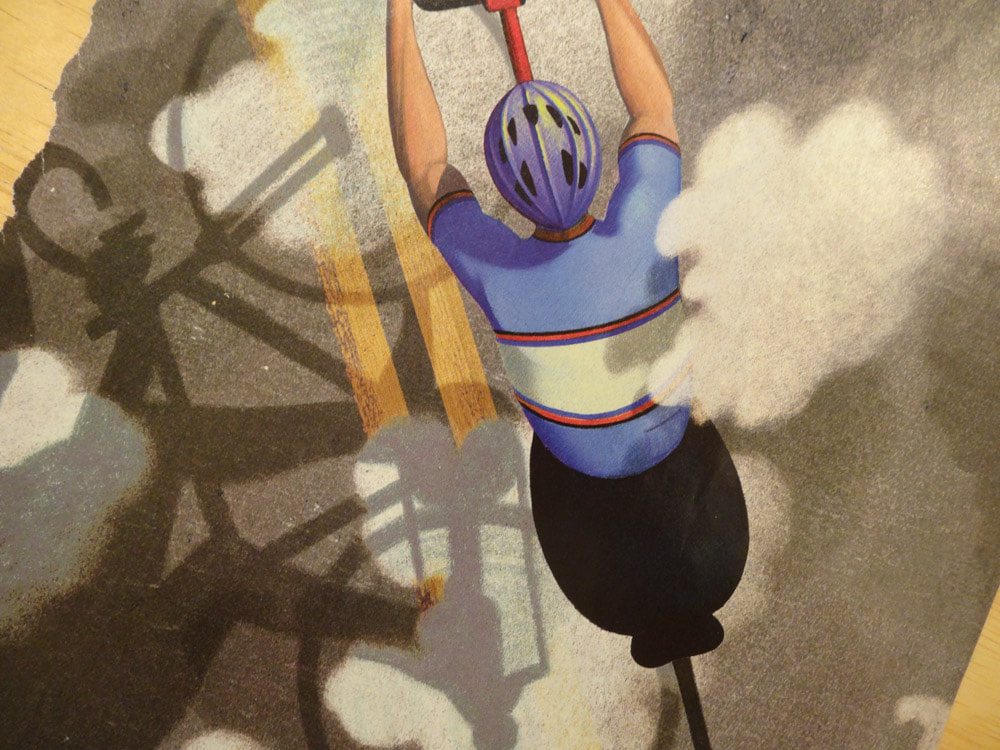
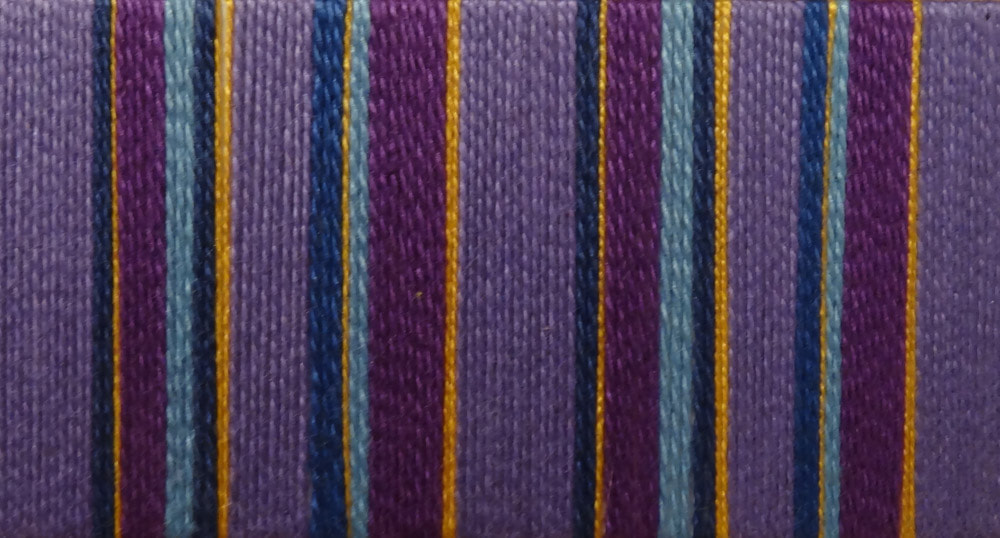
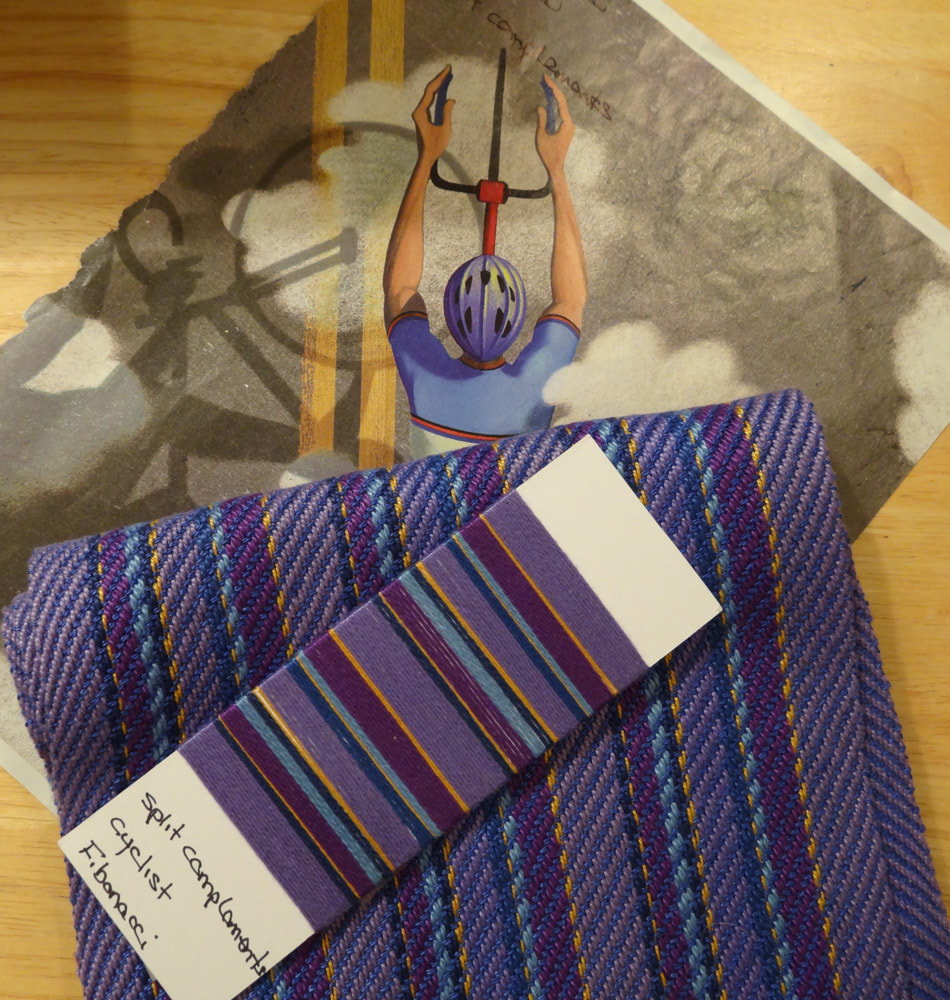
Inspiration from artwork
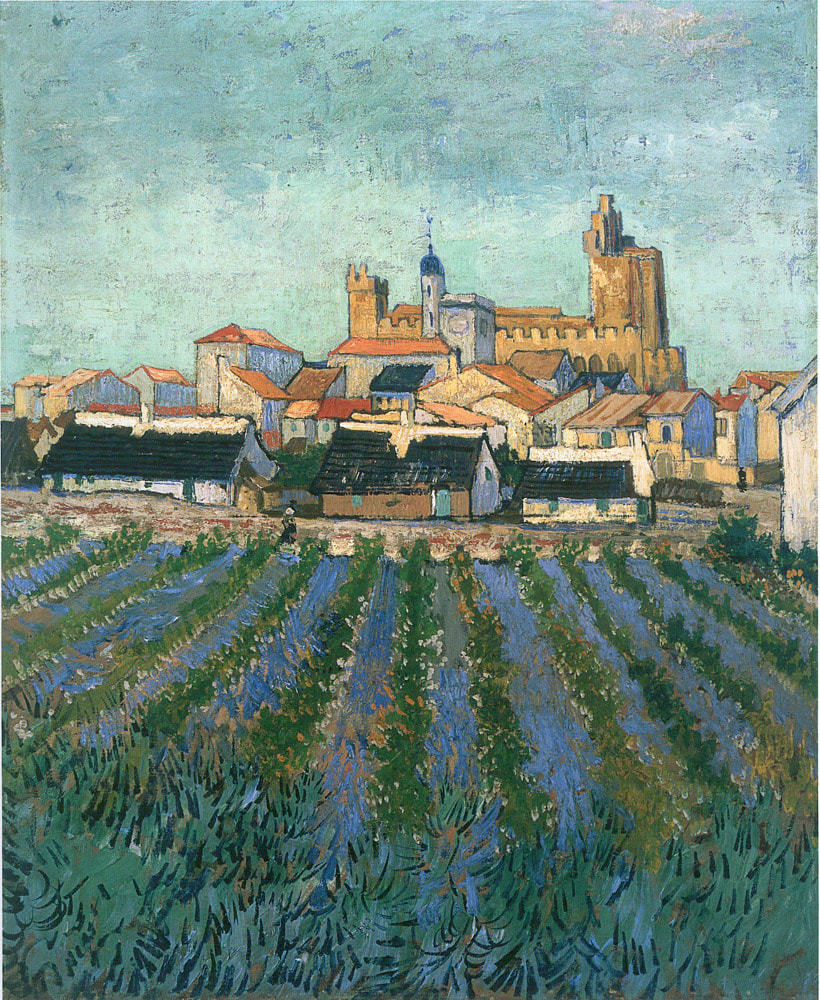
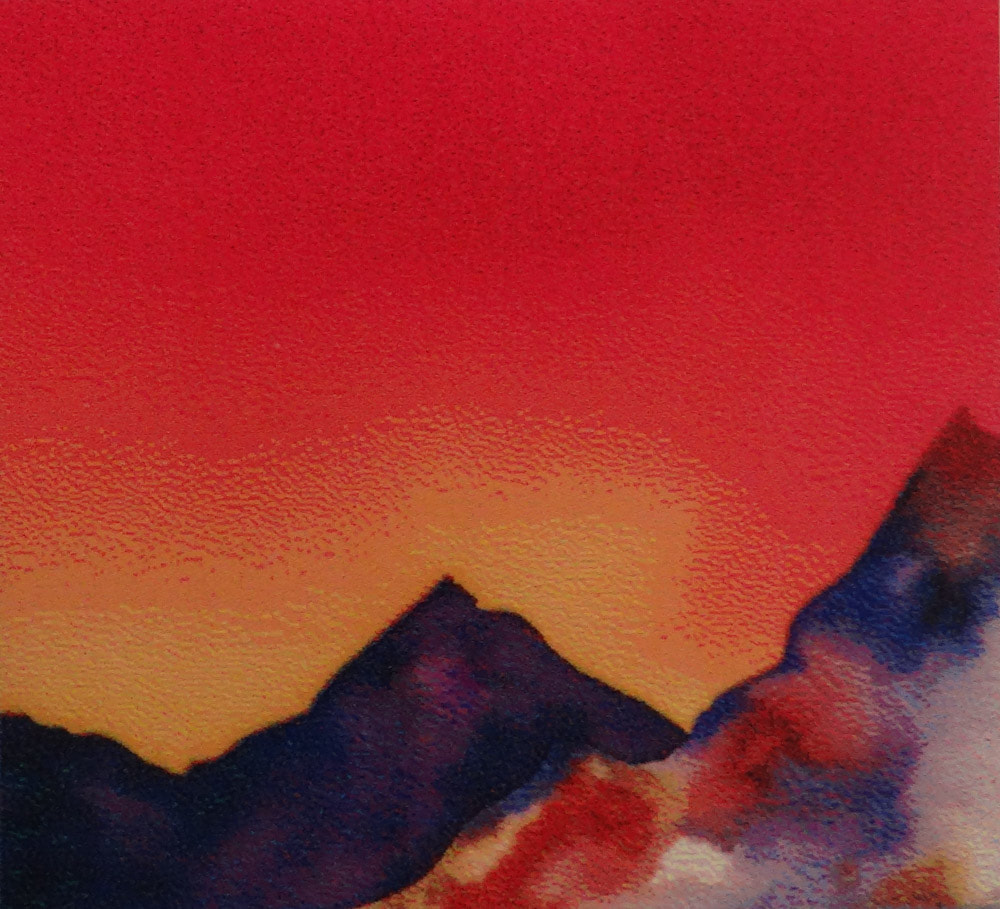
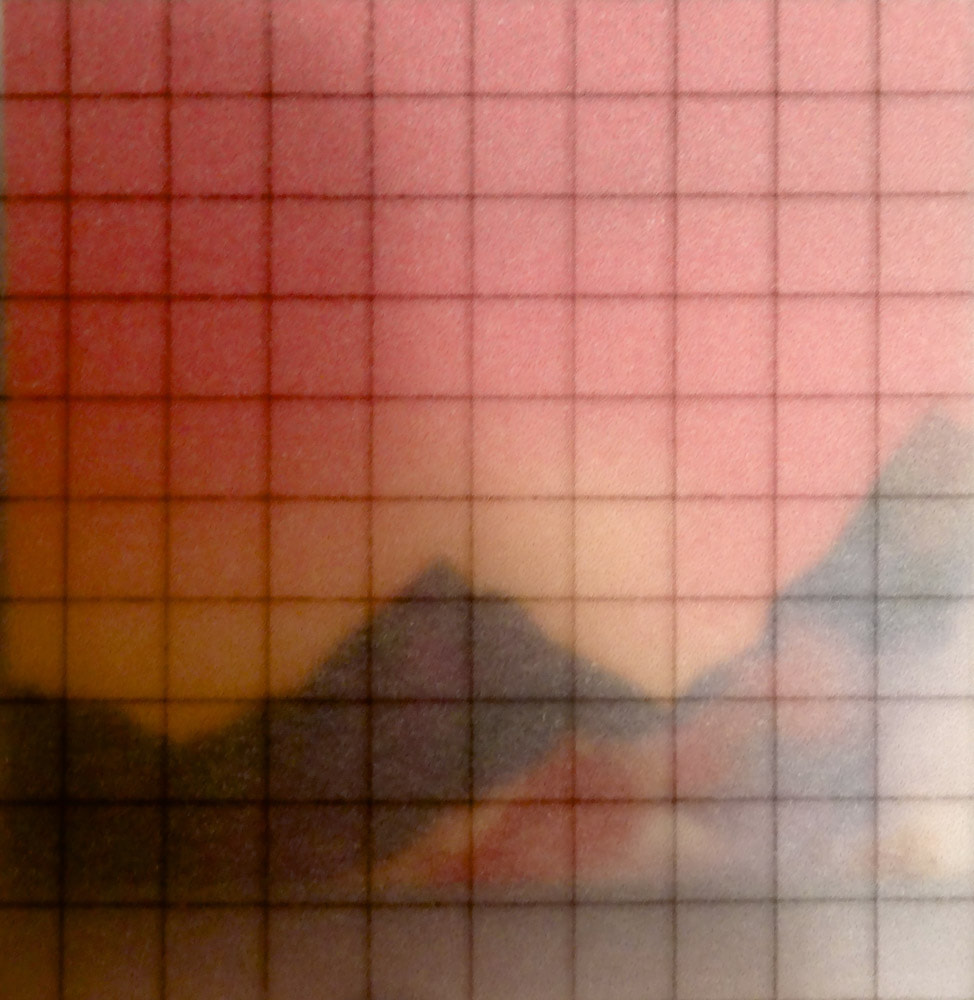
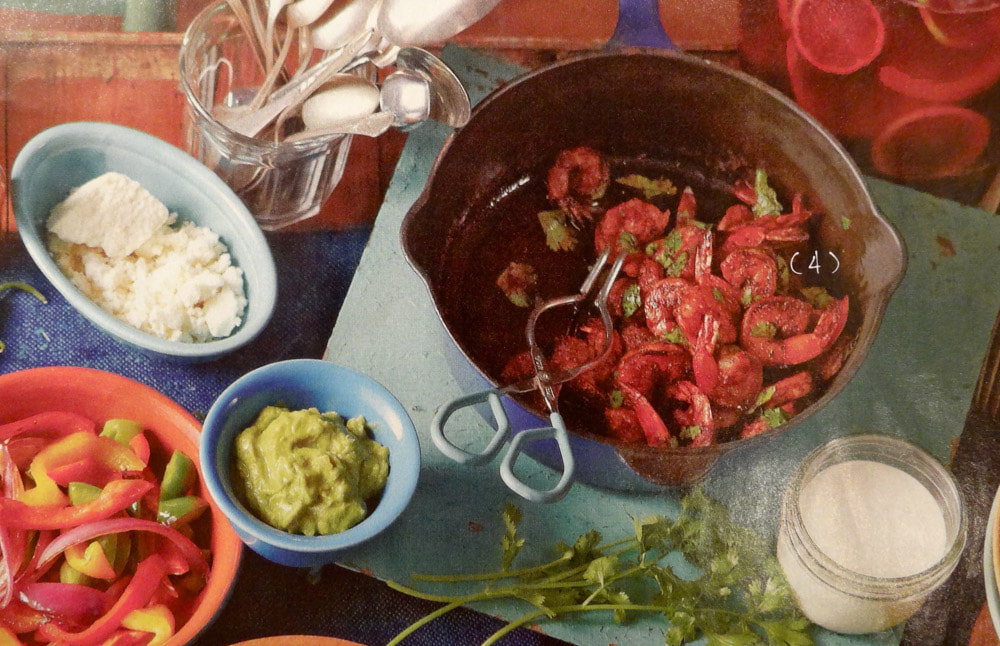
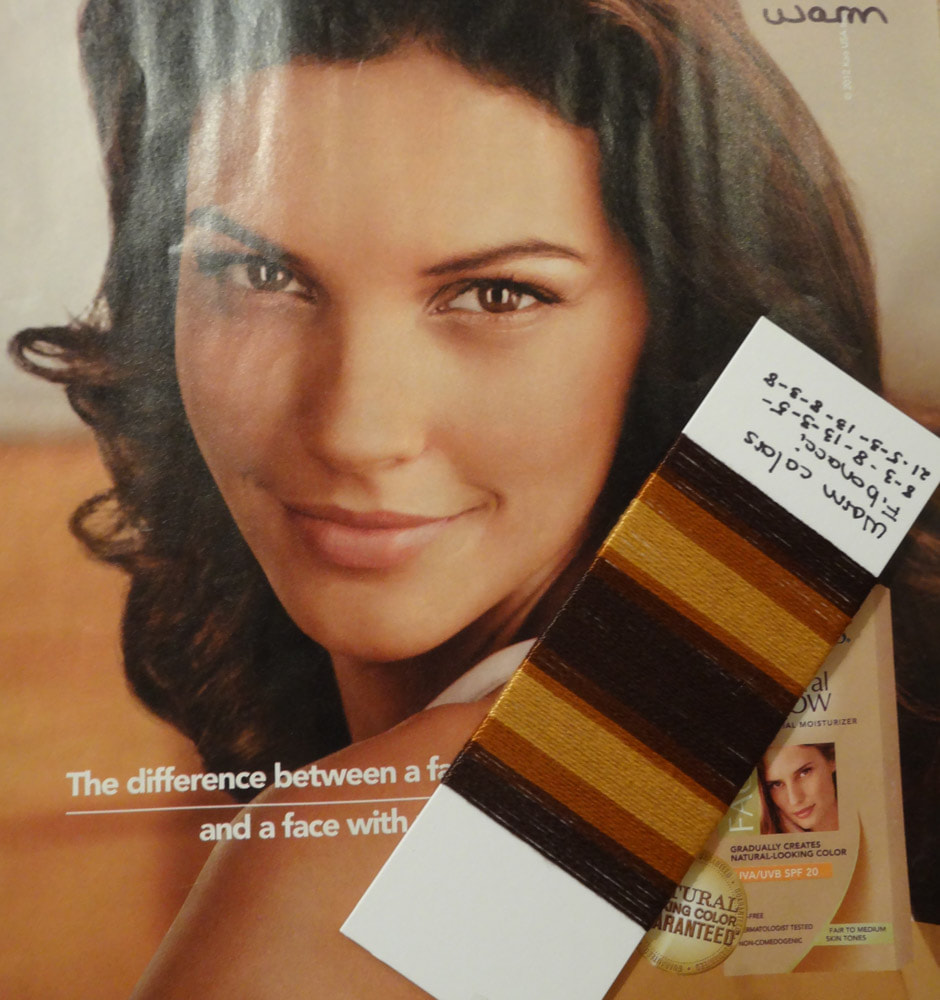
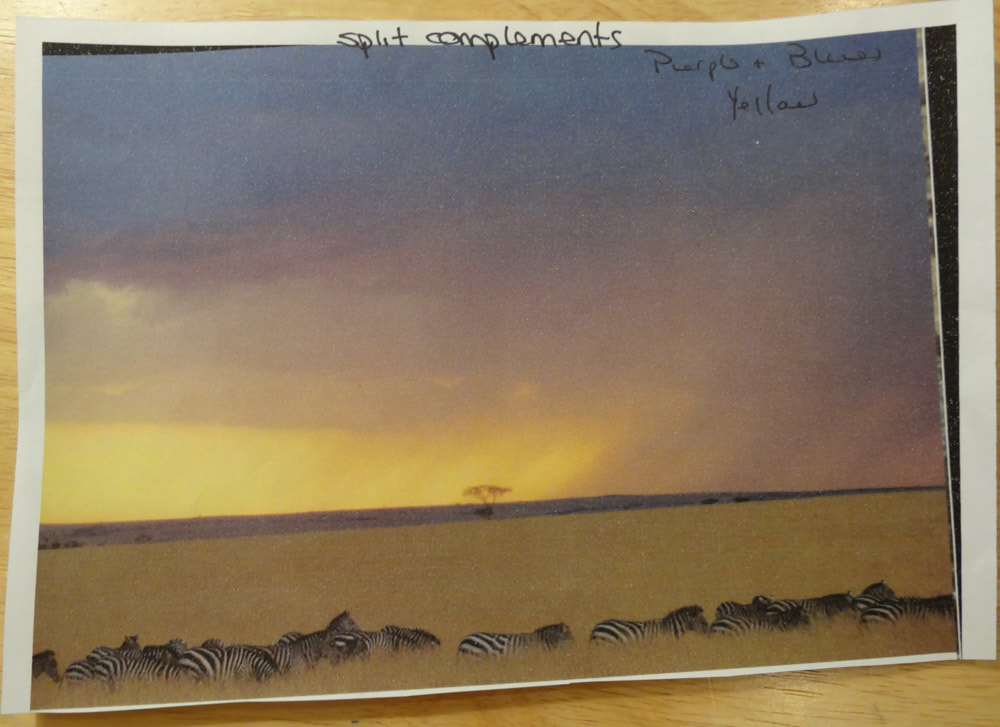
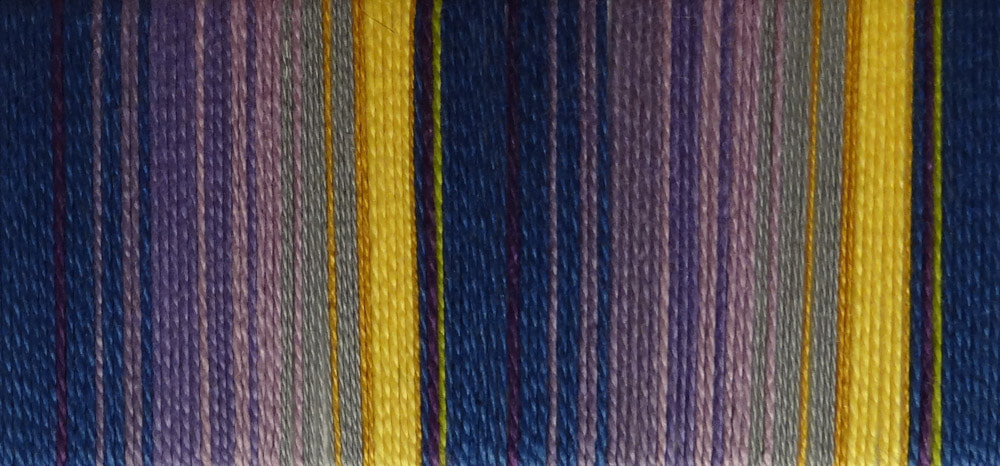
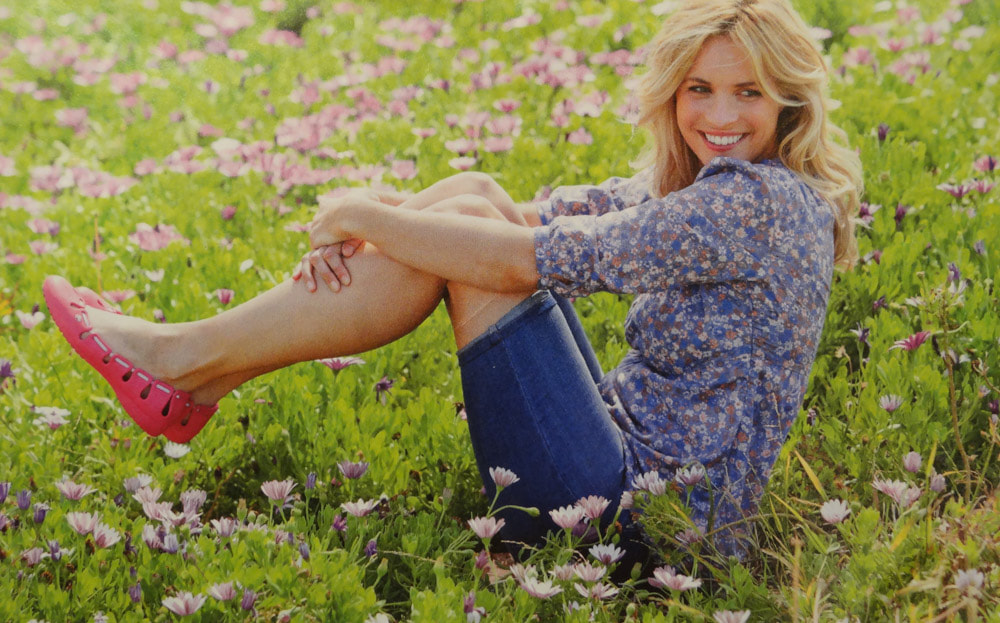
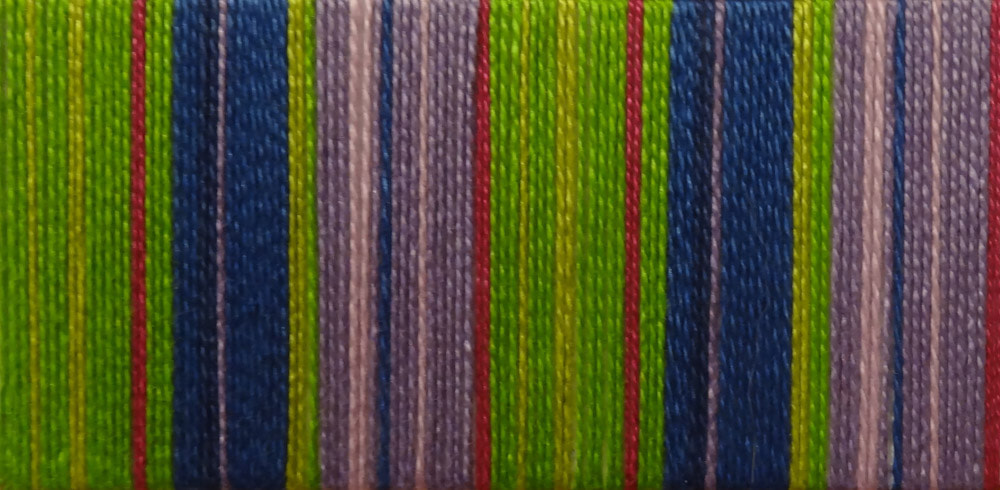
Inspiration from a photo
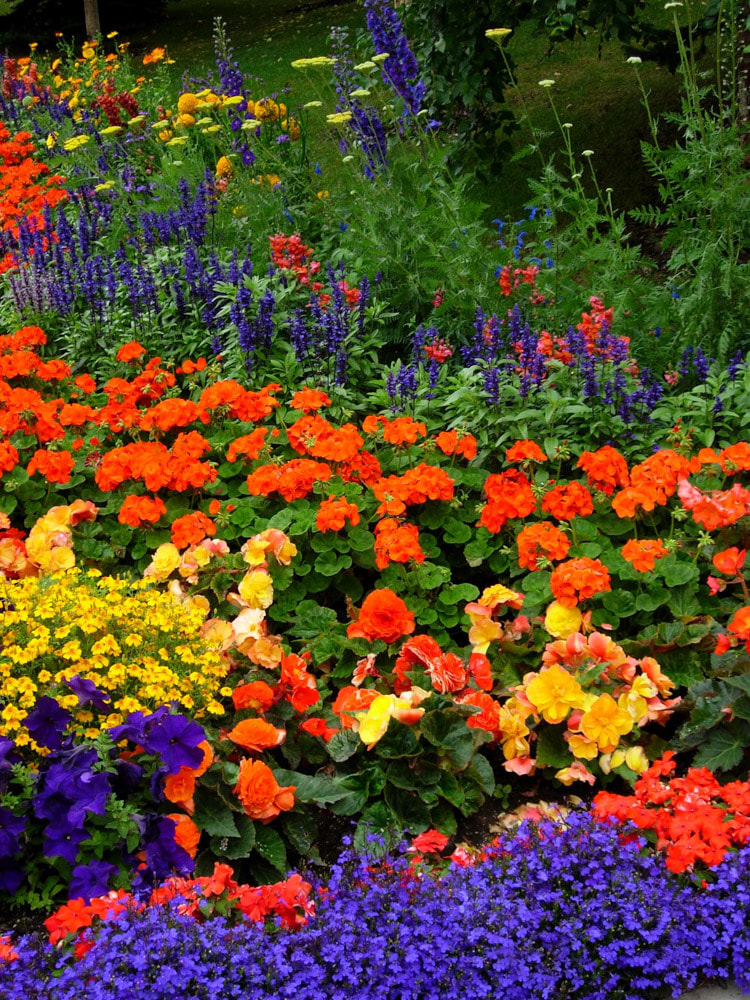
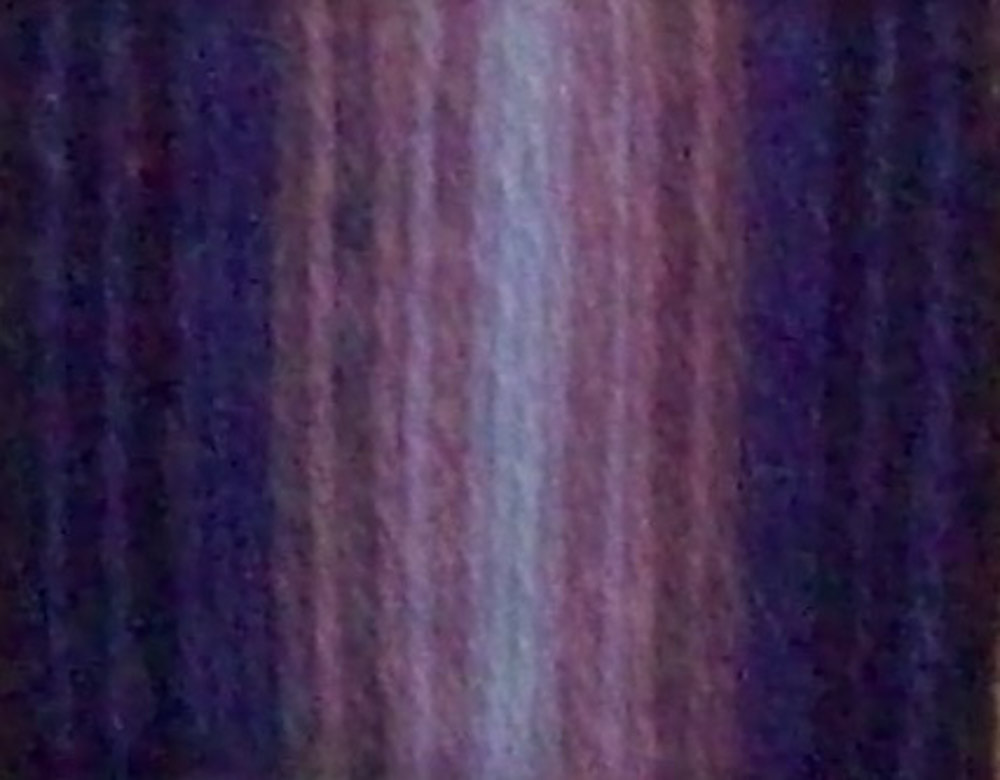
Inspiration from nature
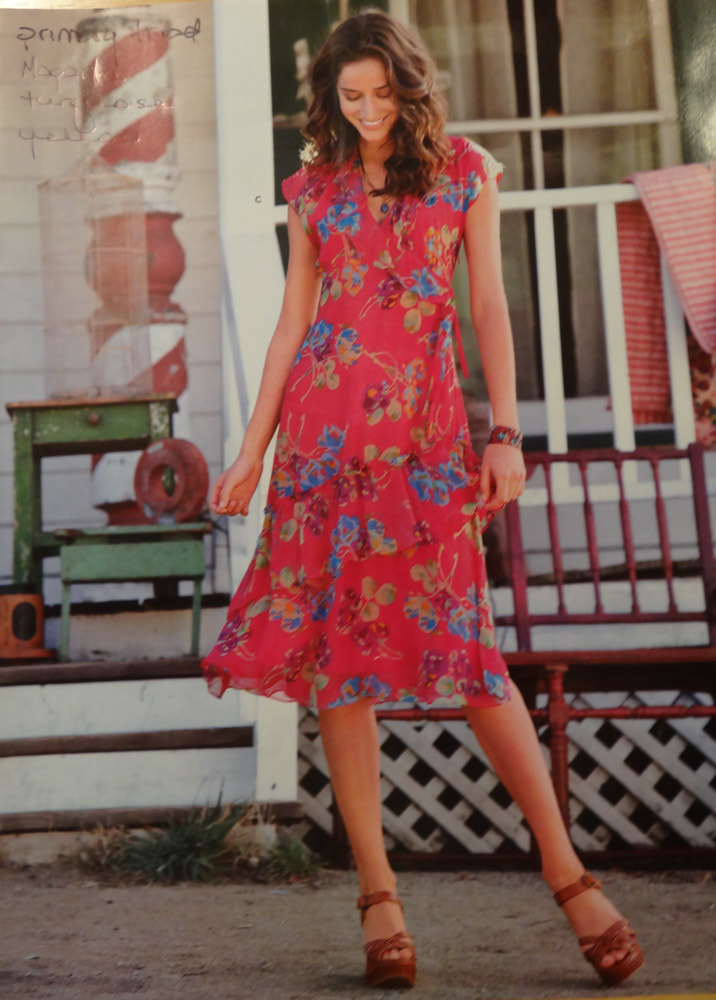
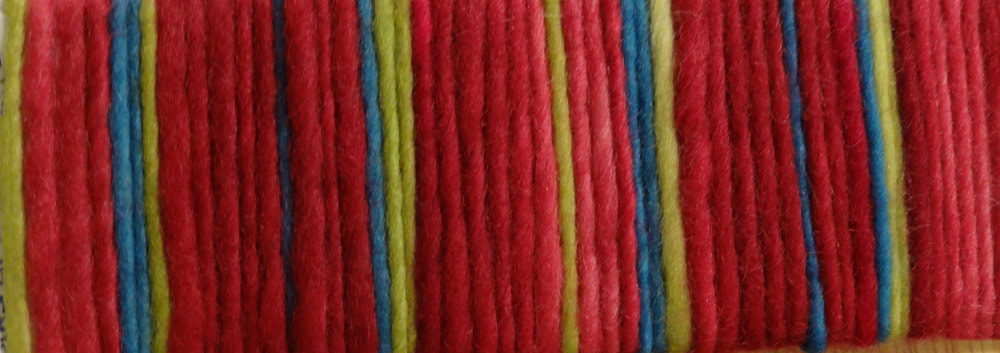
Inspiration from fashion
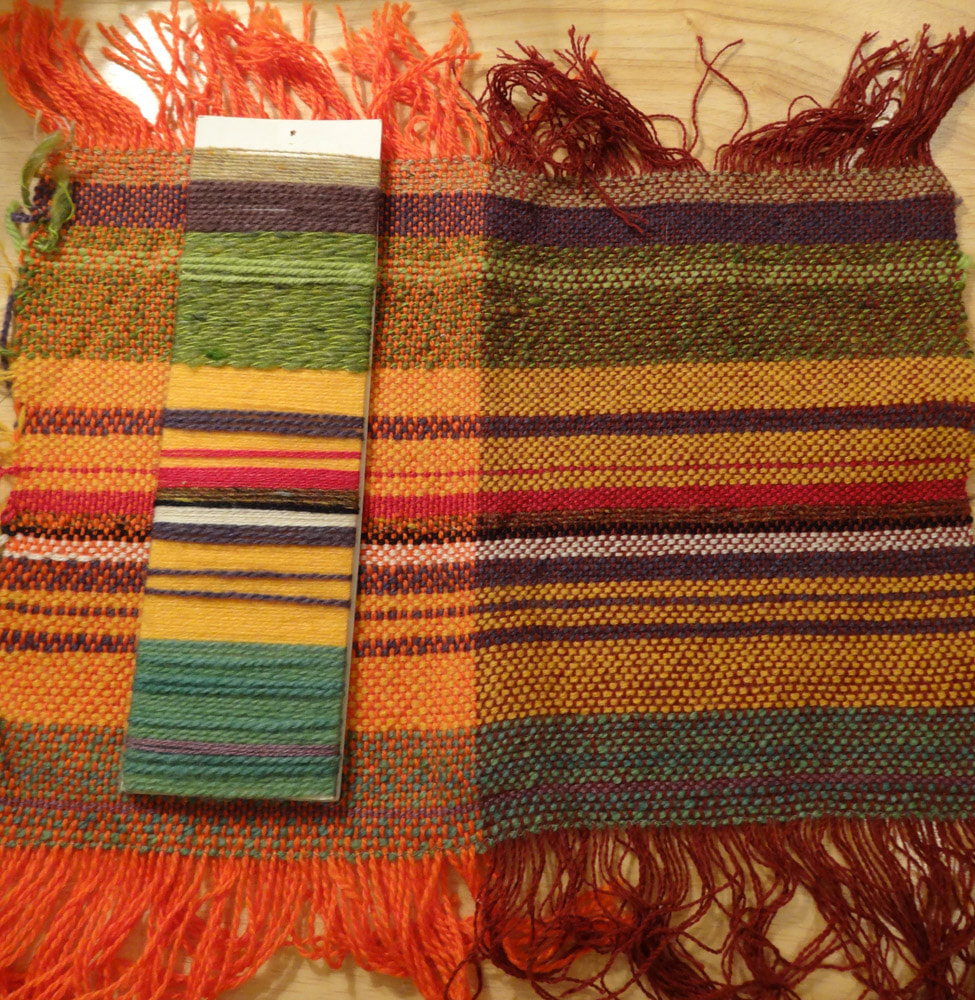
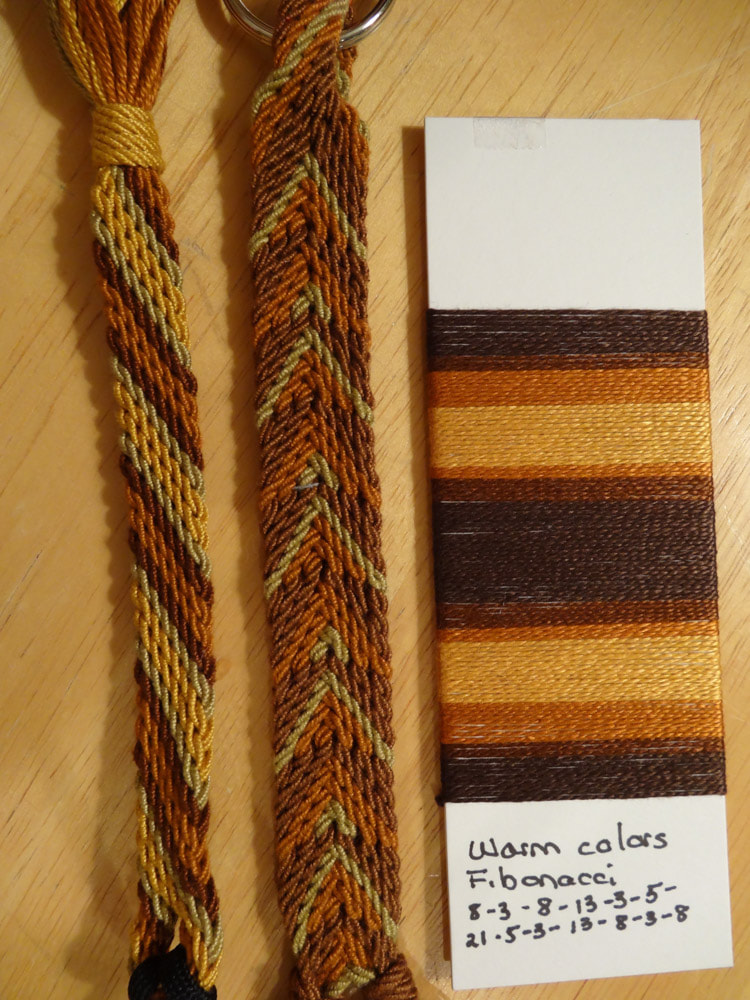
Color study inspired by a photo
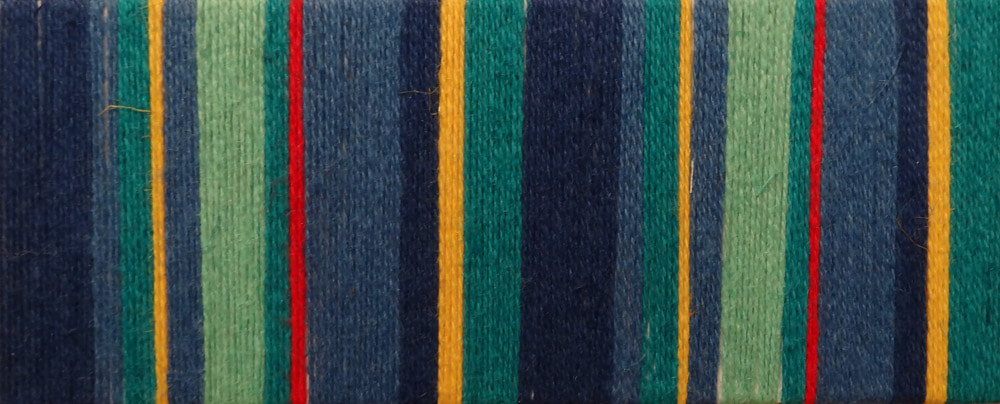
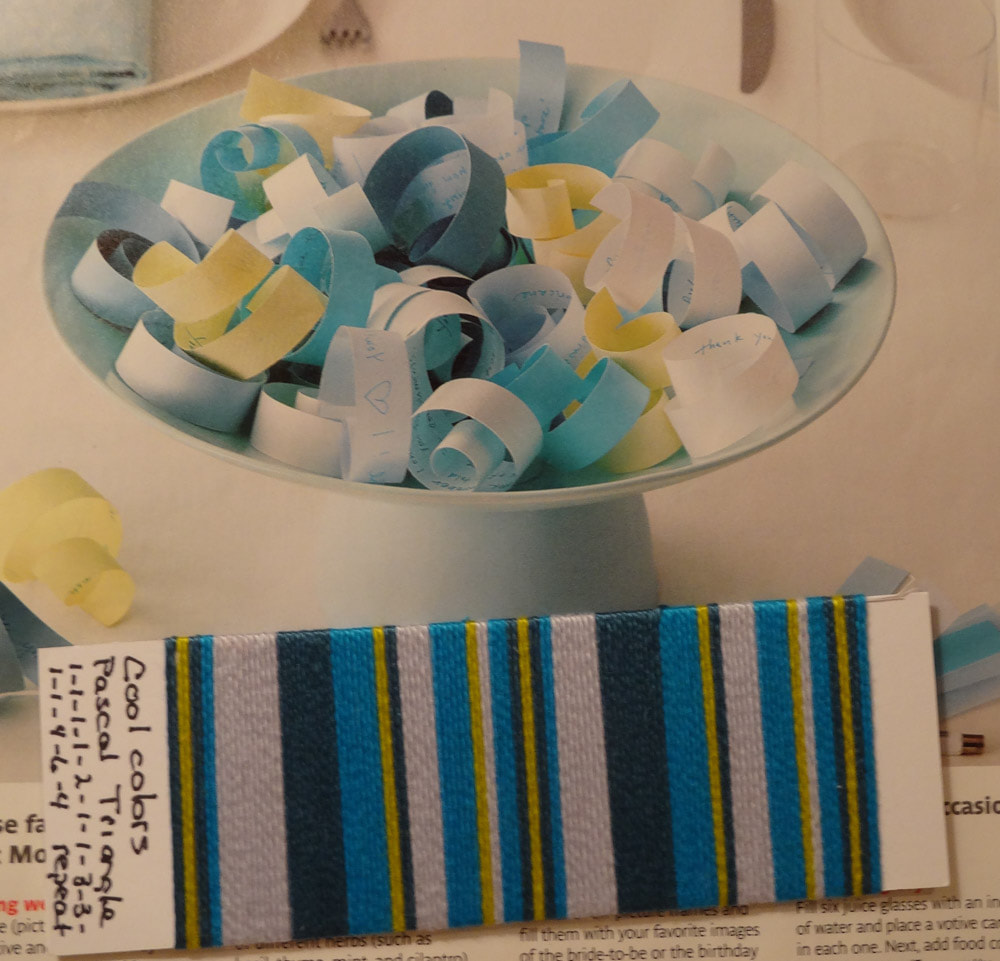
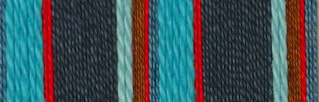
Using wraps for color studies
Using wraps for color studies
-- Pattie Lamb
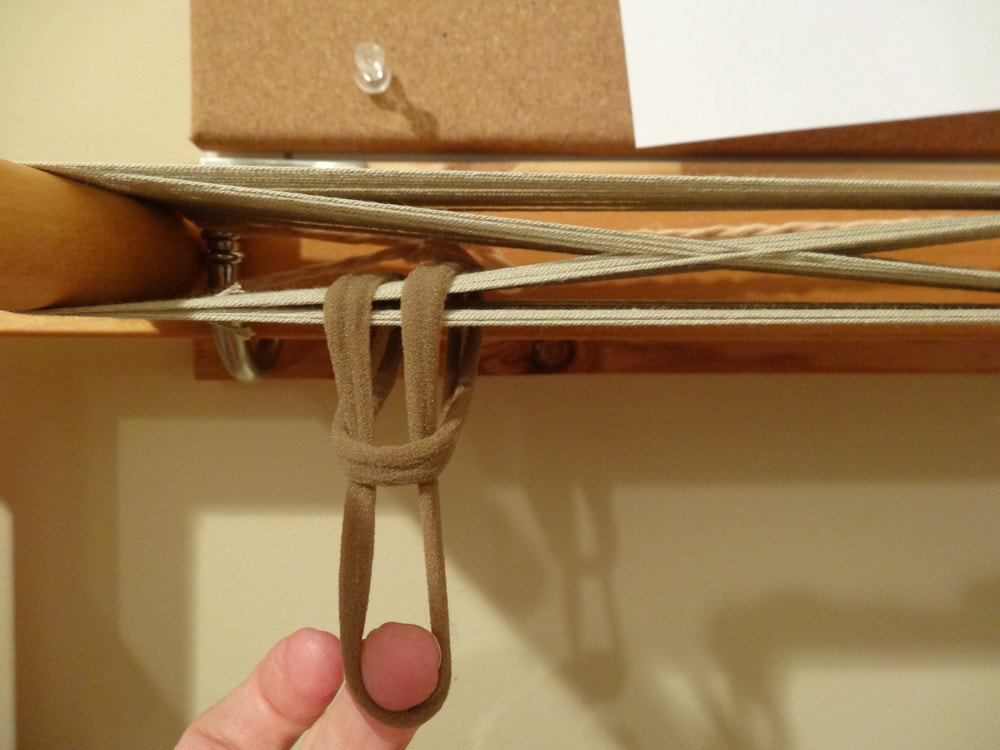
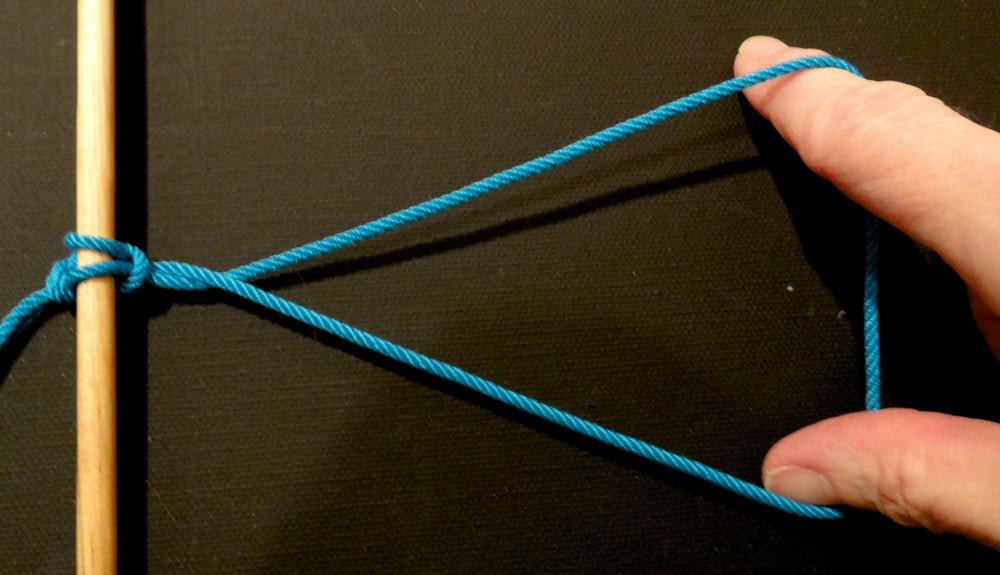
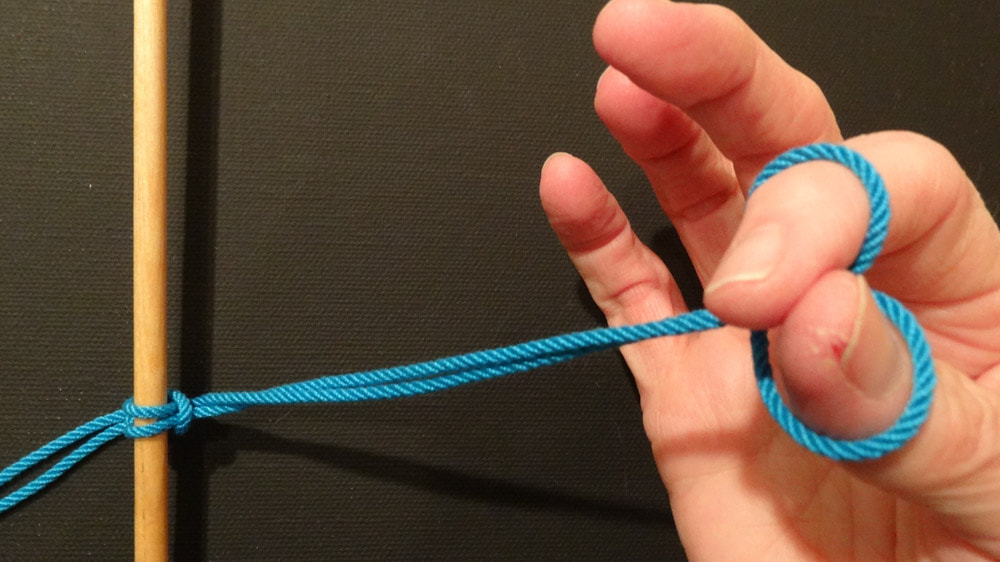
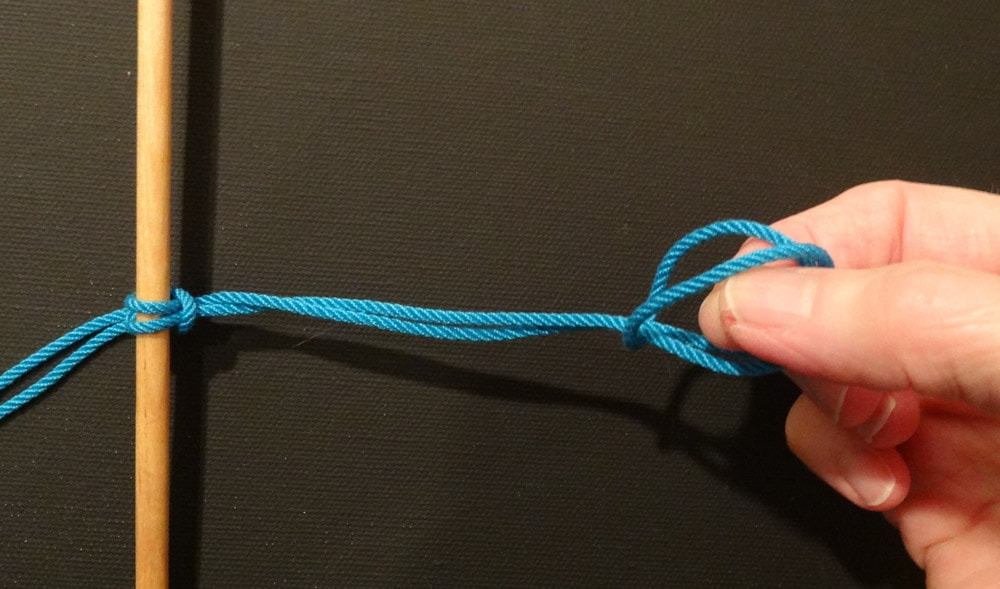
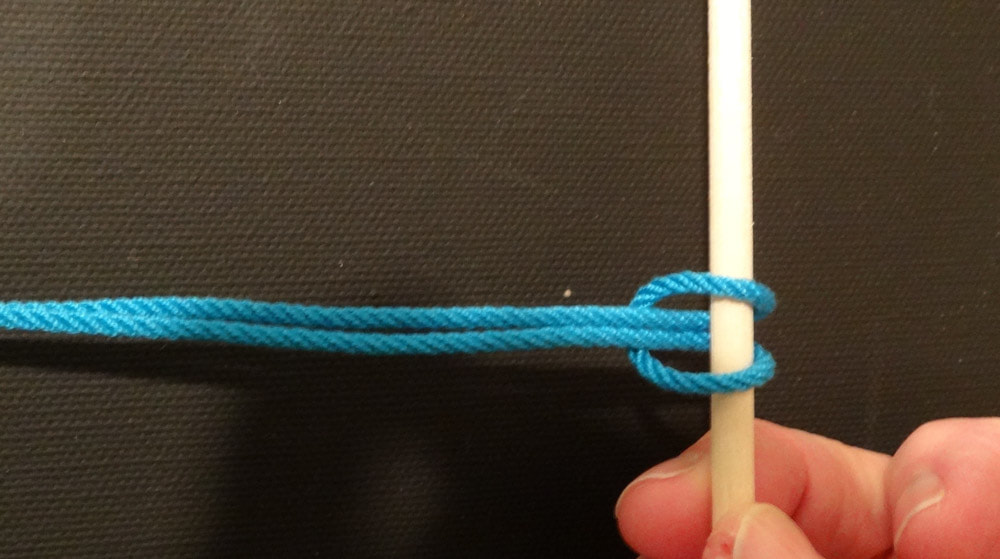
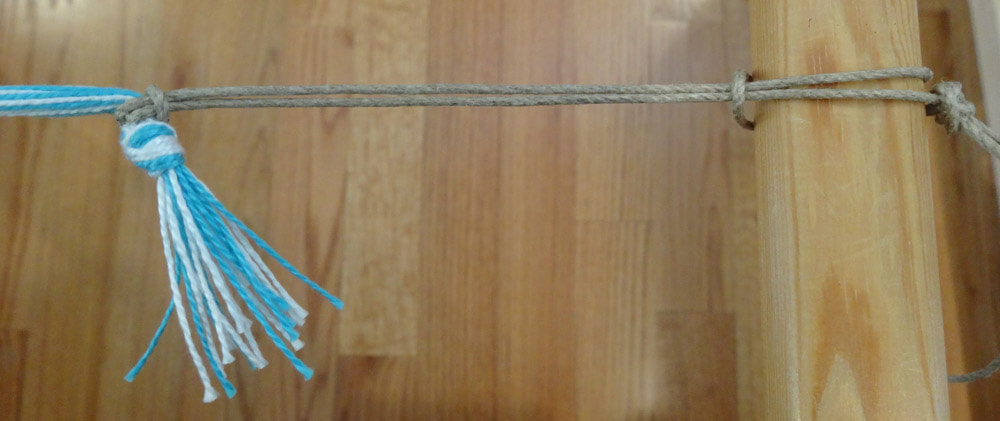
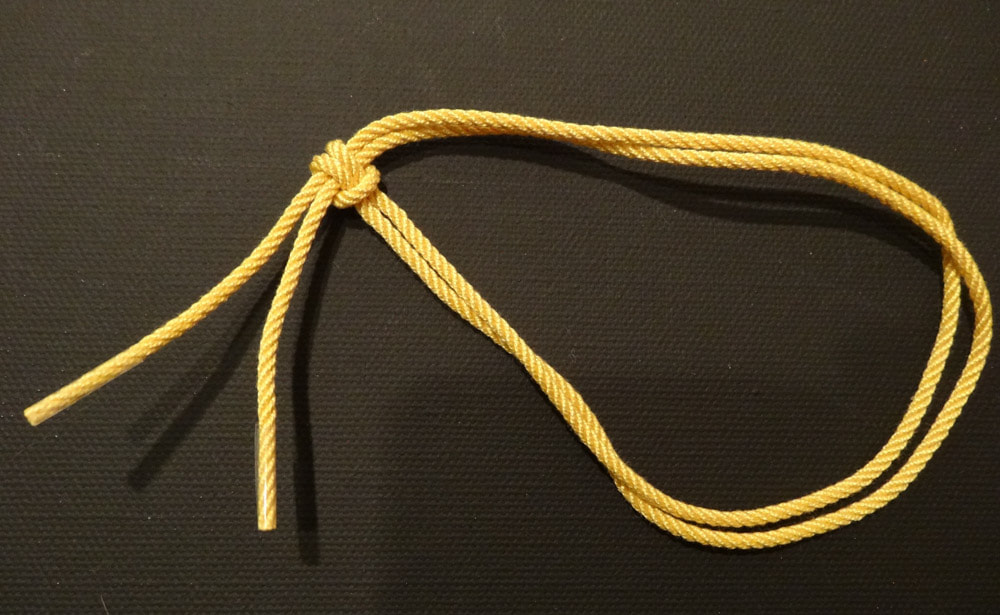
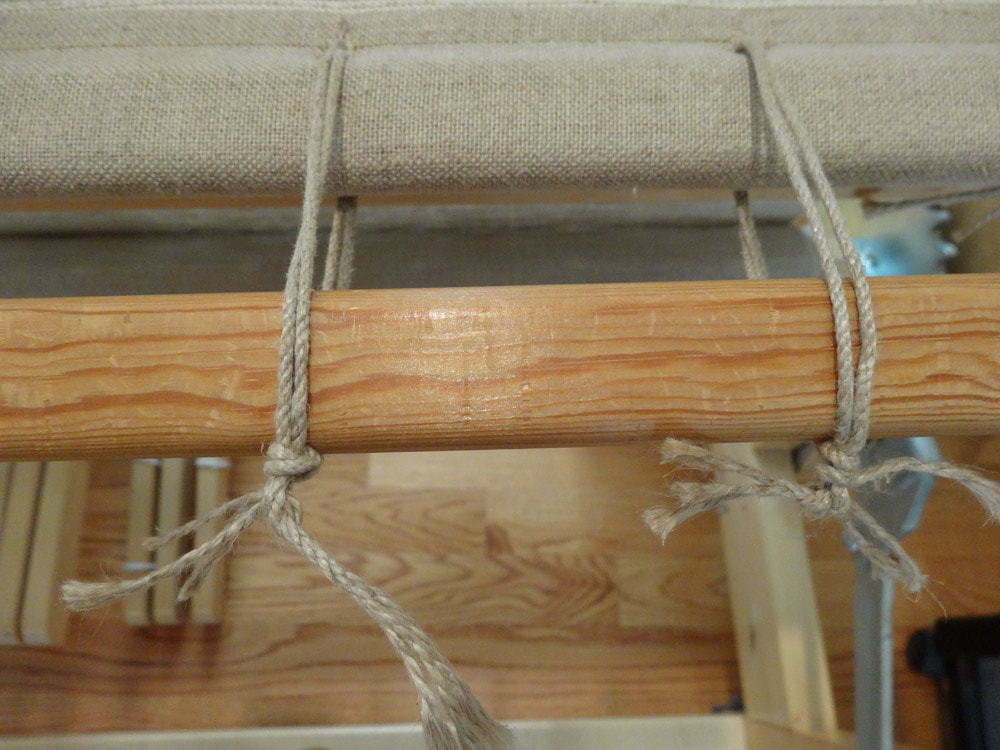
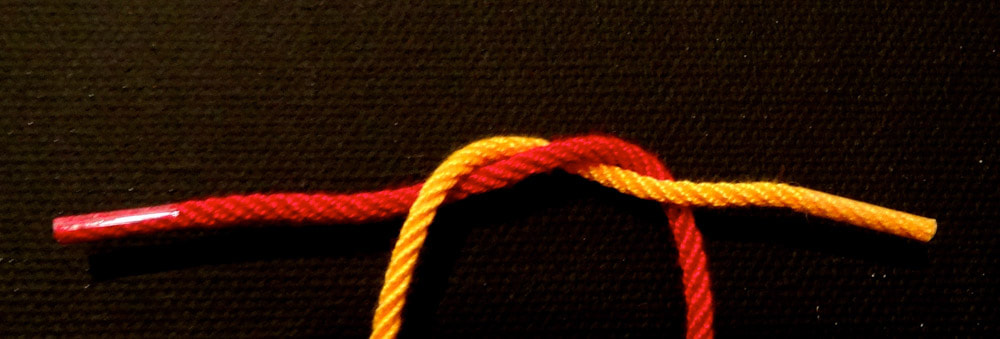
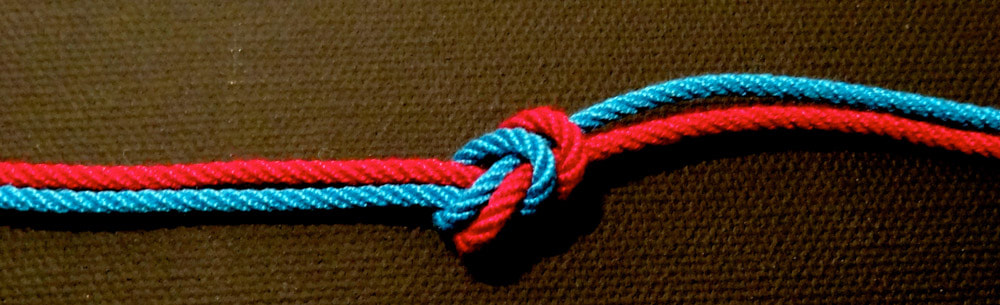
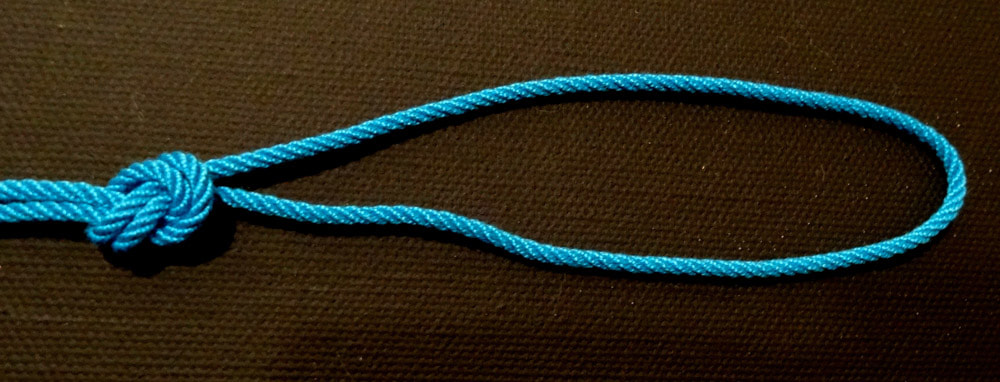
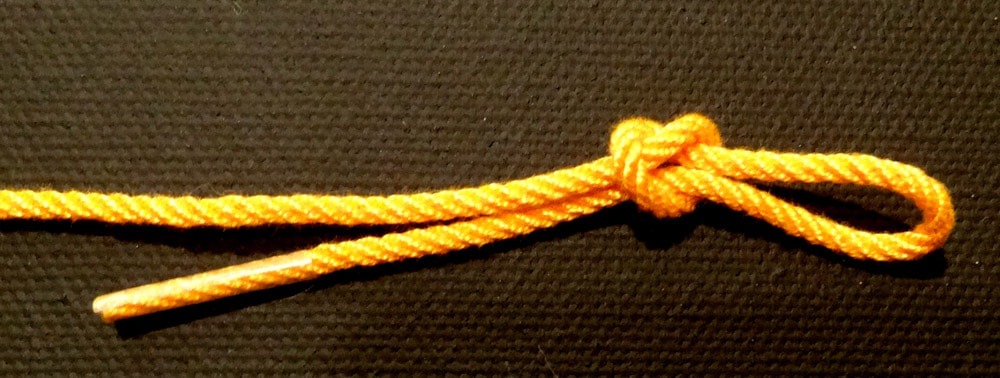
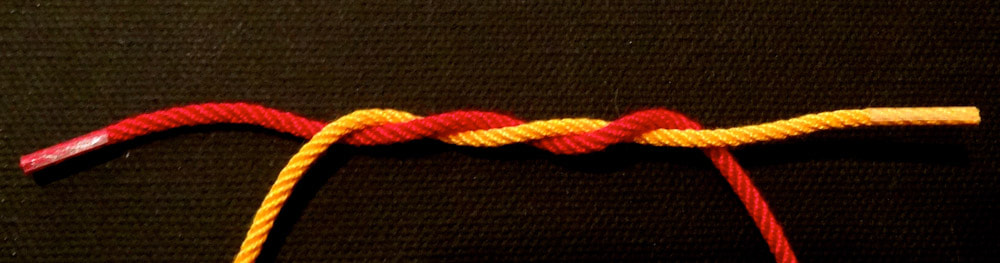
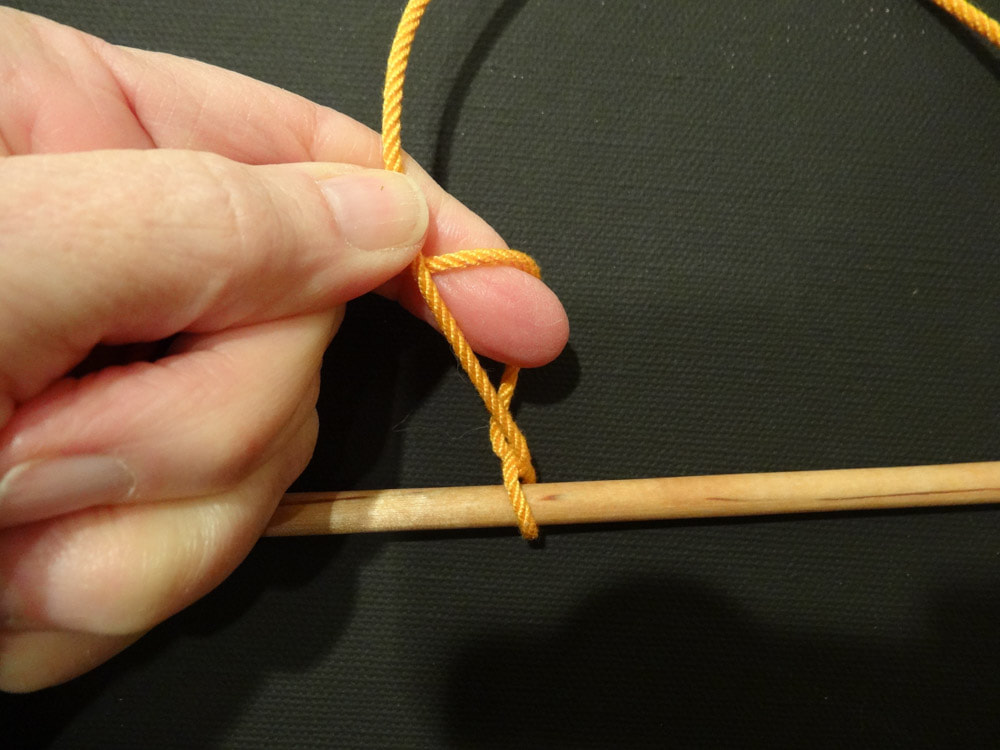
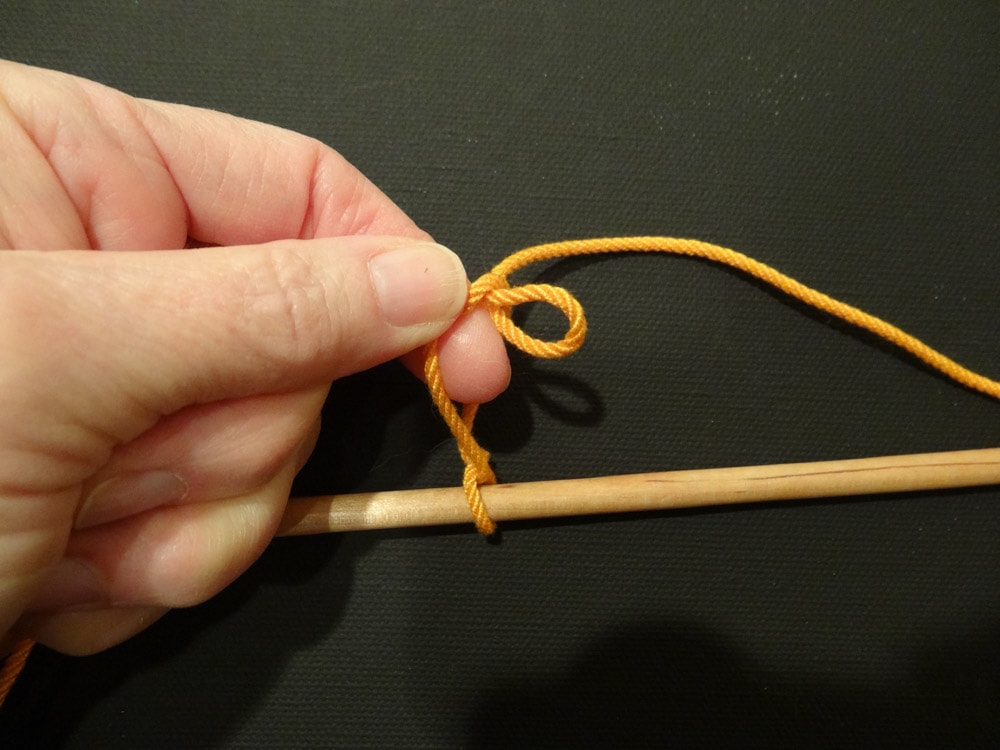
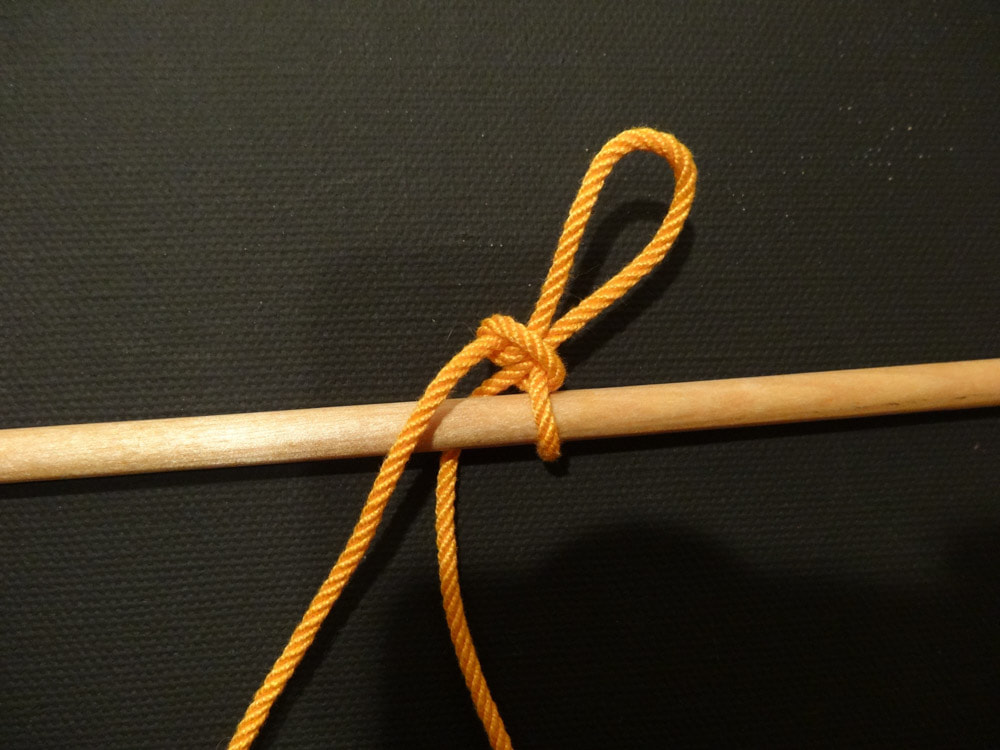
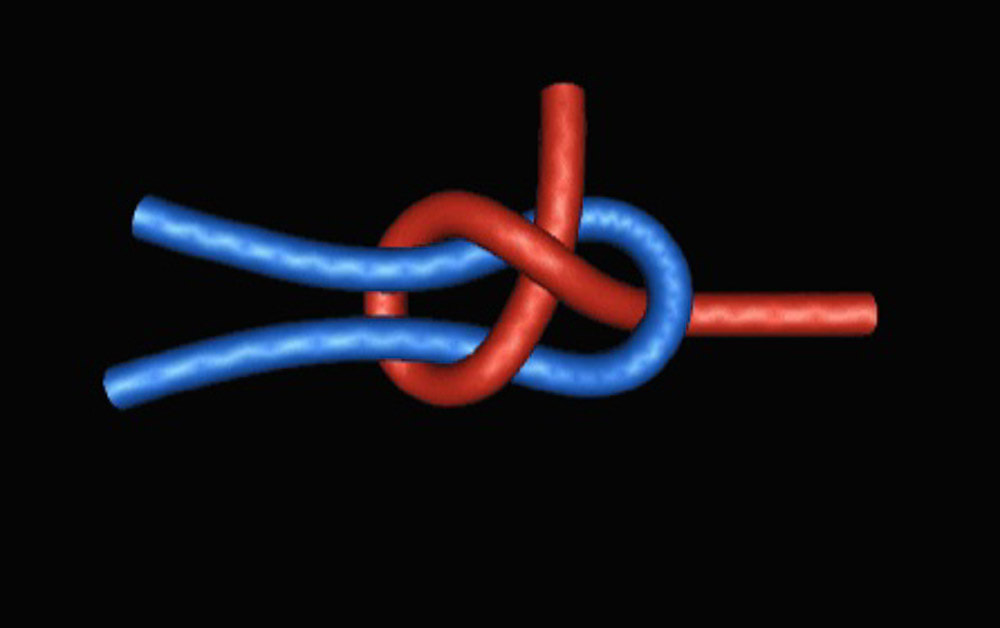
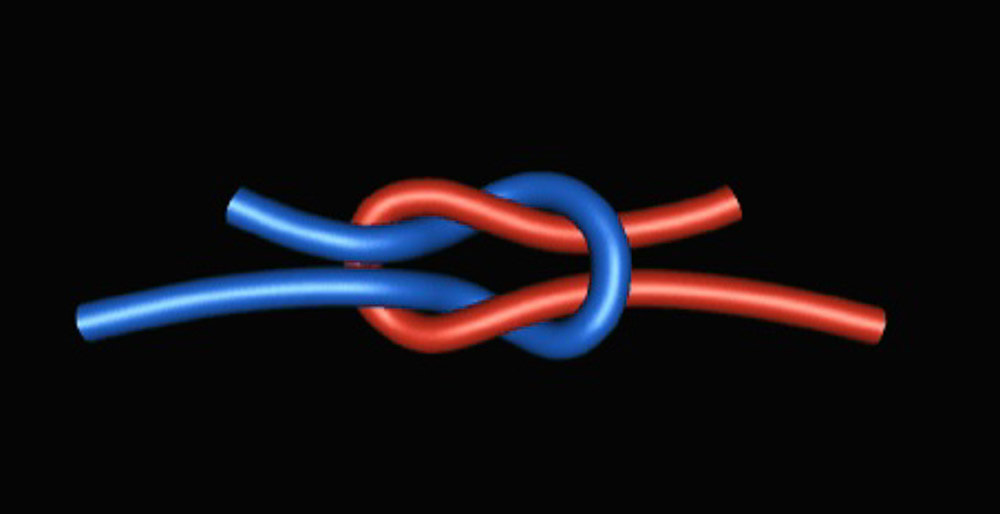
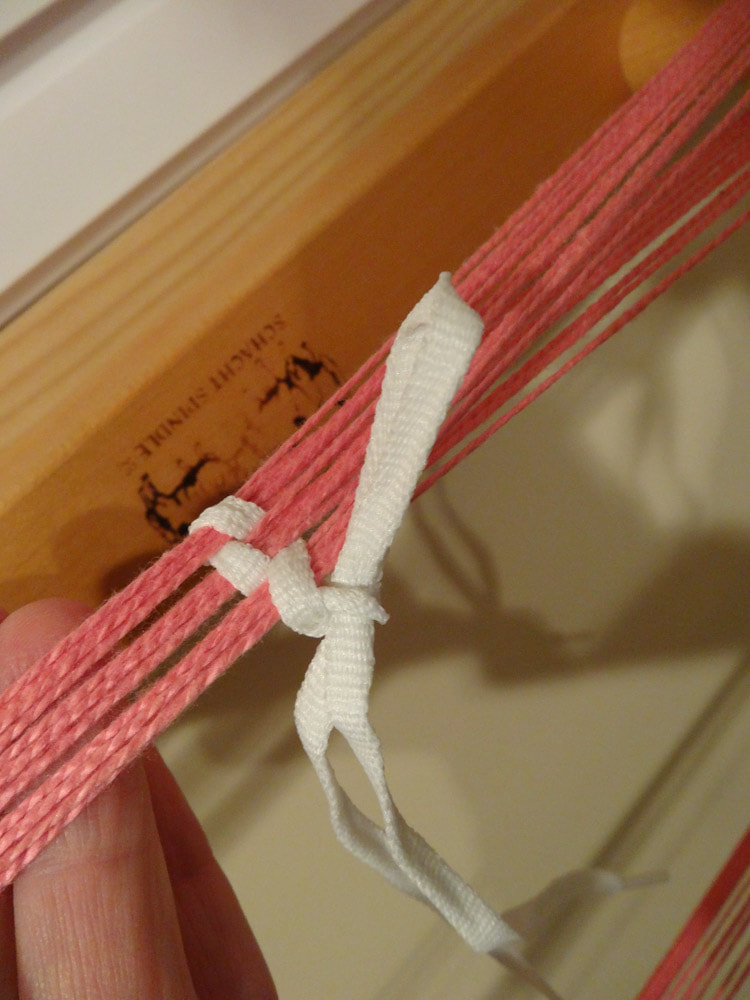
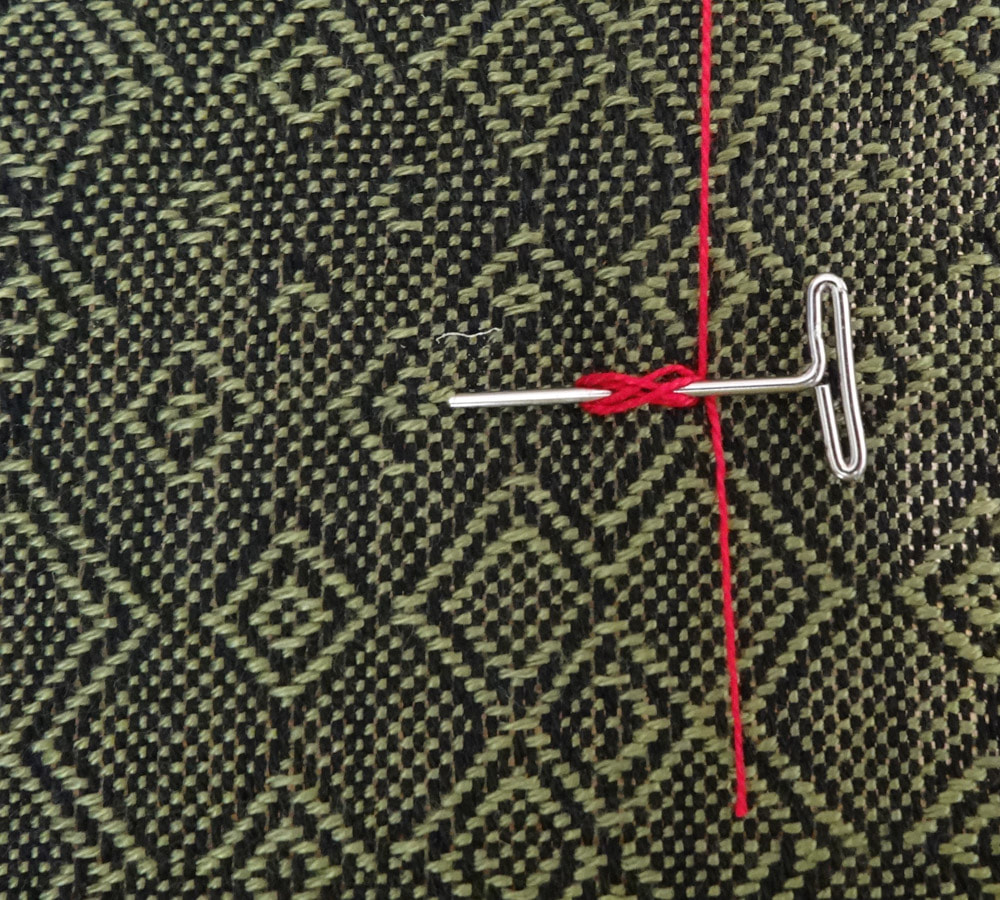
Knots are a tough thing for some weavers to incorporate into their work process. They can be tricky to tie unless you have a bit of experience using them. It is definitely worth learning a few good knots because they are helpful with the entire warping process.
You will find the following knots described below, so grab some string and practice, practice (click on the links below to go directly to the knot description): Where I use these knots: Every weaver uses different combinations of ties and knots in their warping process. The following is simply the way this weaver uses these knots when warping back to front: On the warping board:
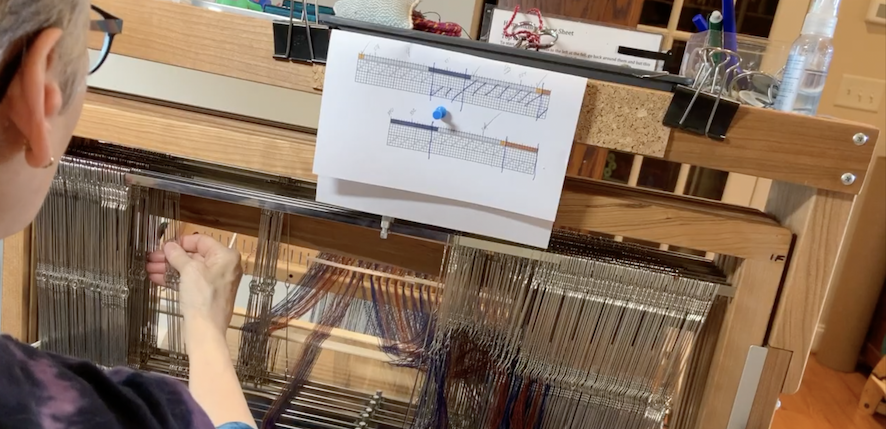
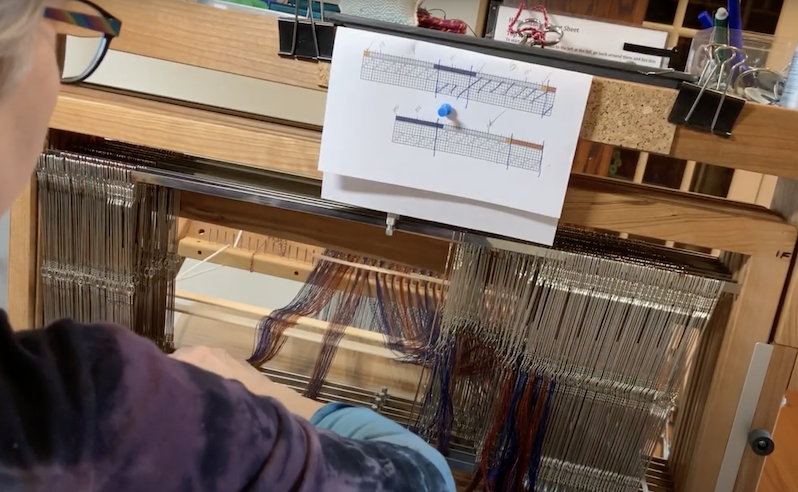
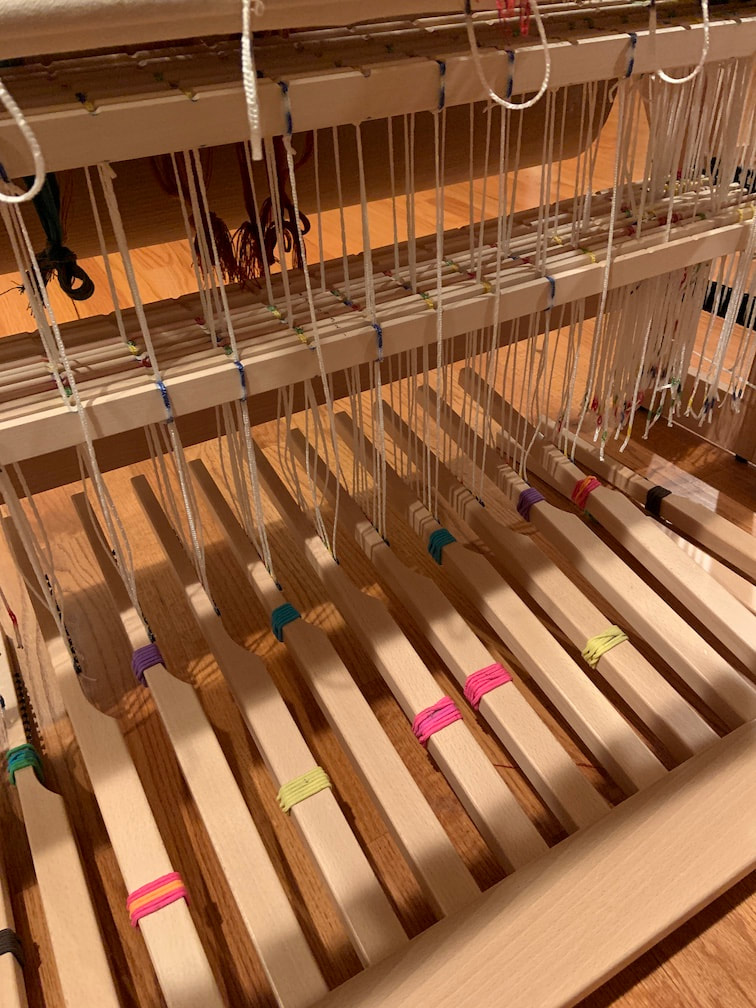
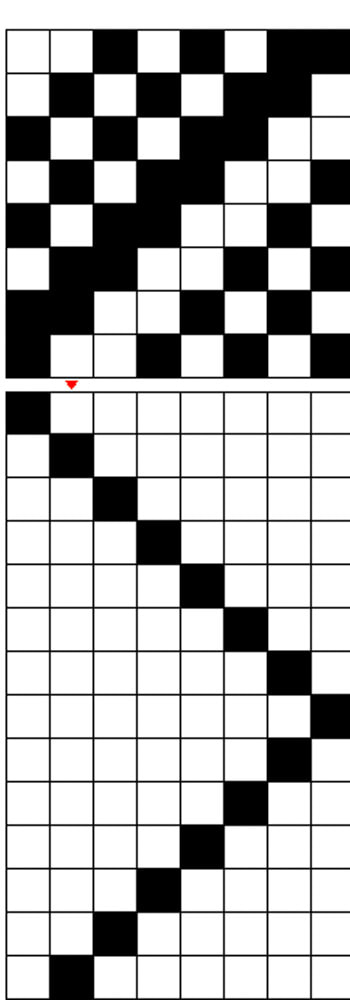
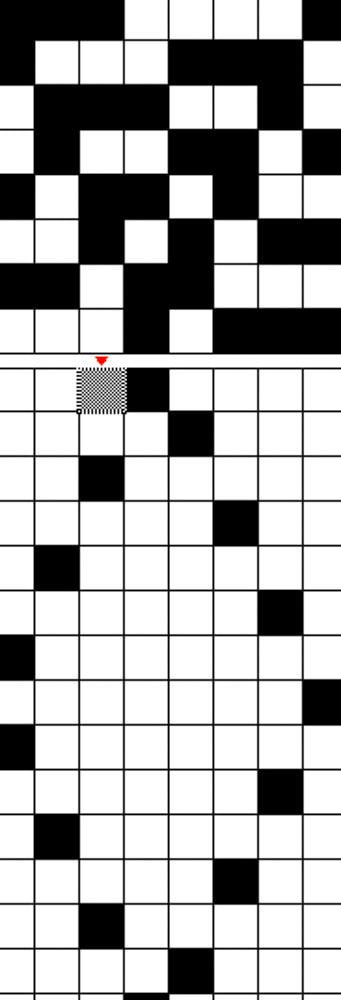
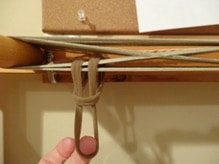
No Peeking Allowed - Treadling Tips Forgive me if I am repeating things I talked about in other posts, but some things bear repeating. Everyone handles their treadling differently, and that is just the way of weaving: everyone has their own way. Personally I hate peeking at my feet while I weave. I feel it disrupts my rhythm and flow. I do several thing to make sure I do not have to peek. Walking the treadles: I almost always walk my treadles. Inside to outside. I find it easy to walk left right left right as I treadle. My shuttle is (almost) always moving toward the foot that is depressed. This is ergonomically preferably to using one foot over and over. And it is surprisingly easy to manage walking the treadles with most treadling patterns. My treadles on a 10 treadle loom would be set up for walking as follows: 
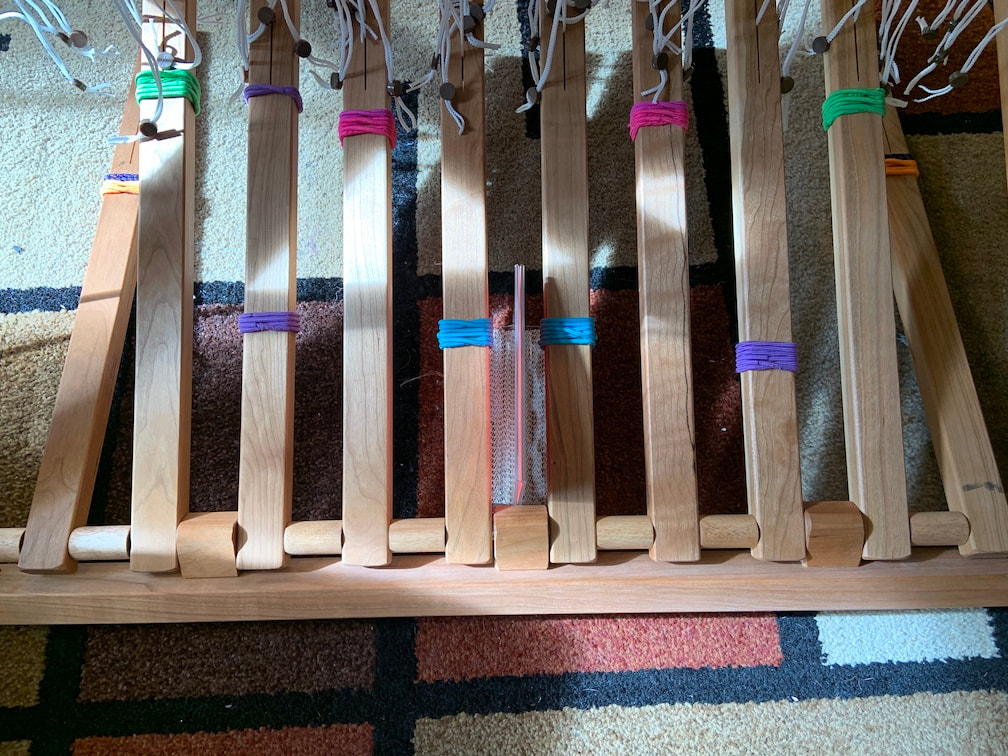
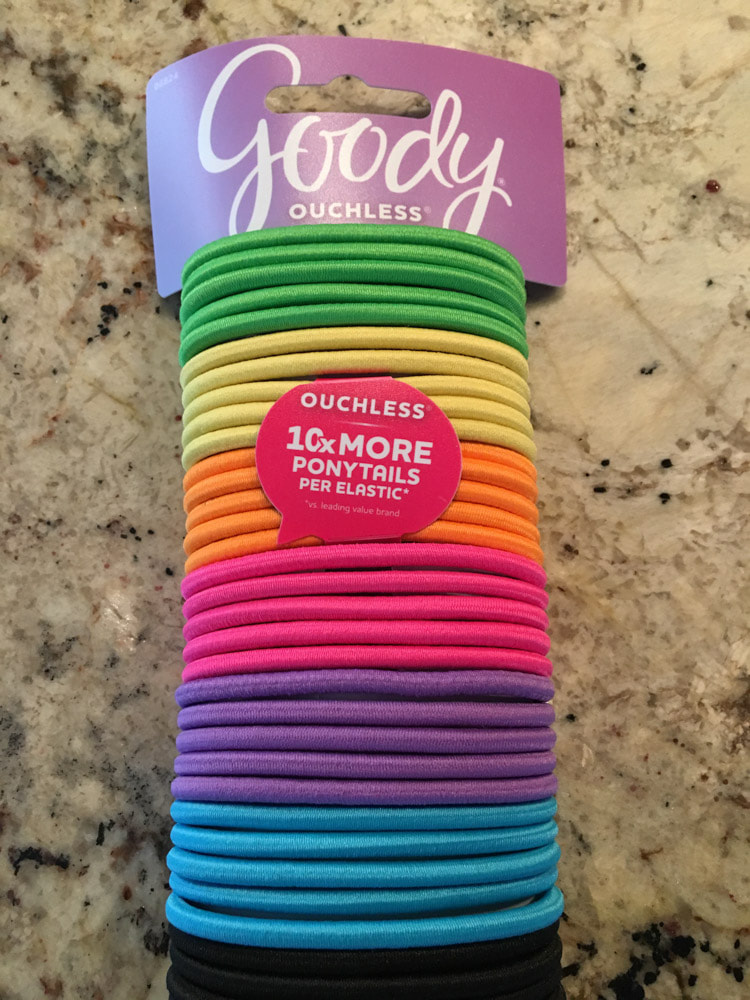
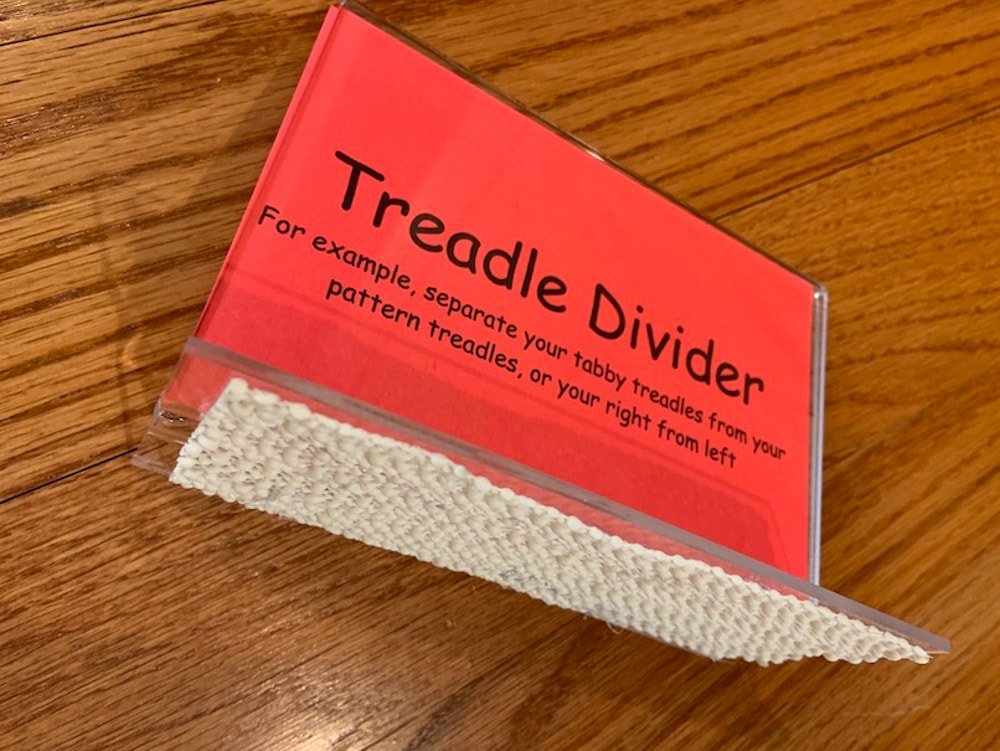
 The hair bands and divider for a typical draft would look like this: hair bands on the odd treadles, divider in the center.
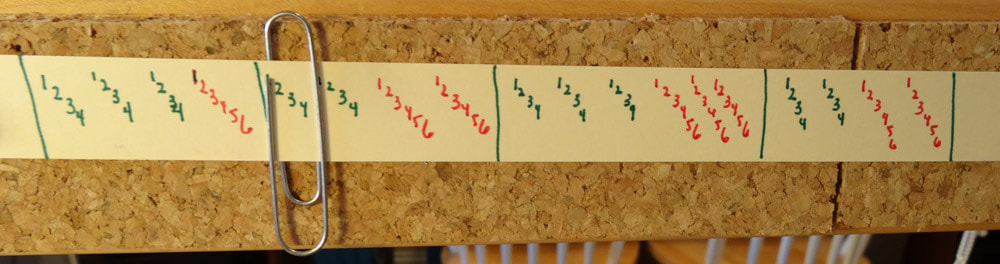
Examples of my cheat sheets:
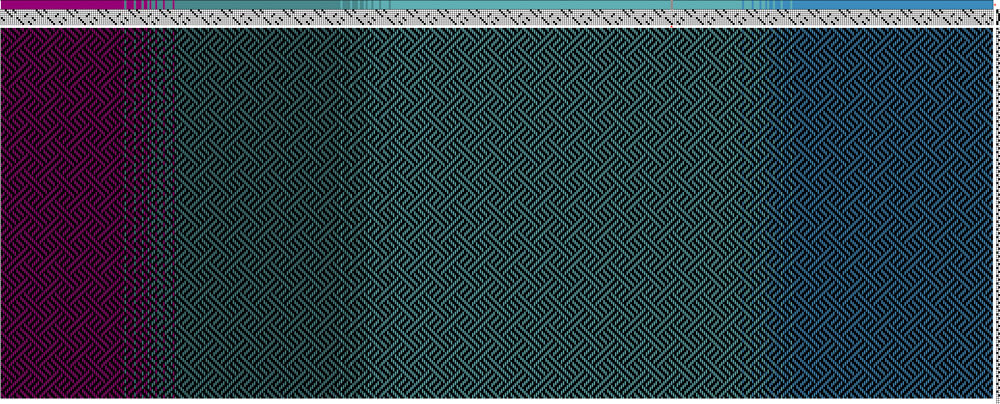
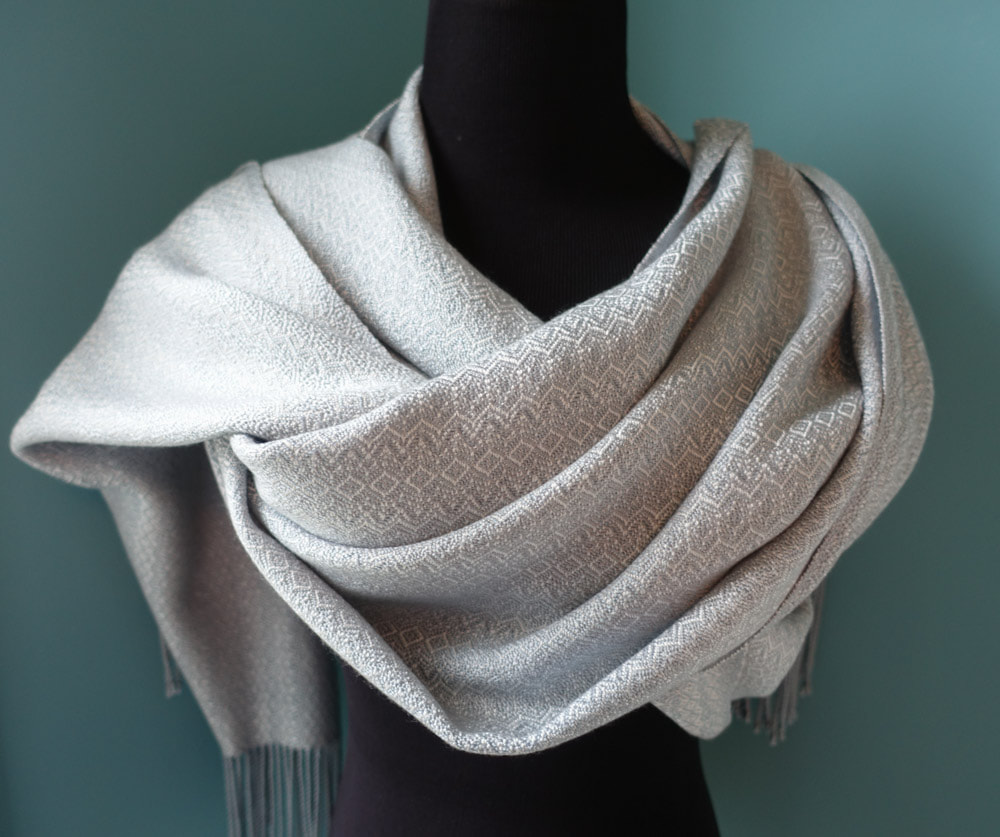
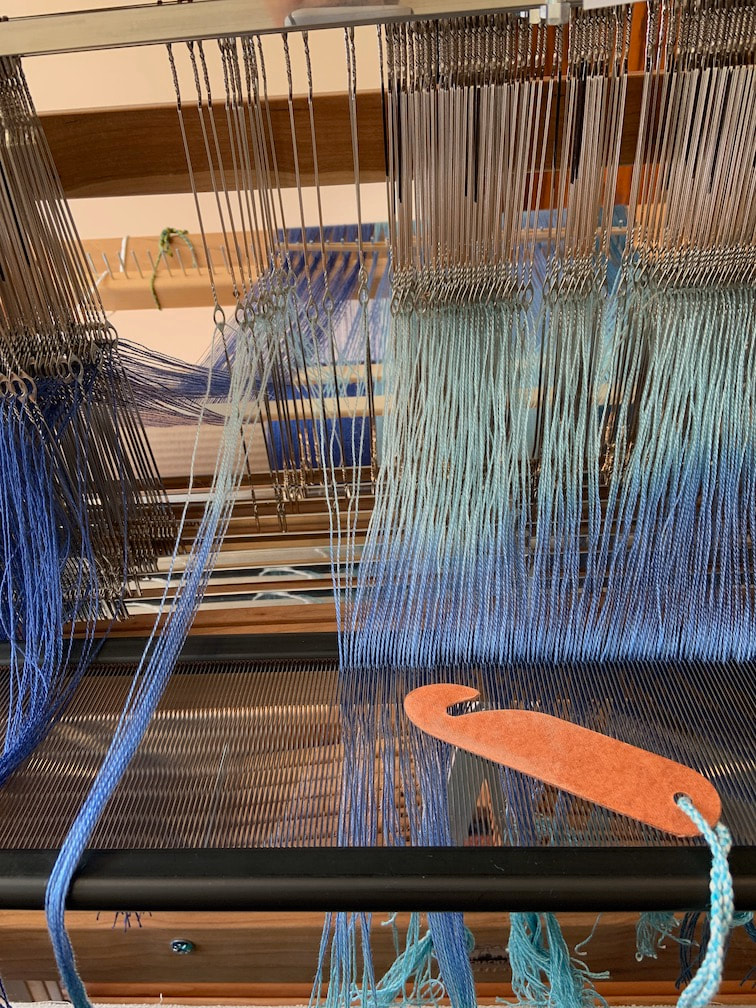
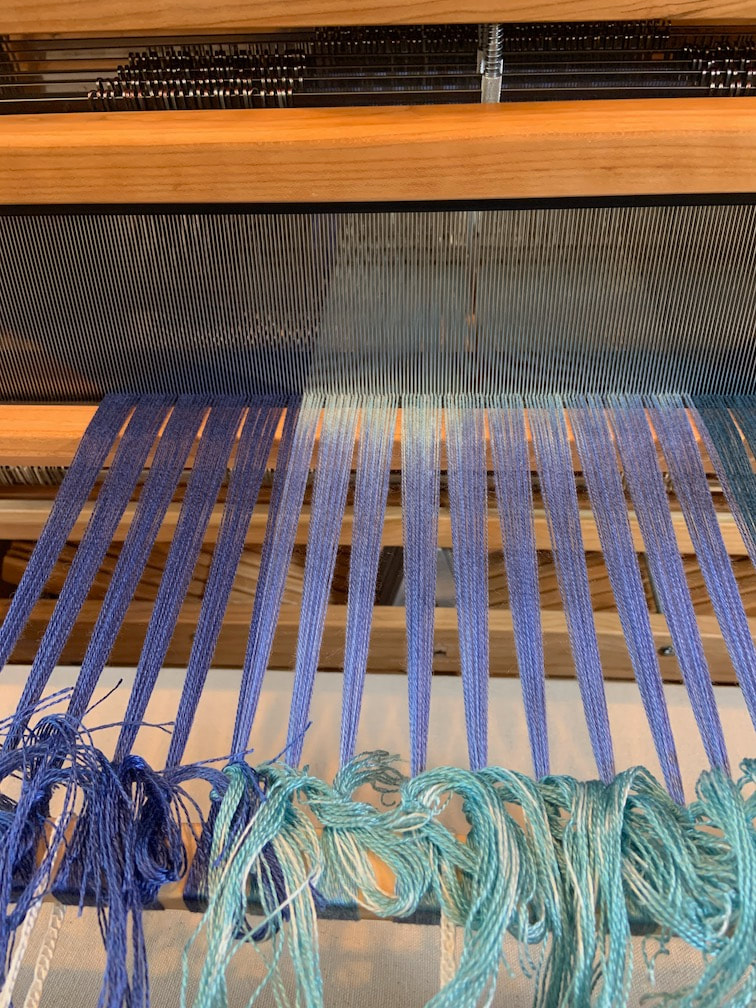
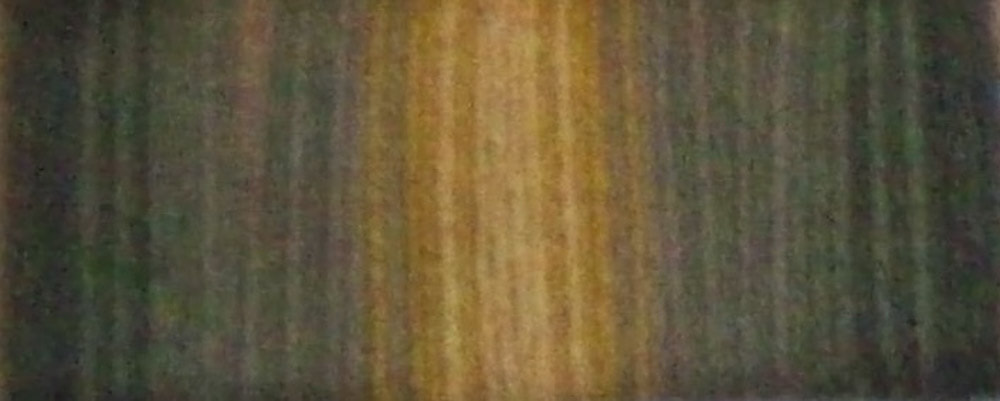
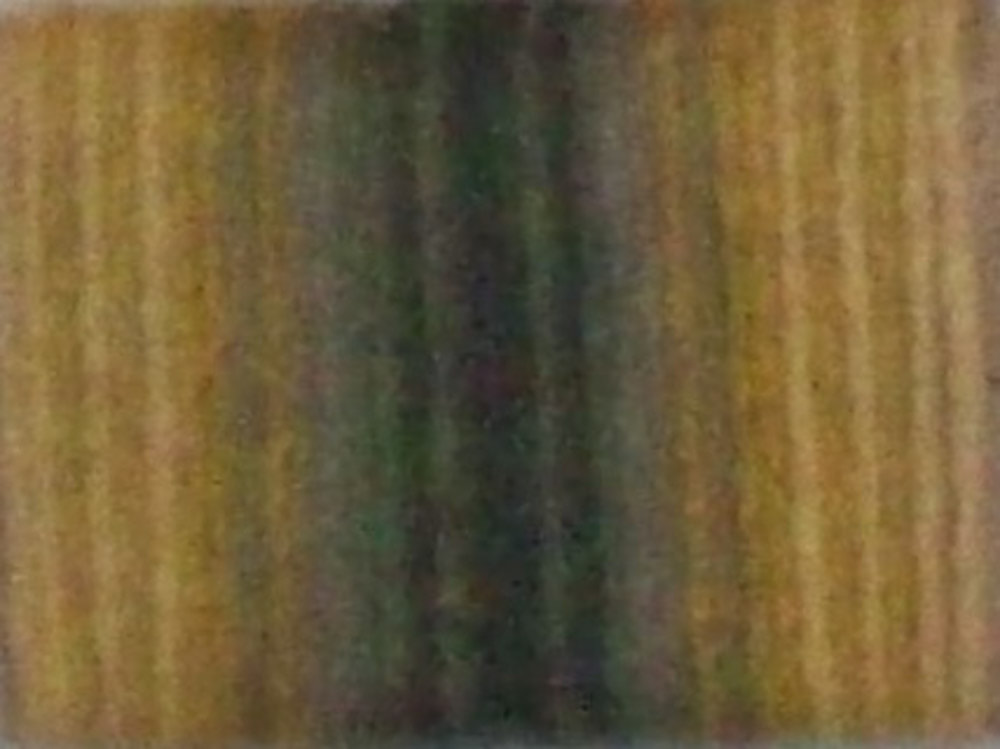
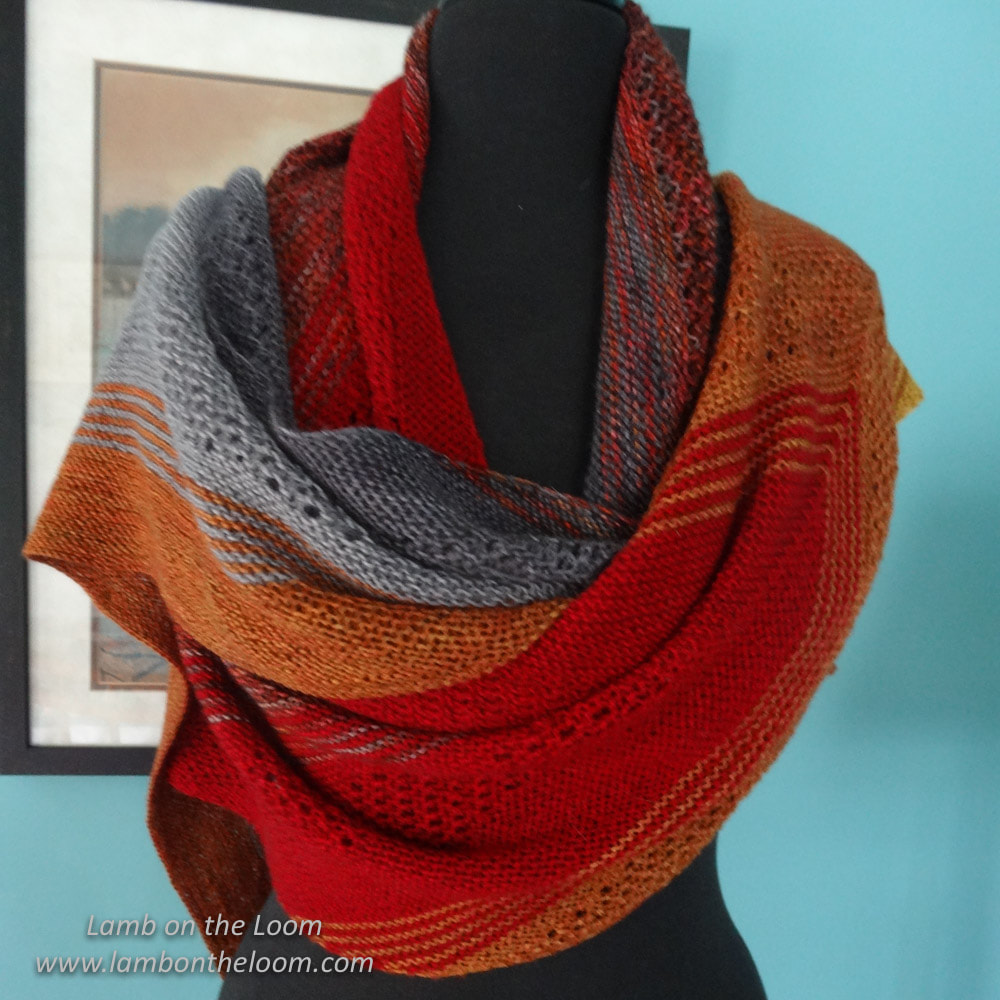
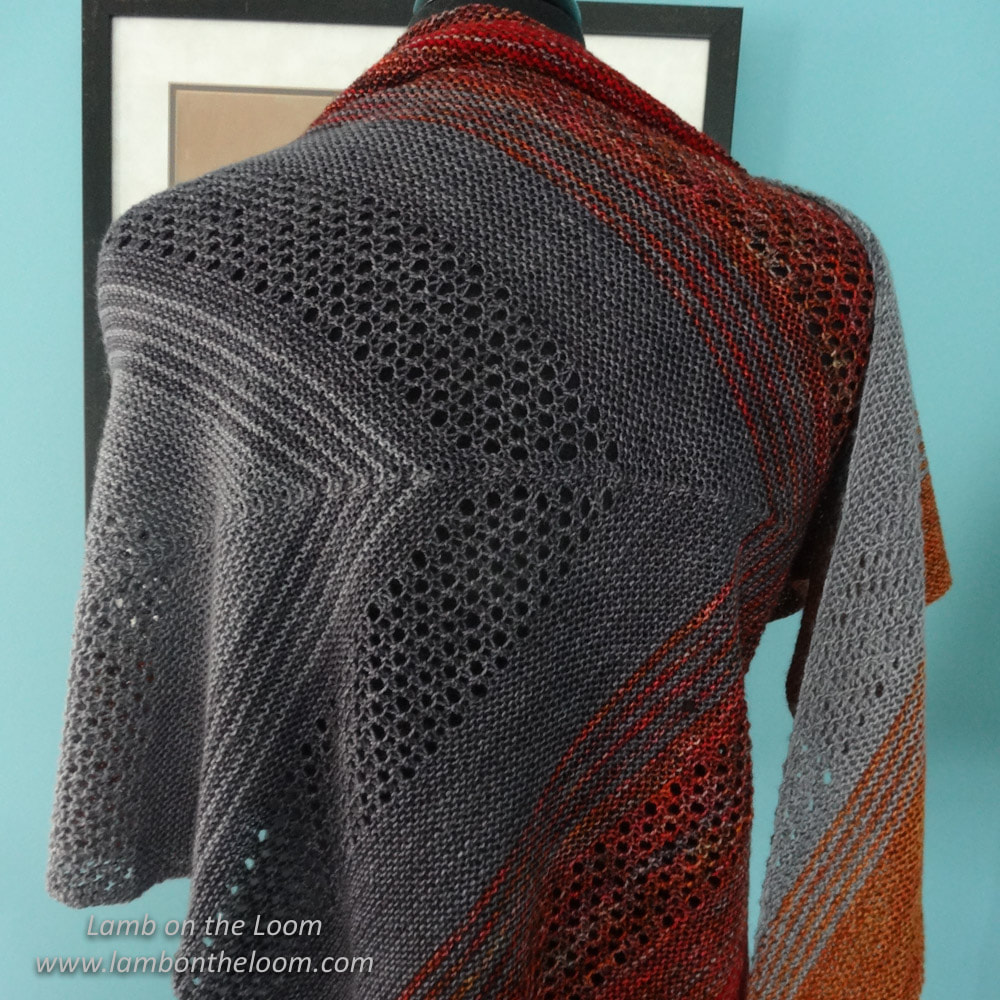
Finding My Fade
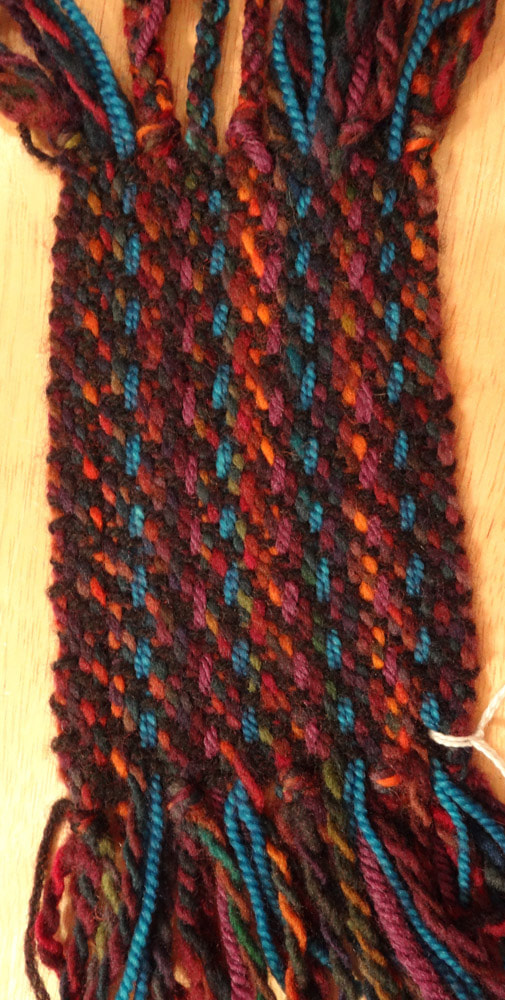
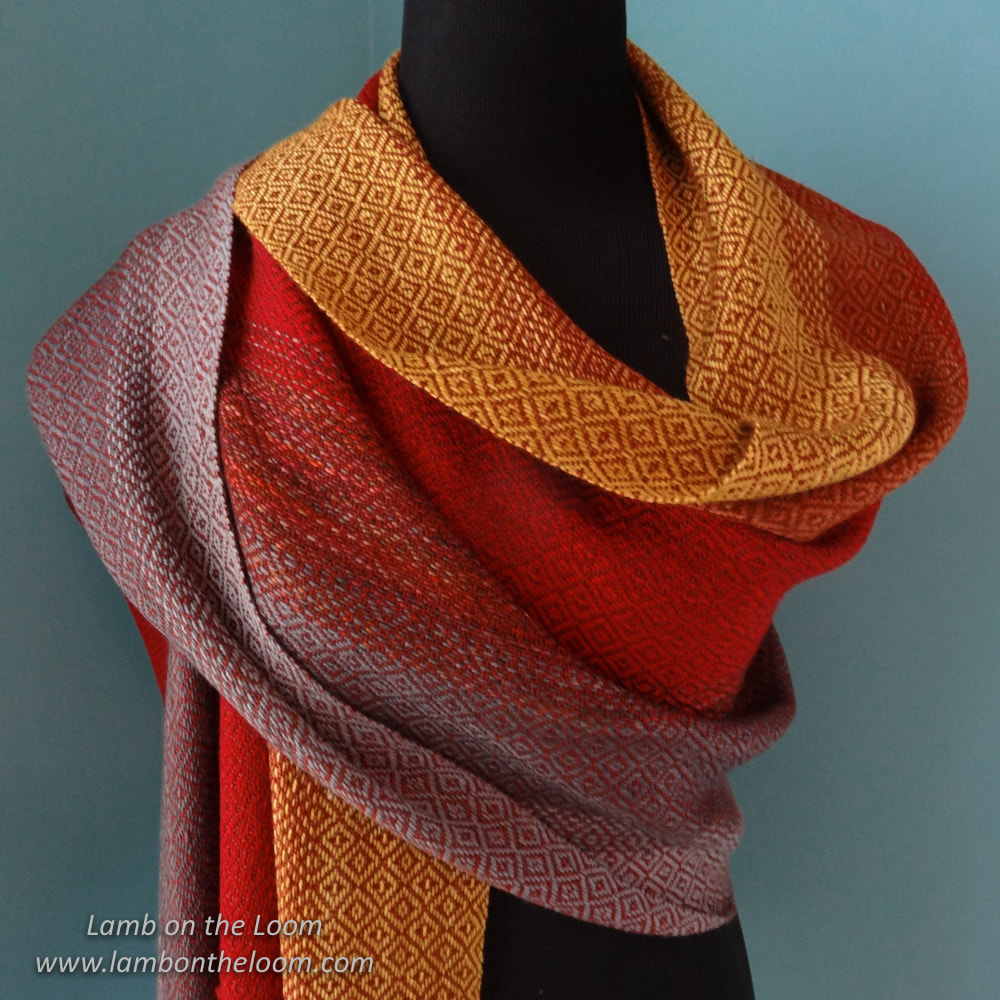
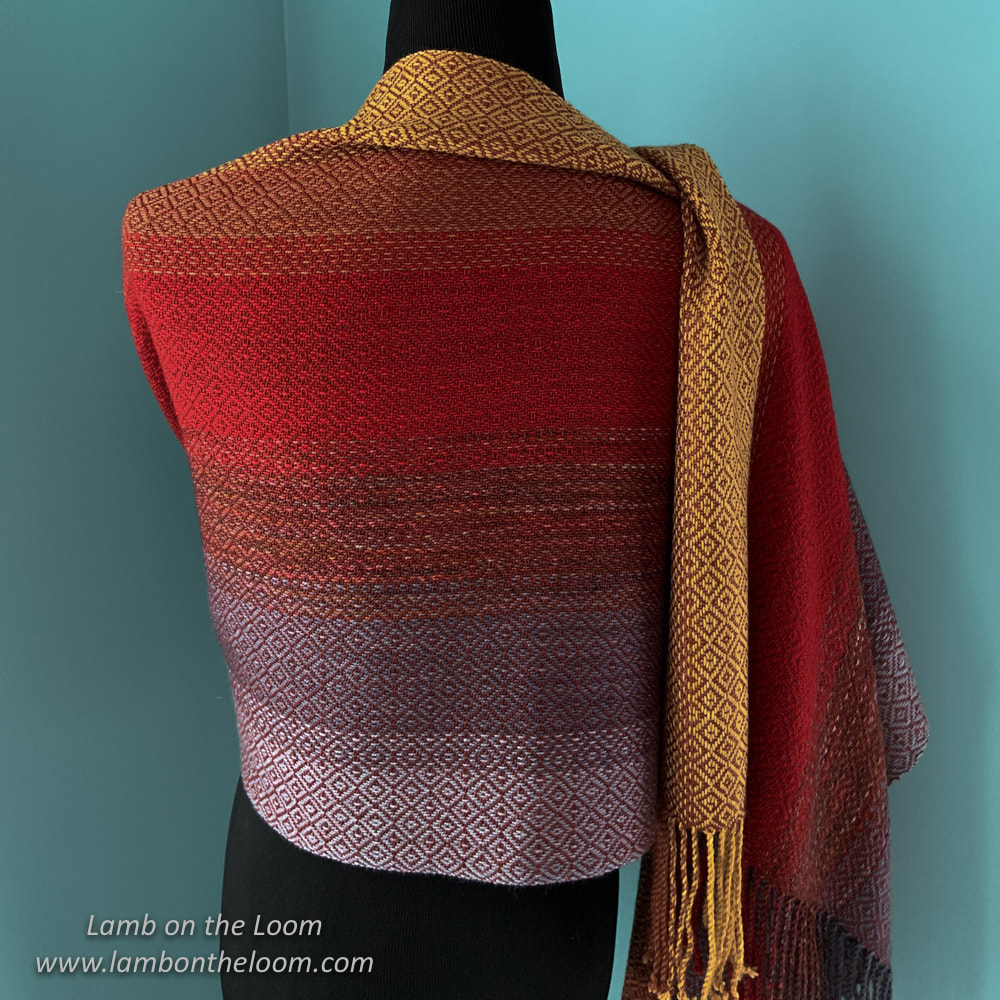
Weaving My Fade
The inspiration shawl and the woven shawl are different yet related. Both use the same colorway, both are soft and warm, and both made me happy, although for different reasons. But just between you and me, I would choose weaving over knitting any day. |
Pattie LambI have been happily weaving since my son was born in 1988. Archives
June 2023
Categories
All
|


 RSS Feed