Lamb...on the Loom
  • Home
  • SHOP
    • Scarves
    • Shawls & Wraps
    • Wool Scarves & Shawls
    • Blazing Shuttles
    • Throws & Baby Blankets
    • For the Home
    • Odds & Ends
    • Shop All Handwovens
    • Schacht Equipment
    • Gift Cards
  • Blog
  • Events
  • Gallery
    • Scarves & Shawls
    • Baby
    • For the Home
    • The Wedding
    • Komen
  • About
    • Storyboard

Twisting Fringe Step by Step

6/14/2023

0 Comments

 
Picture
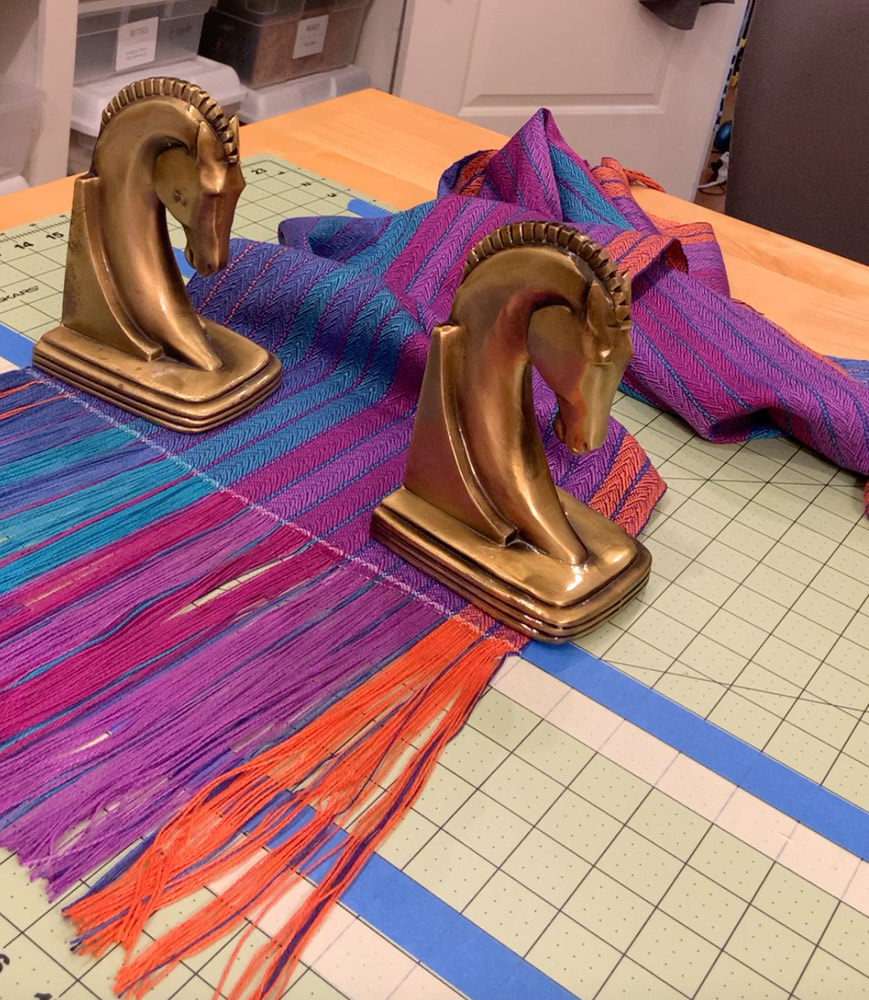
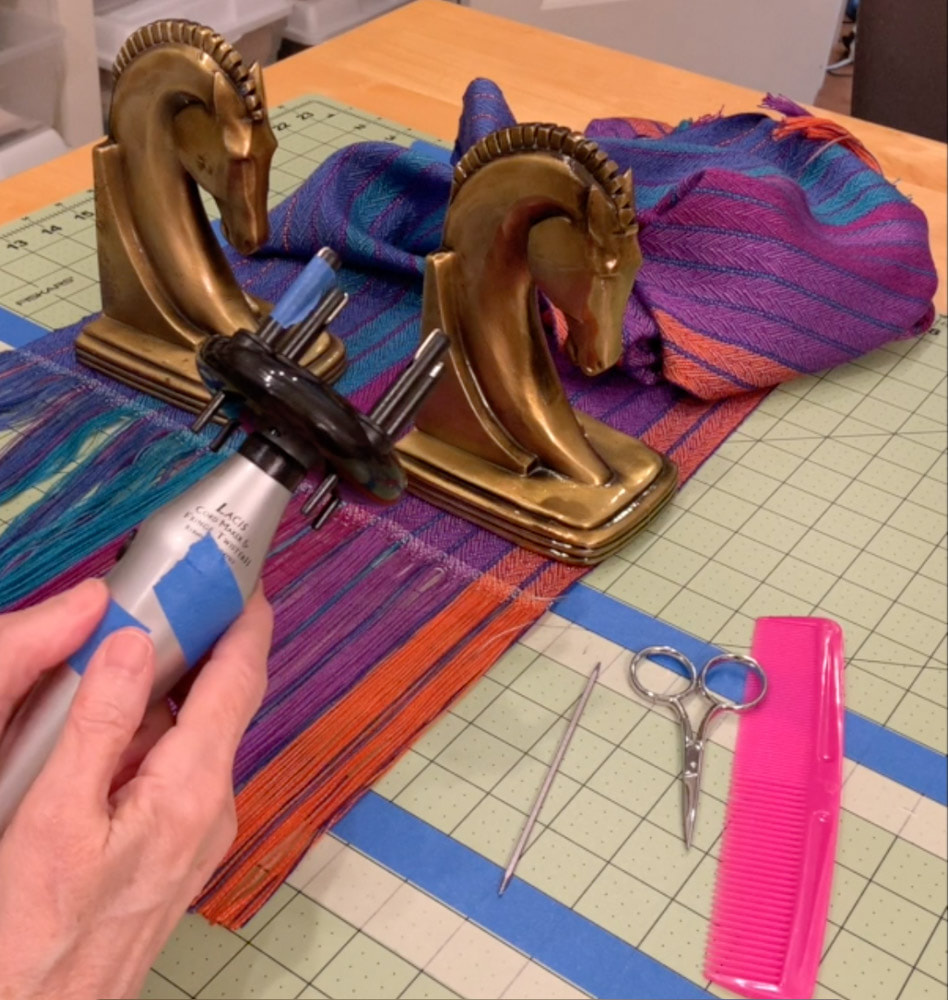
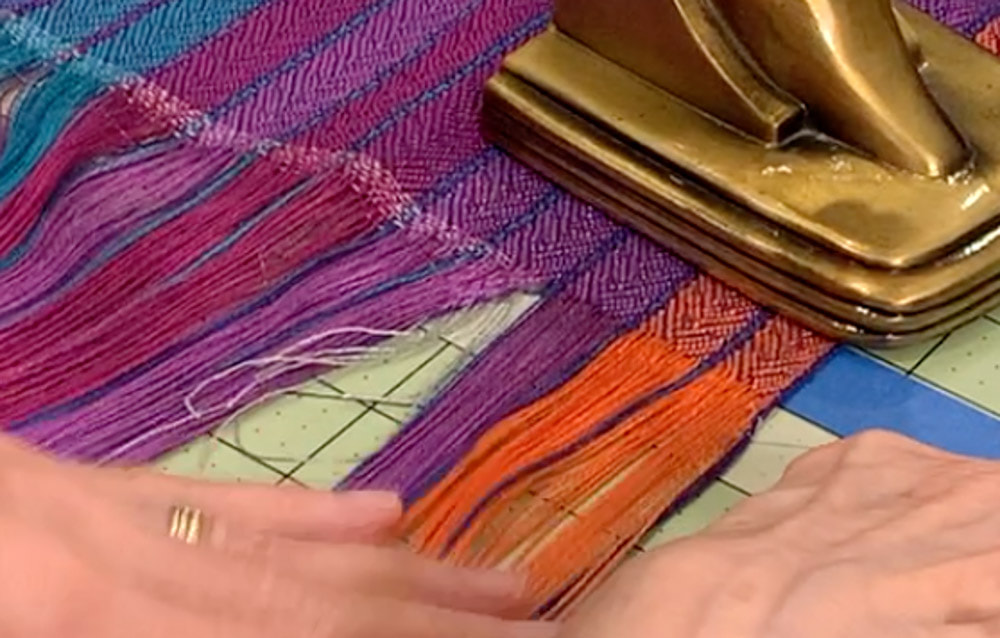
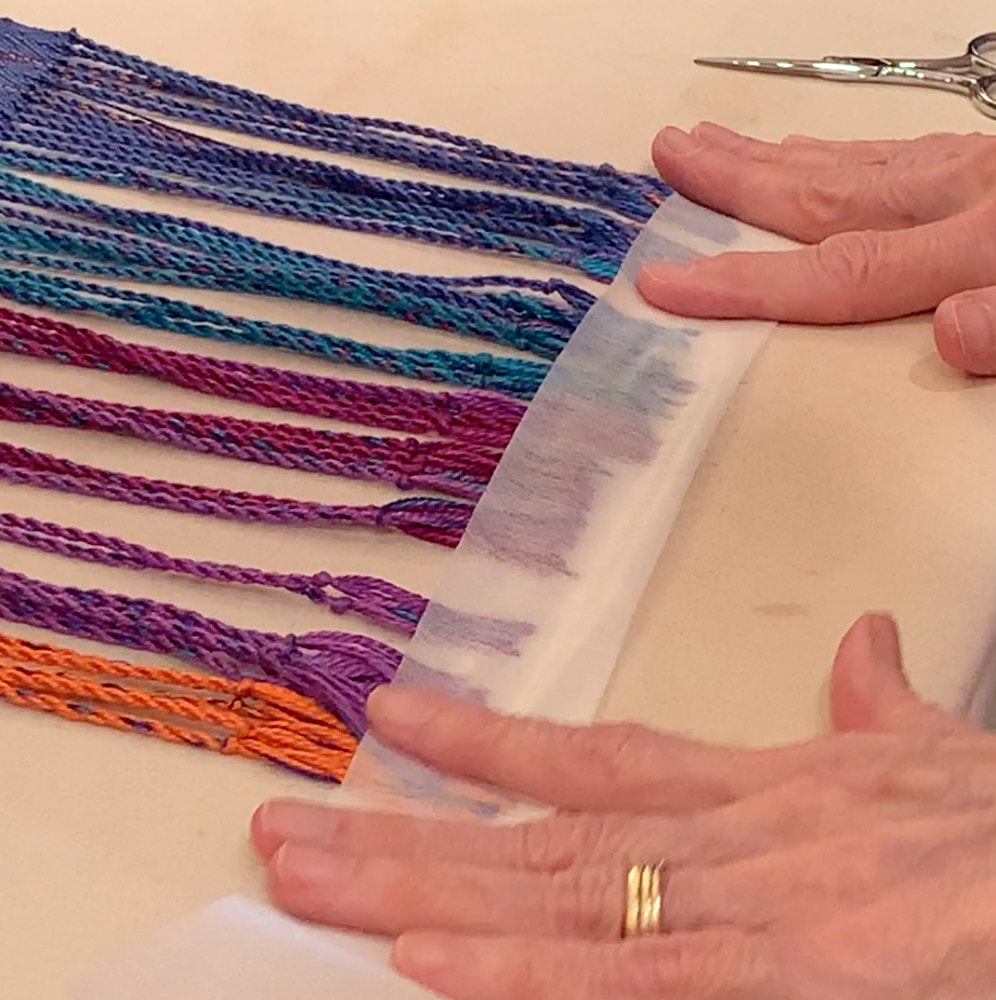
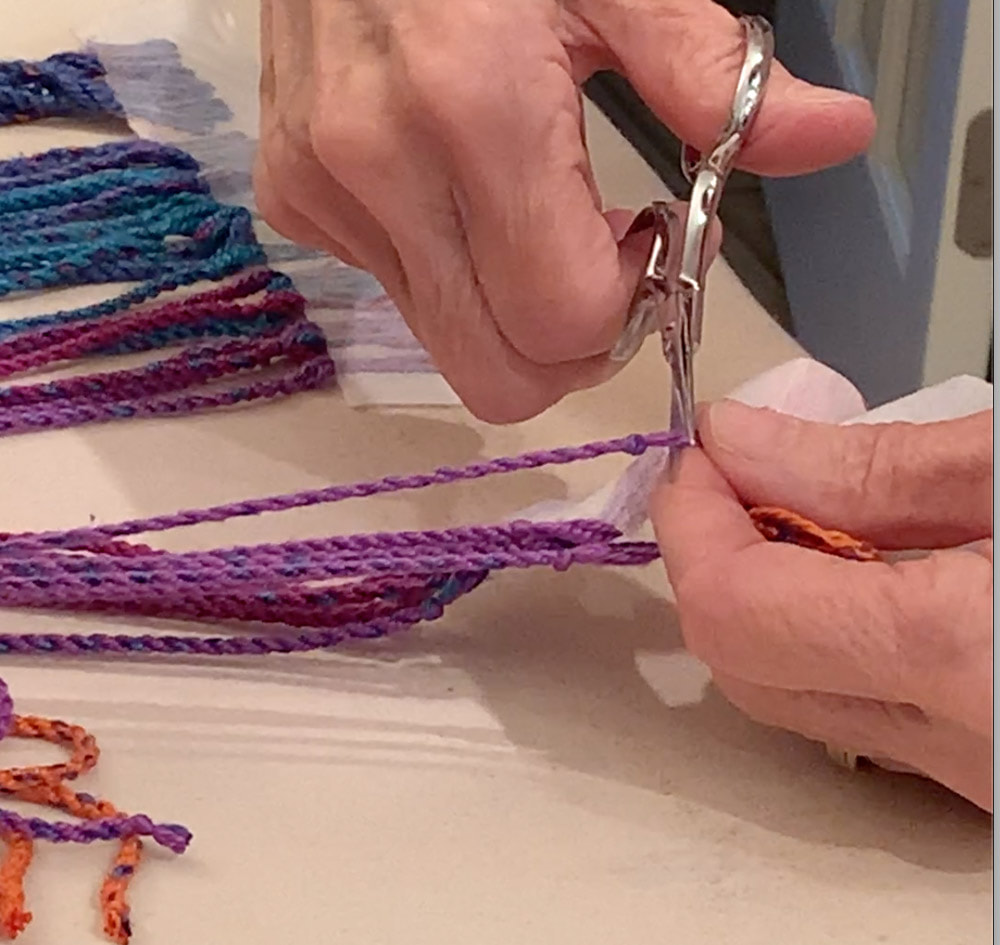
Most of my scarves and shawls have twisted fringe because I love twisted fringe.  I like the way it looks.  I like the way it feels when I run my fingers through it.  But making good twisted fringe takes practice and a plan.

​I have just posted a video on YouTube showing my process.
By all means watch the video, but I will describe the basics here.
(Click on any photo to zoom in)


Planning for making twisted fringe
  • Weave a weft protector (also called a header) at the beginning and end of each piece.   Use a yarn that is approximately the same size as the weft because it will keep the header area from spreading out or drawing in differently from the scarf itself.  Use a contrasting color because you want to be able to see it when you  remove it during the fringing process.​
  • When planning your warp, allow  enough warp for fringe on both ends of each piece.   Allow 2-3" more than you want your finished fringe.
  • BEFORE your start twisting, trim the fringe at both ends of the scarf to the same length, 
  • NOTE:  How many ends you use in each fringe bout depends on the size of the yarns and your personal preference - how thick do you want your fringe?  I like my fringe fairly fine, so, for example, when using 8/2 Tencel I usually twist 2 groups of 4 ends together for a total of 8 per bout. ​
Picture

​Great tools to have on hand for fringing:
  • Gridded mat
  • Masking tape and/or blue painter's tape
  • Paperweights, heavy books or  book ends
  • Small scissors
  • Double pointed needle
  • Comb
  • Fringe twister - battery powered or manual
Picture


Making the Fringe
  • Carefully remove the weft protector as you work.  I like to remove a 2-3" section of weft protector at a time.   
  • Count out the ends you will need for a bout of fringe and divide into 2 groups.
Picture
  • Clip the two groups into the fringe twister and twist clockwise until you have the desired amount of twist.  This is a bit of trial and error, but you can get a good idea of what the final fringe will look like by releasing tension on the bouts and letting them twist back on themselves.
  • Remove the ends from the fringe twister and  twist them back on each other in the counterclockwise direction
  • Knot at the desired length by loosely tying an overhand knot in the ends and maneuvering the knot to the appropriate length.  Then tighten the knot.  ​
Tip:
​Use the gridded mat to help tie the knots at the same length all the way across.
  • ​I continue twisting fringe from right to left until I am about 3-4" from the left hand edge.  At that point, I remove the remainder of the weft protector and begin fringing from the left edge towards the right.  I twist the first 2 or 3 bouts on the left and then COUNT the remaining groups of threads out into bouts, fudging as needed if there is not an even multiple of ends that I need to finish.​
​
​Protecting the Fringe 
  • To protect the fringe in the wash (whether machine washing or washing by hand),  cut a strip of iron-on interfacing that is 3" high and the width of the scarf. 
  • Fold this over the ends of the fringe, being sure to leave about 1/2-1" between the knots and the edge of the interfacing, and press in place (follow manufacturer's recommendations for time to press).
Picture

​Trimming the Fringe
  • Wet finish and dry your work of art as desired.
  • After washing and drying your scarf, trim the fringe to about 1/4" from the knots.

Enjoy your finished piece!
Picture
0 Comments

    Pattie Lamb

    I have been happily weaving since my son was born in 1988.

    All pictures on my blog are "zoomable" - just click on them to enlarge.

    Archives

    June 2023
    March 2023
    June 2022
    November 2020
    October 2020
    February 2020
    October 2019
    June 2019
    May 2019
    June 2018
    July 2017
    June 2017
    May 2017
    April 2017
    February 2017
    January 2017
    August 2016
    July 2016
    May 2016
    February 2016
    February 2015
    January 2015
    October 2014
    September 2014

    Categories

    All
    Artificial Intelligence
    Baby Wraps
    Blankets
    Block Twill
    Block Weave
    Block Weaves
    Cat's PJs
    Challenges
    Charity
    ChatGBT
    Classes
    Commissions
    Deflected Doubleweave
    Design
    Doubleweave
    Dyeing
    Facebook Challenge
    Felting
    Finishing
    Fringing
    Hemstitching
    John C Campbell
    Knitting
    Knots
    Lace Weaves
    Leftovers
    Life History-Day 1
    Life History-Day 2
    Life History-Day 3
    Life History-Day 4
    Life History-Day 5
    Life History-Day 6
    Life History-Day 7
    Life History-Day 8
    Life History-Day 9
    Life History-Final
    Life History Of A Scarf
    More Than Pink
    Paper Quills
    Plain Weave
    Ply Split
    Process
    Rugs
    Runners
    Scarves
    Selvedges
    Shawls
    Storyboard
    Study Group
    Tencel
    Tie-ups
    Tip Of The Month
    Tips
    Tools
    Towels
    Travel
    Treadling For Dummies
    Turned Twill
    Twill
    Videos
    Walking Pink
    Warping
    Weaving
    Weaving Pink
    Weaving Tips
    Wedding
    Yarn Wraps

    RSS Feed

         HOME        //      SHOP      //       BLOG       //        EVENTS       //       GALLERY     //      ABOUT       //      CONTACT

  • Home
  • SHOP
    • Scarves
    • Shawls & Wraps
    • Wool Scarves & Shawls
    • Blazing Shuttles
    • Throws & Baby Blankets
    • For the Home
    • Odds & Ends
    • Shop All Handwovens
    • Schacht Equipment
    • Gift Cards
  • Blog
  • Events
  • Gallery
    • Scarves & Shawls
    • Baby
    • For the Home
    • The Wedding
    • Komen
  • About
    • Storyboard