|
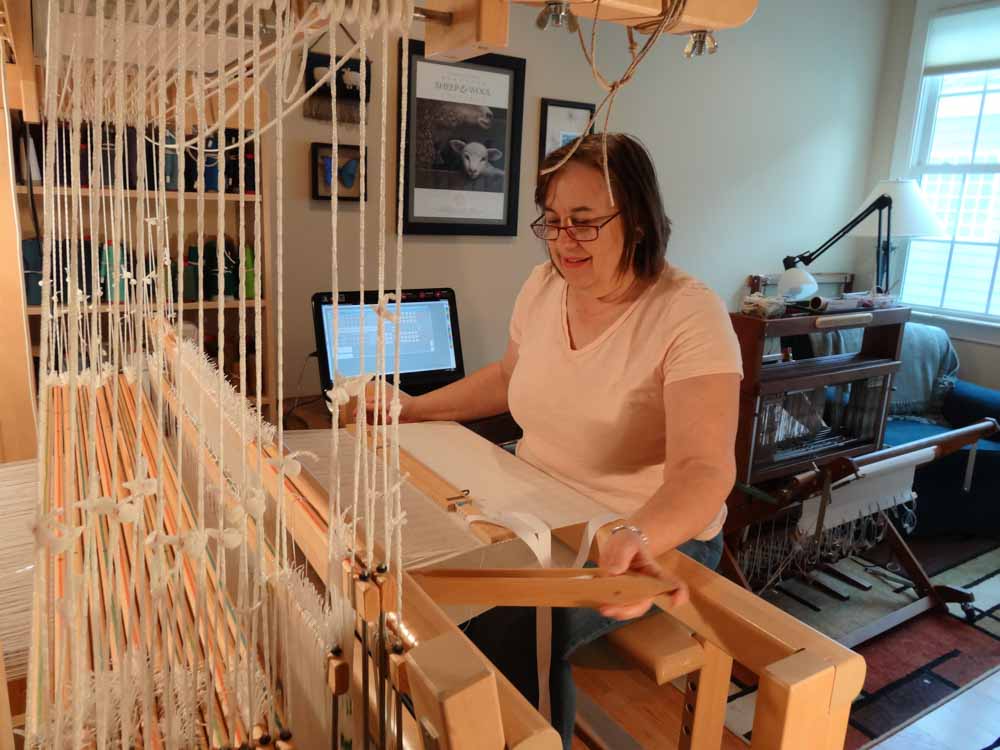
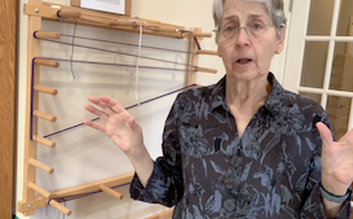
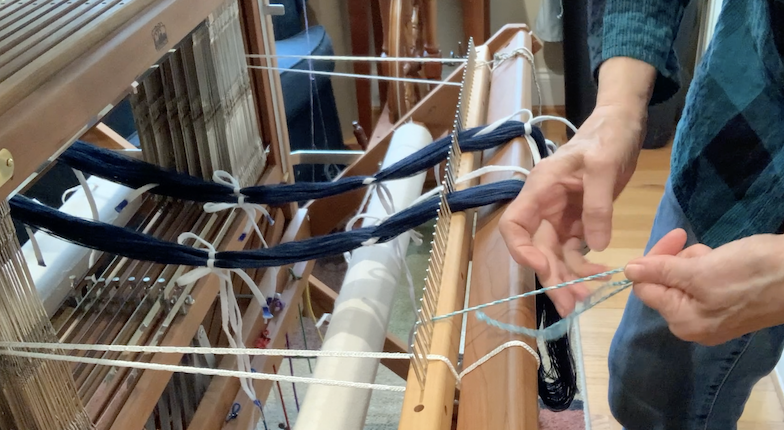
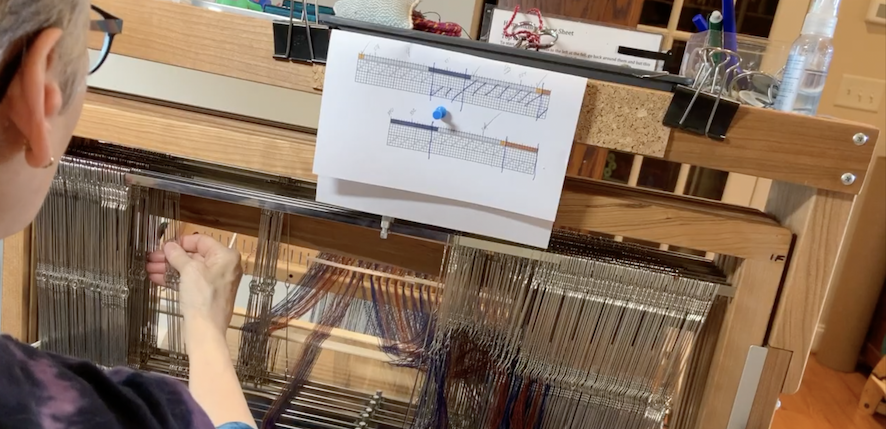
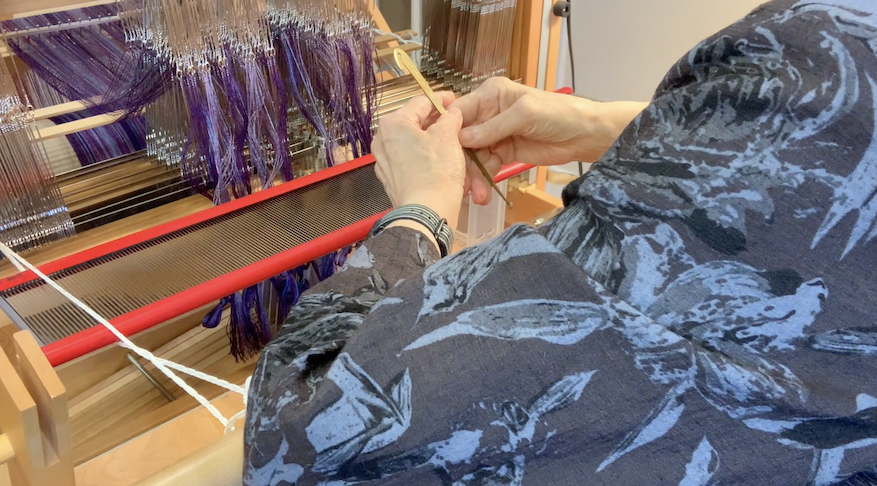
I am back to work on my blog after a long hiatus. The first thing I want to do is share some videos with you that I have created. Jane Stafford I am not, and I can promise you these videos are not professional, but I think that they do a pretty good job of showing my process for warping back to front. I also think that even more experienced weavers might benefit from a host of tips that I share in the videos. Over the past two years of the pandemic, I taught a "next step" Weave a Scarf class on Zoom. The class was intended to be for students who had taken a beginning weaving class and warped a loom before but who might not be super comfortable yet going through the steps for getting their warp on the loom. To prep for the class, I created 5 "refresher" videos to help my students get through the process of setting up their looms at home. I hope you enjoy the videos. Send me feedback! To view the videos, click on the hyperlink (the blue title) or on the photo next to the video description.
0 Comments
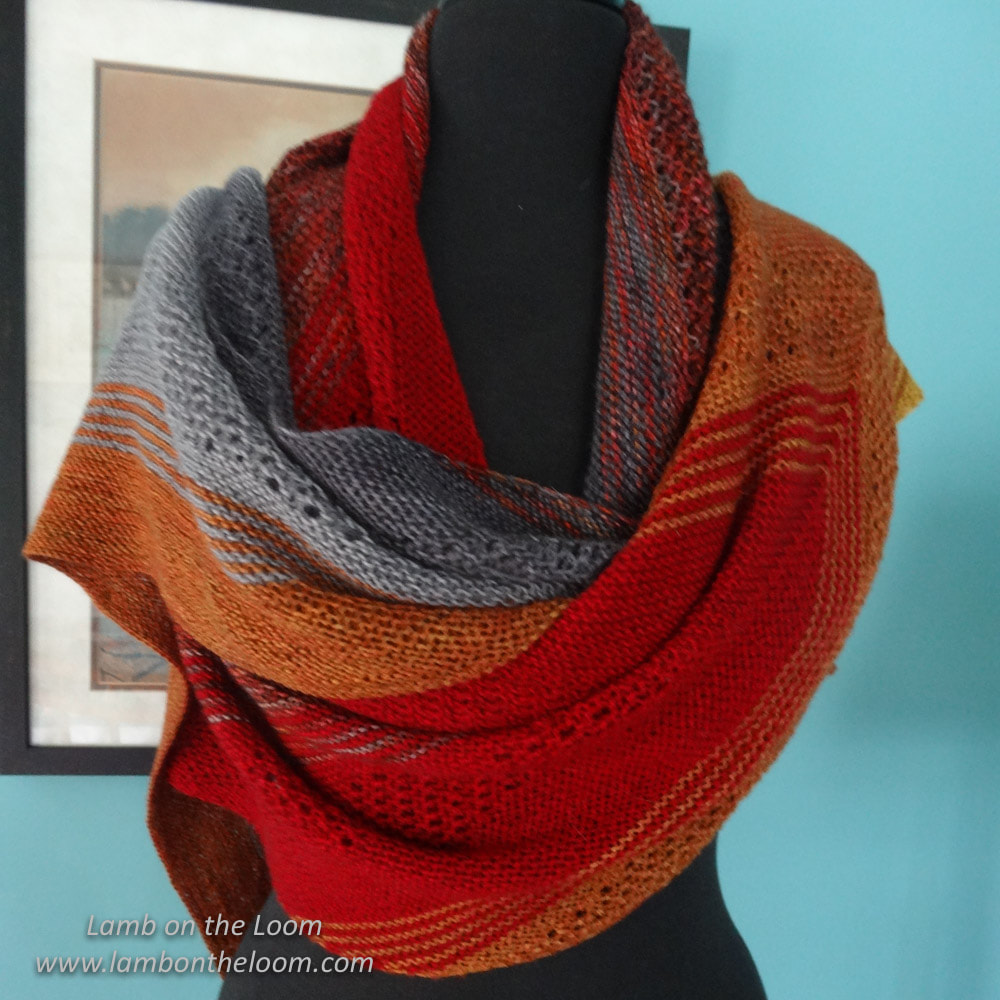
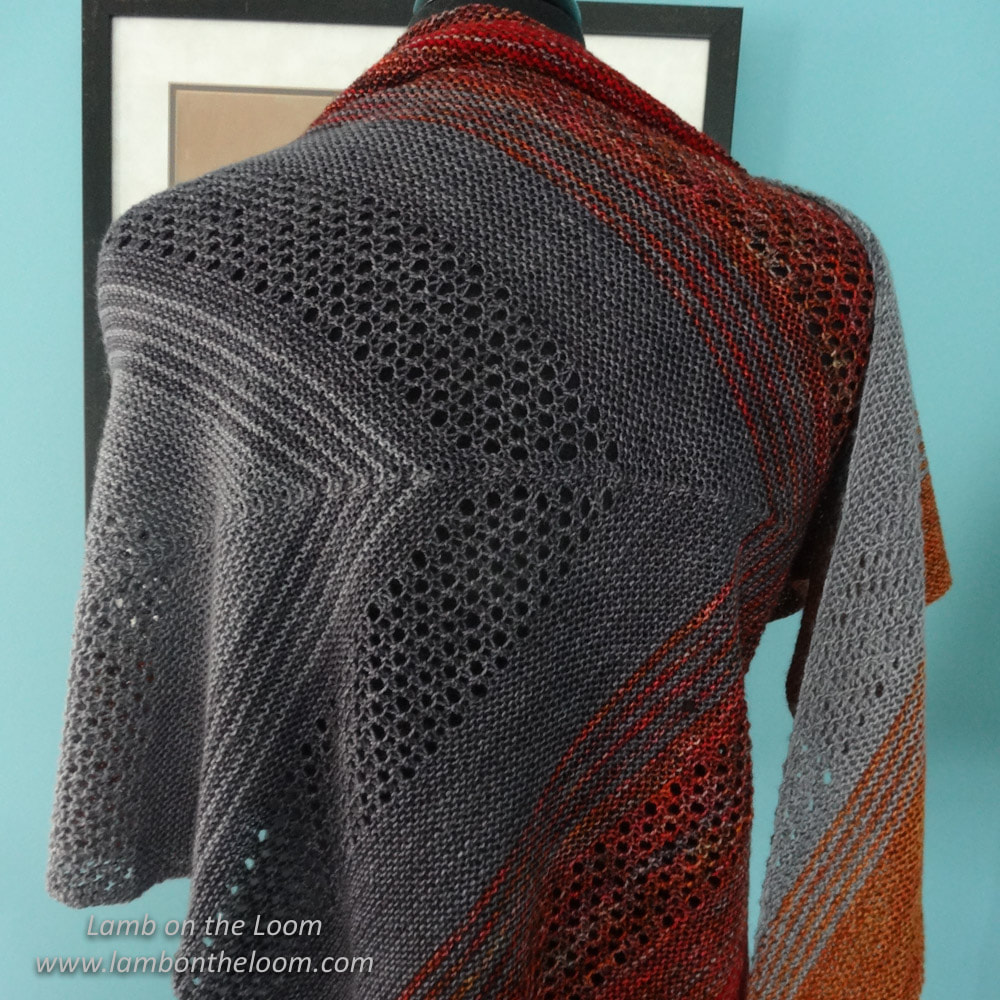
Finding My Fade
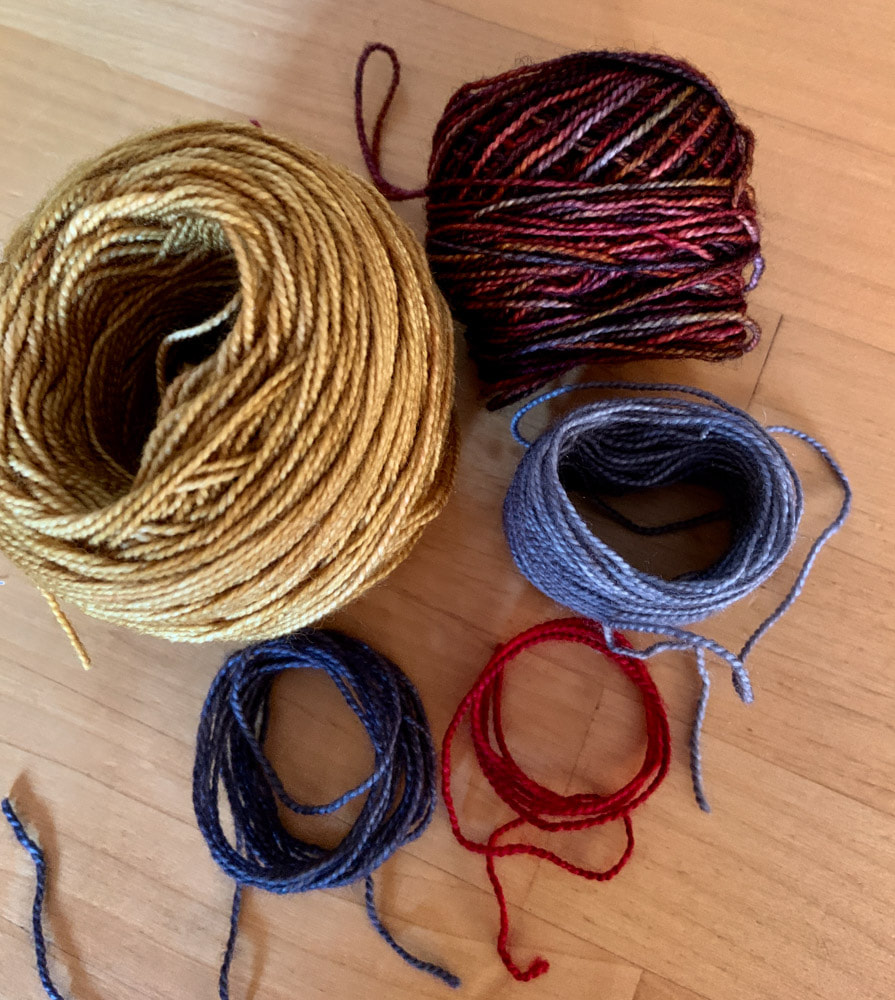
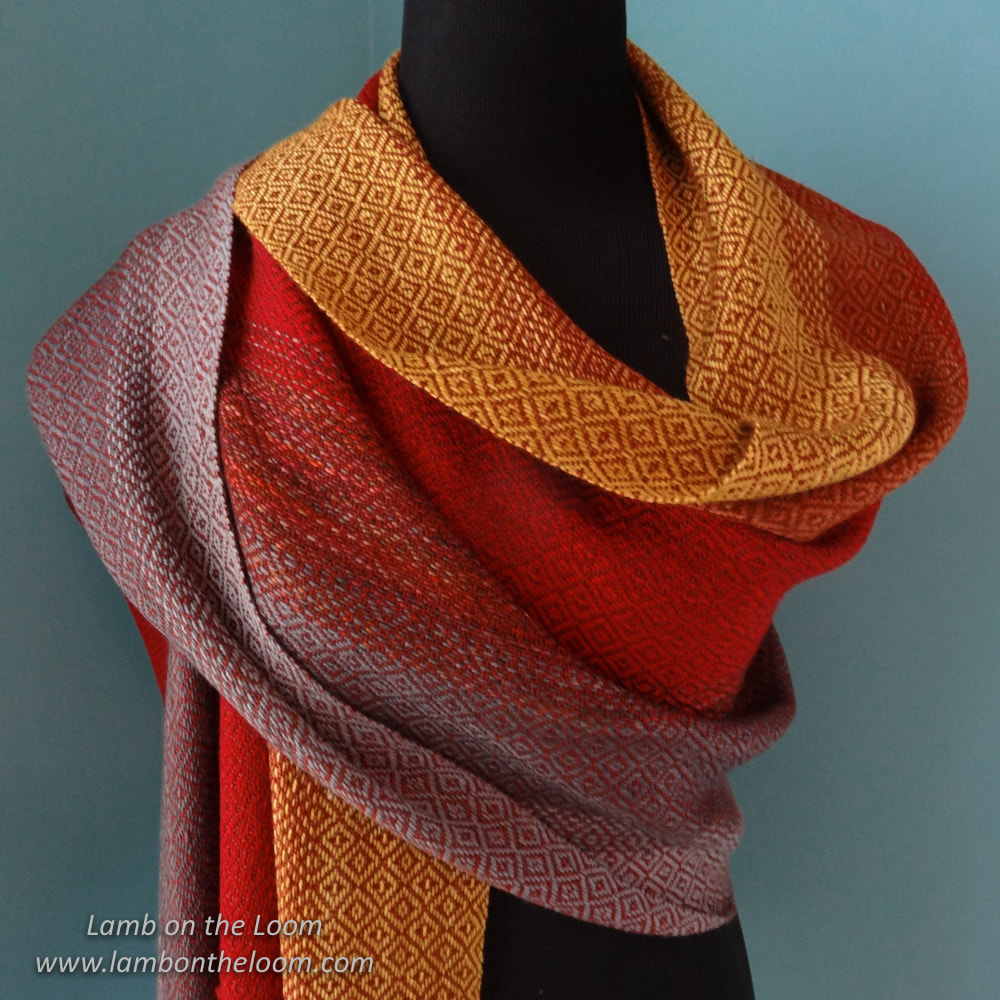
Weaving My Fade
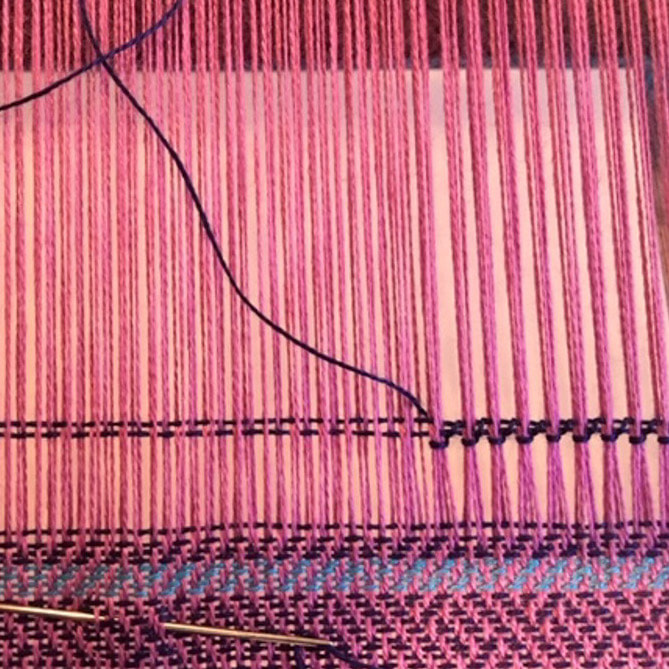
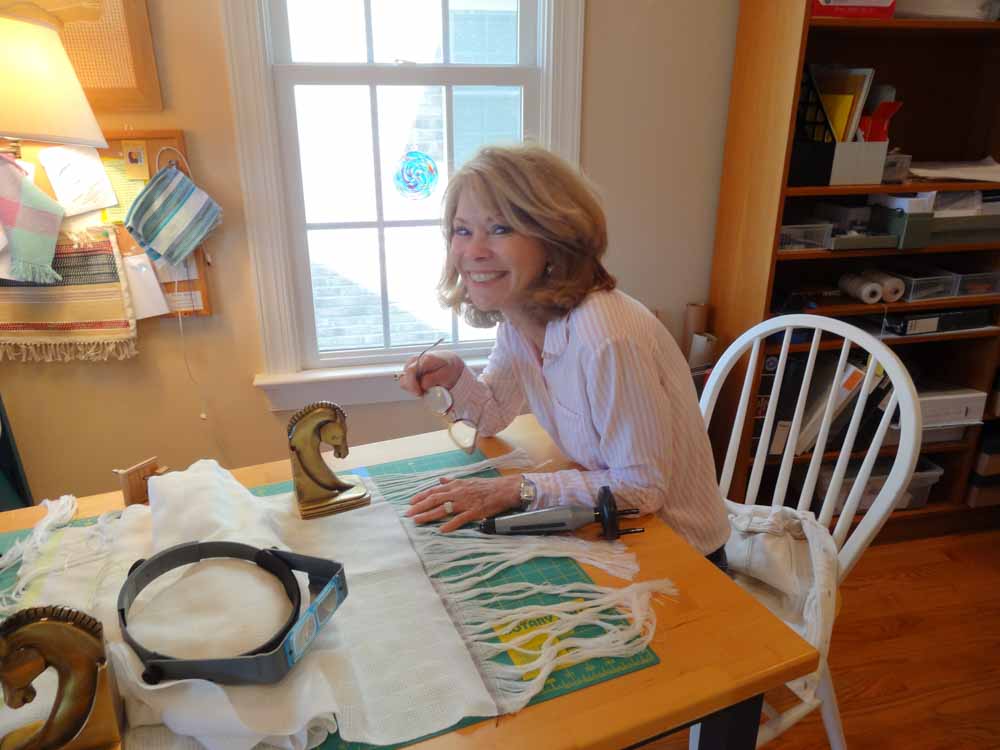
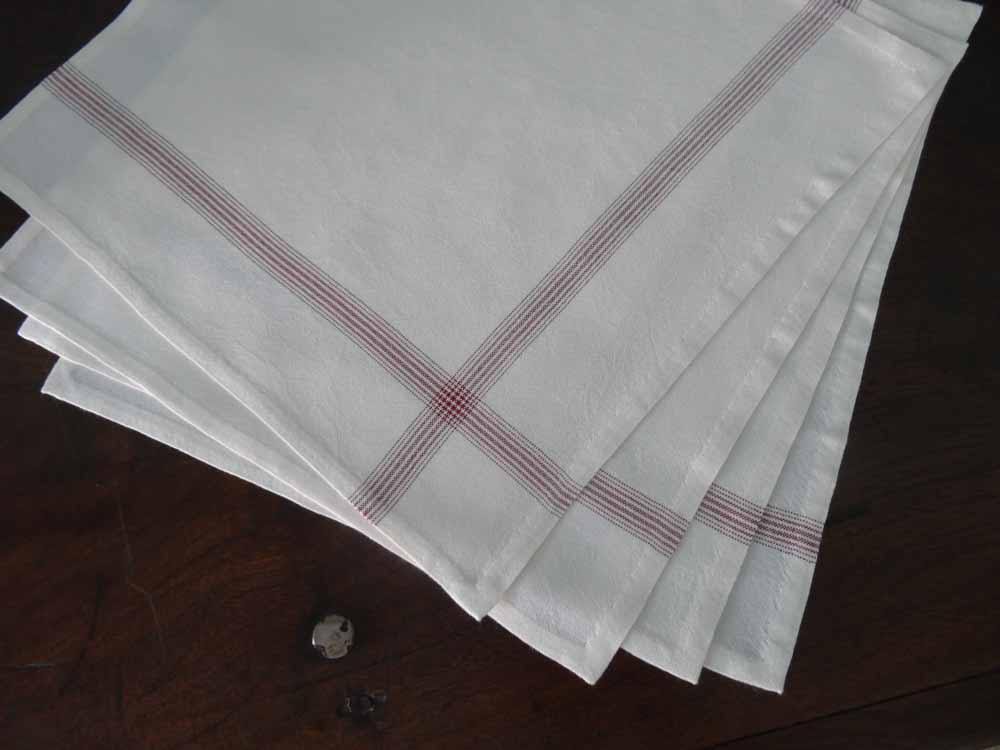
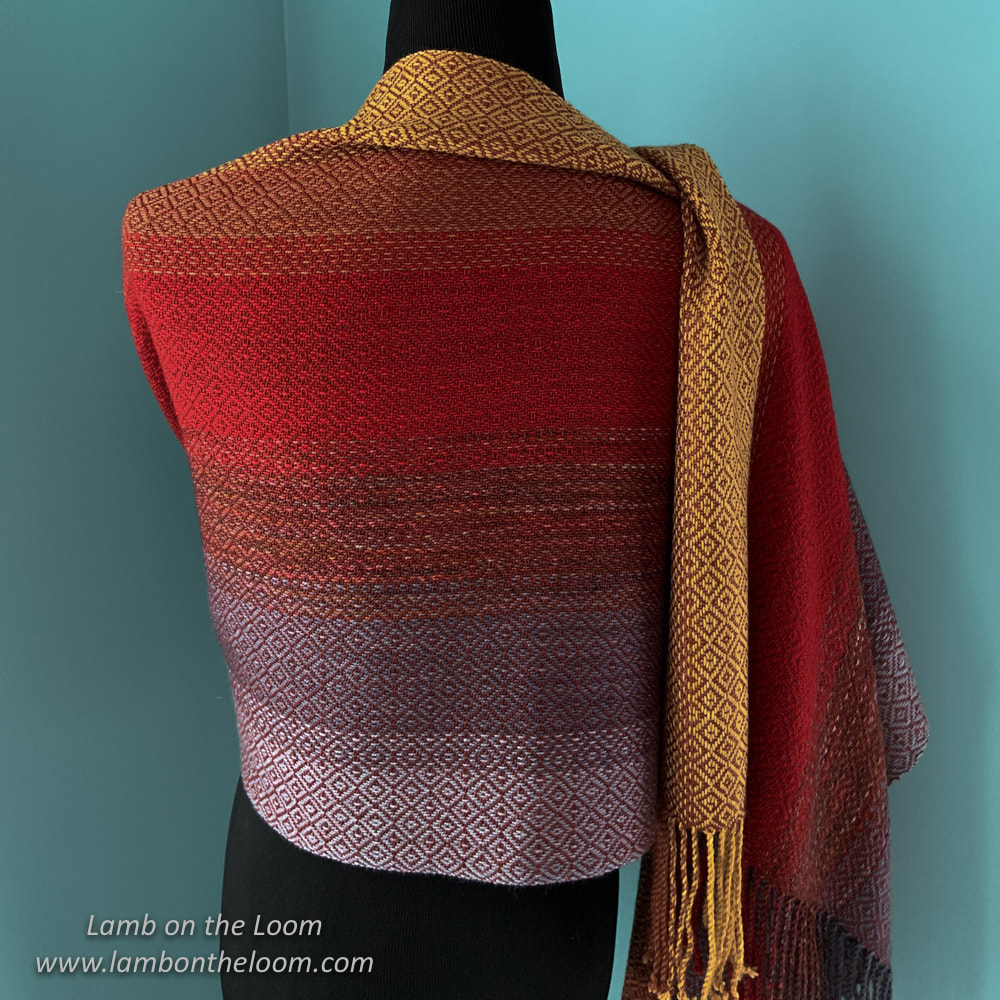
The inspiration shawl and the woven shawl are different yet related. Both use the same colorway, both are soft and warm, and both made me happy, although for different reasons. But just between you and me, I would choose weaving over knitting any day. Well, that is really questionable in my opinion. I have never enjoyed hemstitching. However, I have 2 really good tips to make it a little easier.
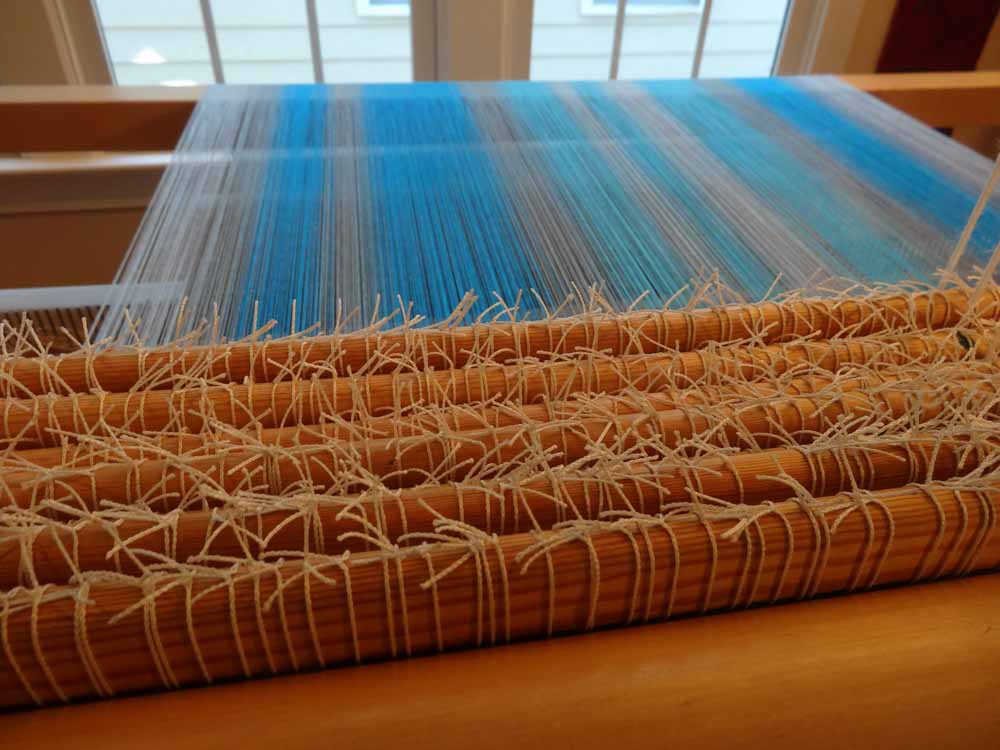
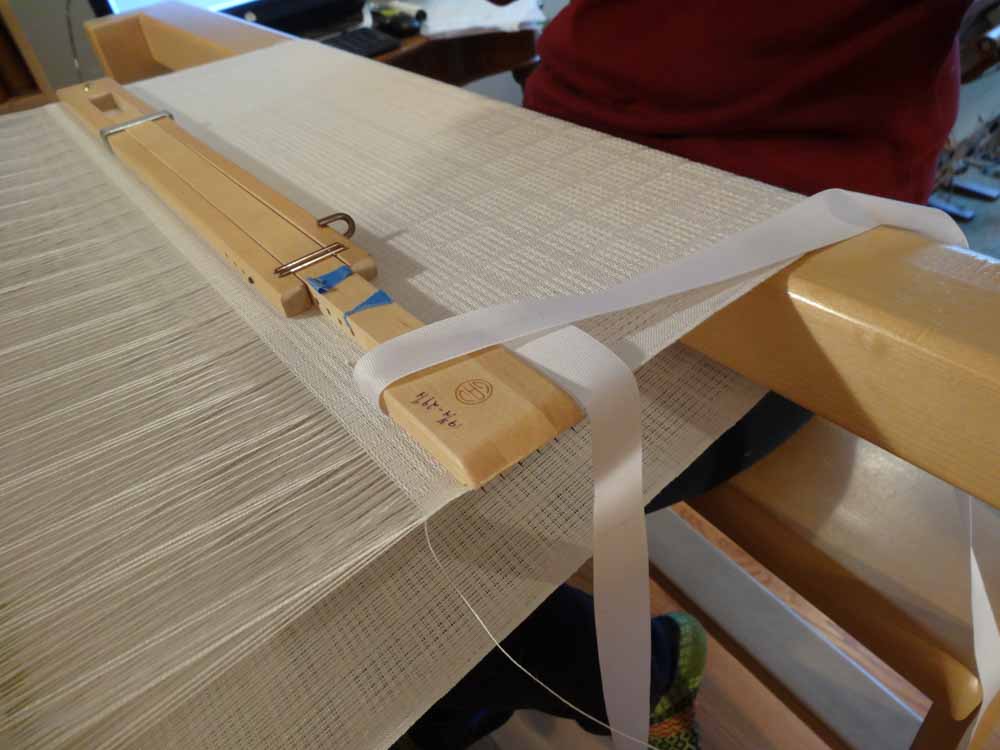
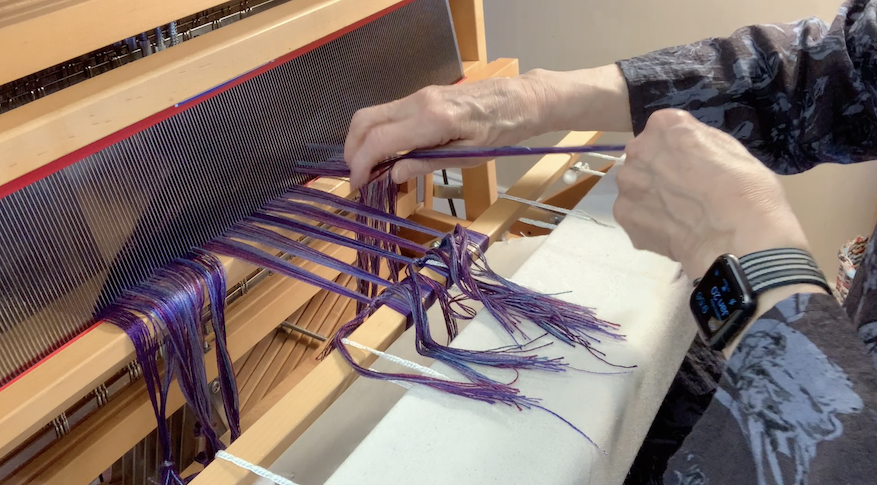
Tip 2: The second tip improves your visibility for hemstitching. Depending on the color of my warp, I find that seeing the warp ends and counting them correctly can be challenging. I place a contrasting sheet of paper UNDER the warp, and voila: visibility improves dramatically.
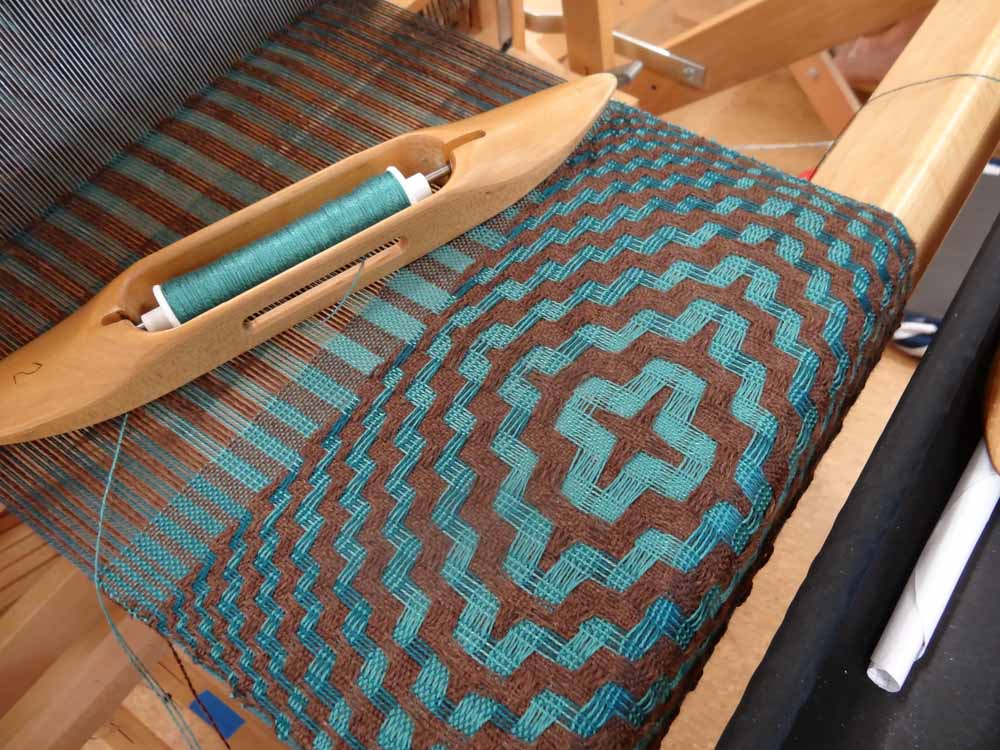
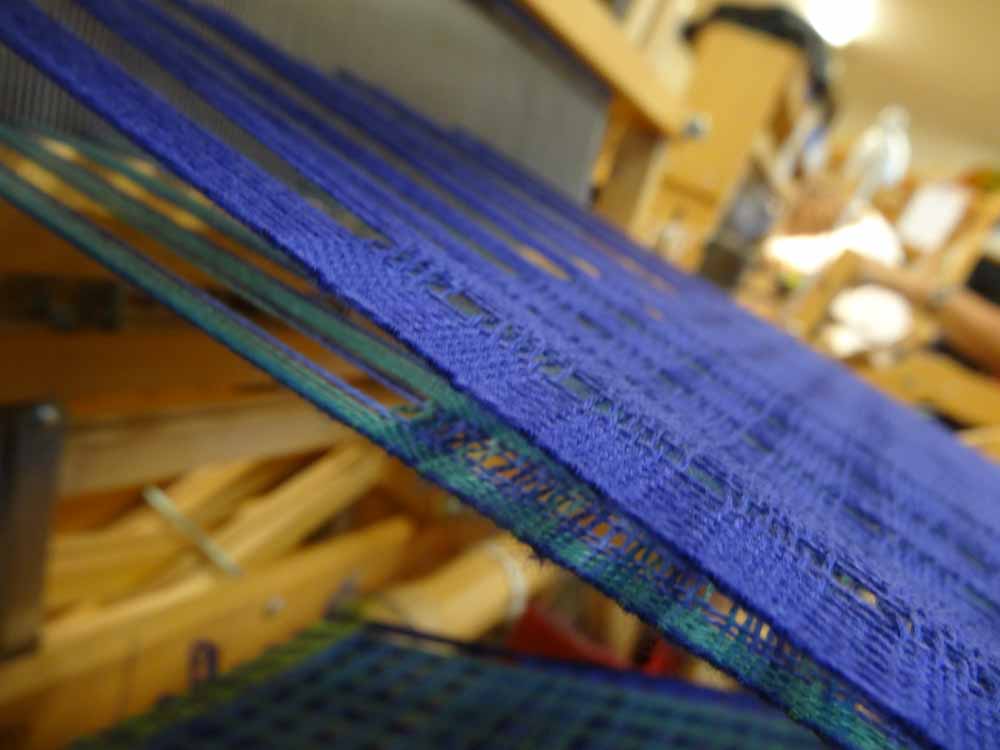
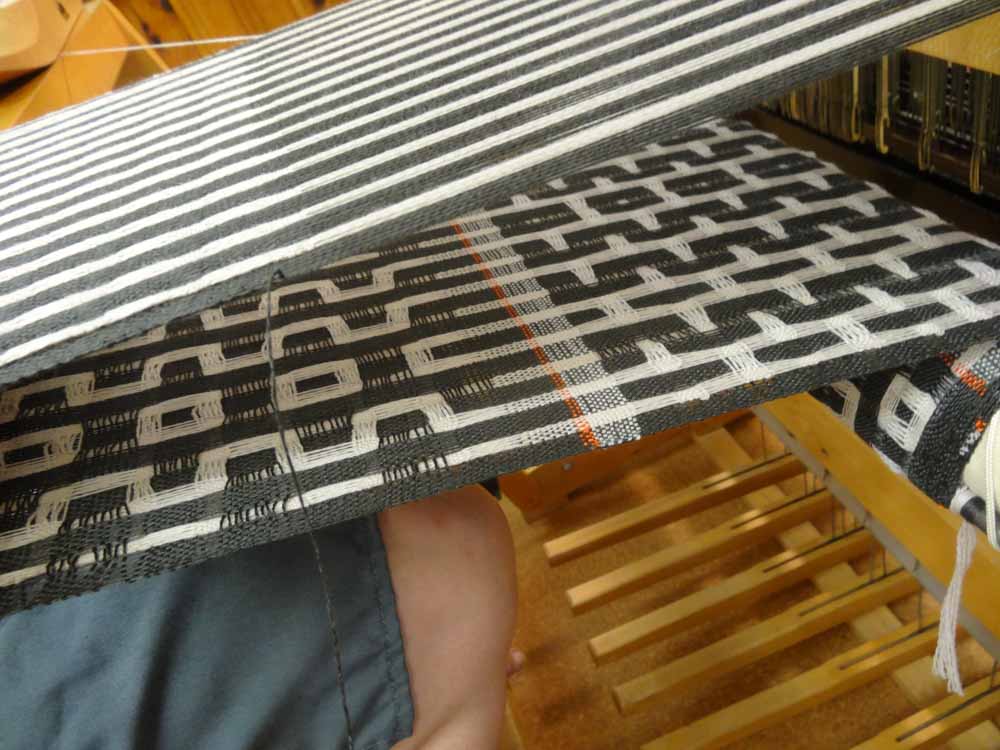
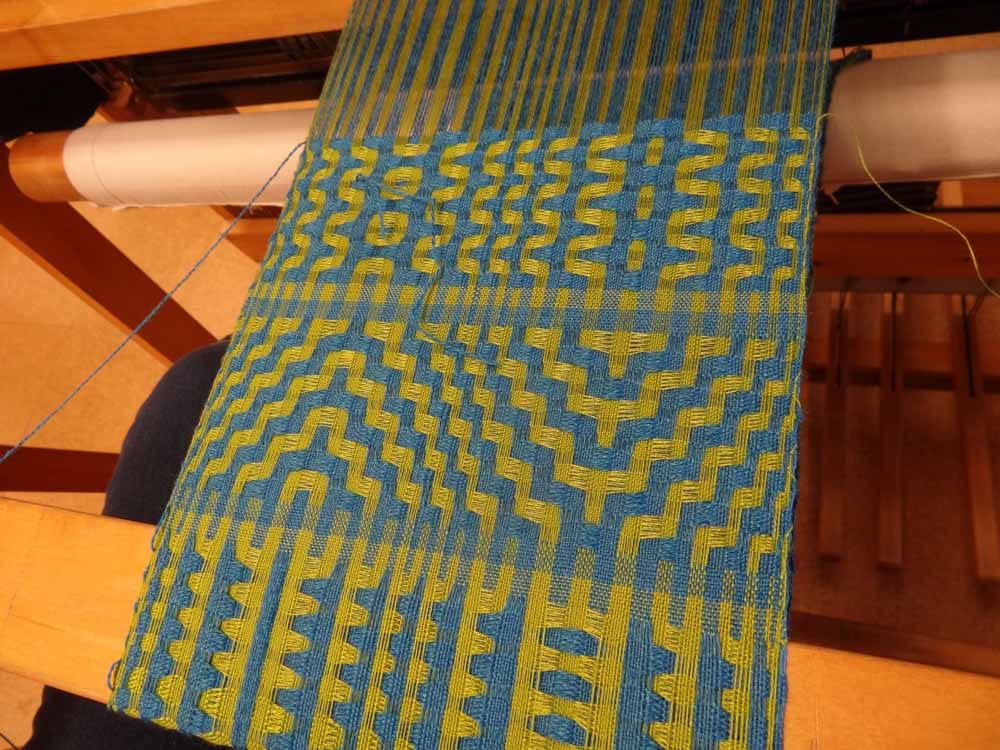
Remember: You can click on any picture to zoom in!
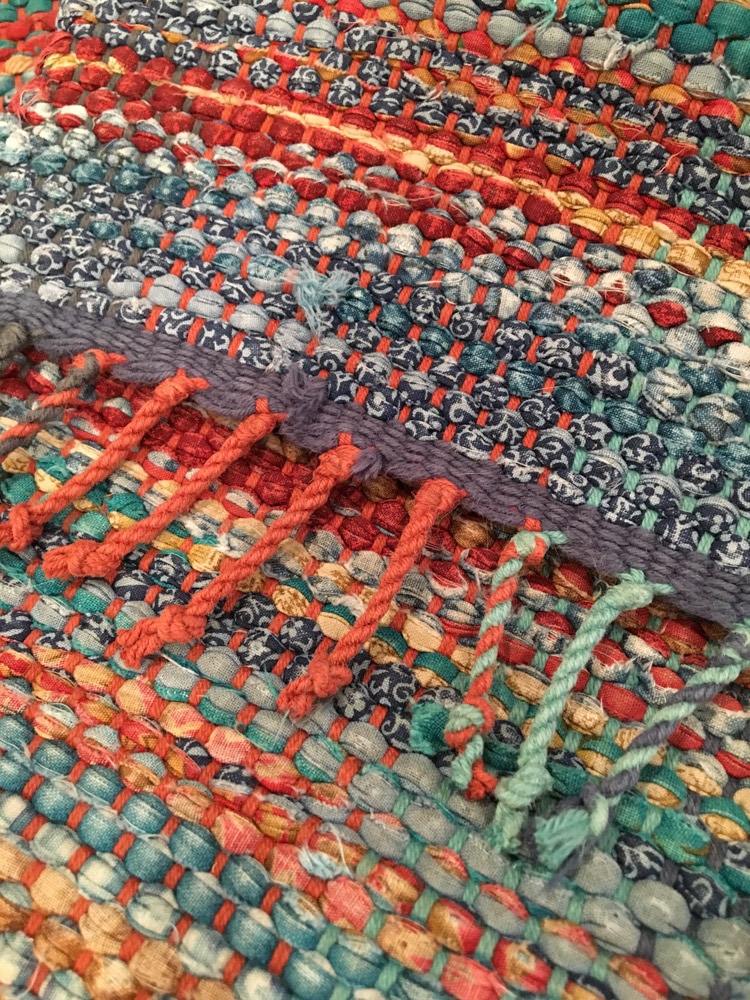
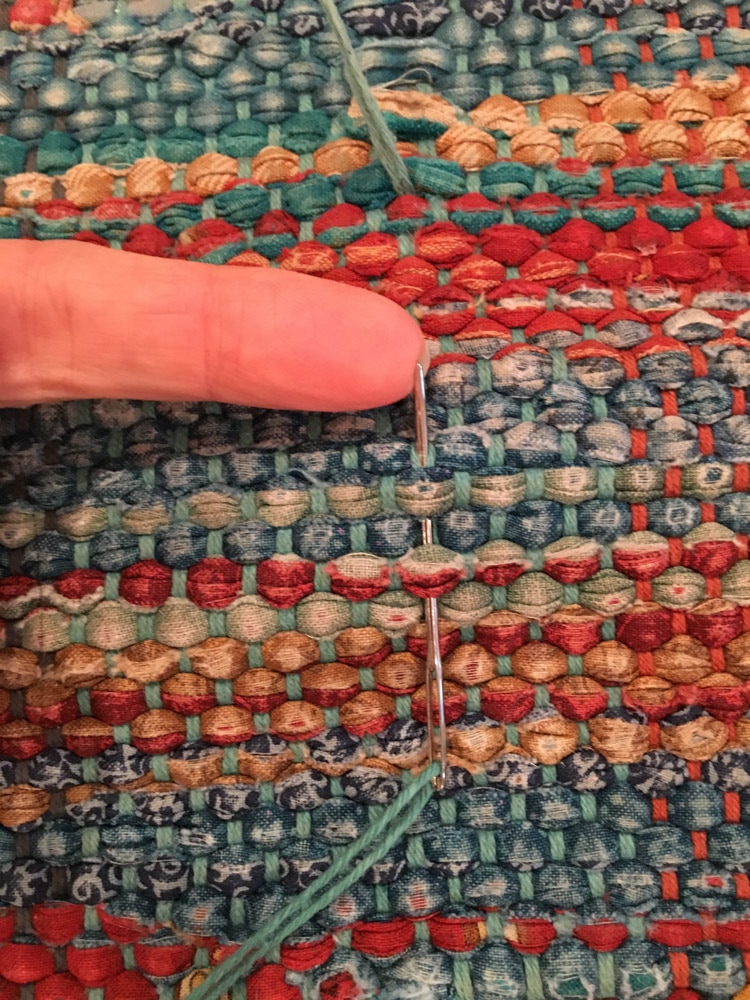
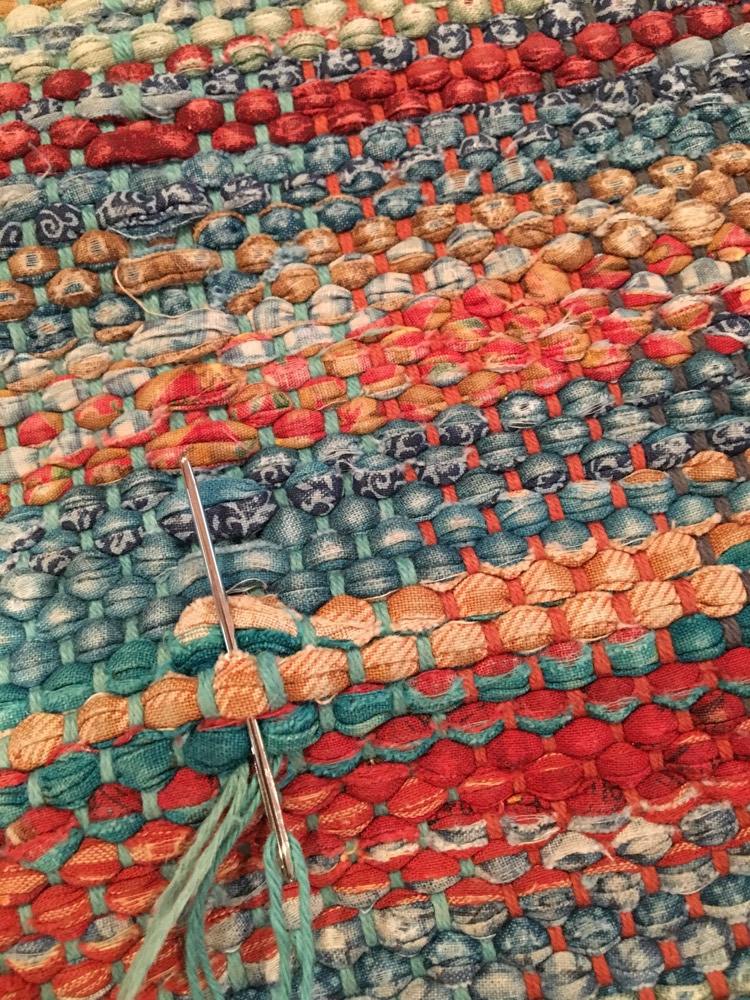
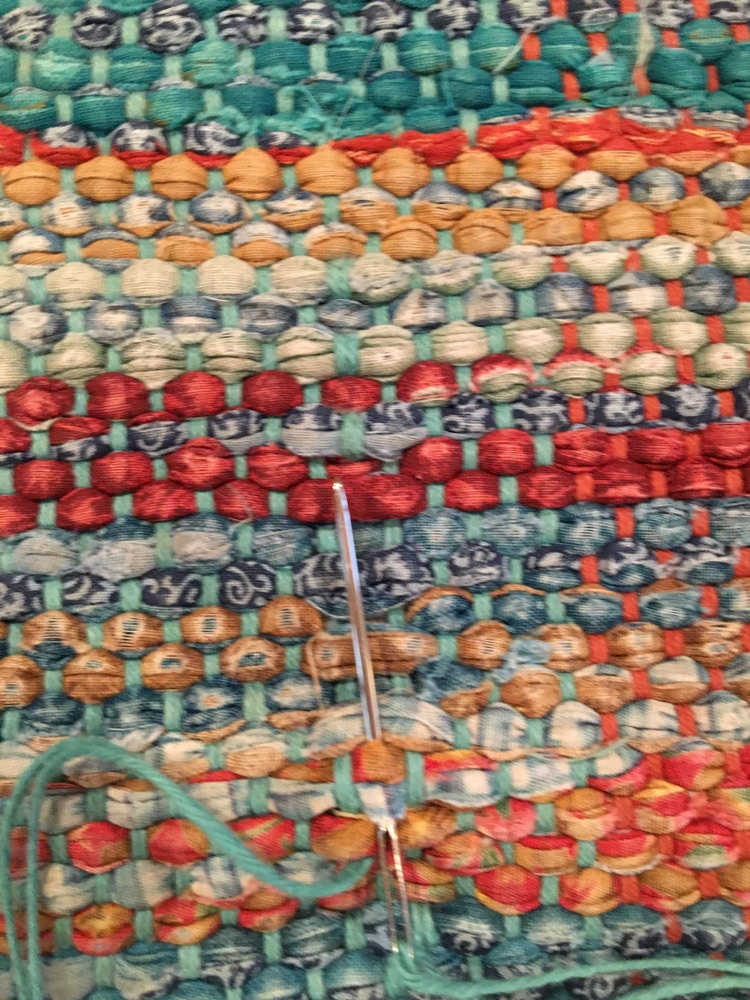
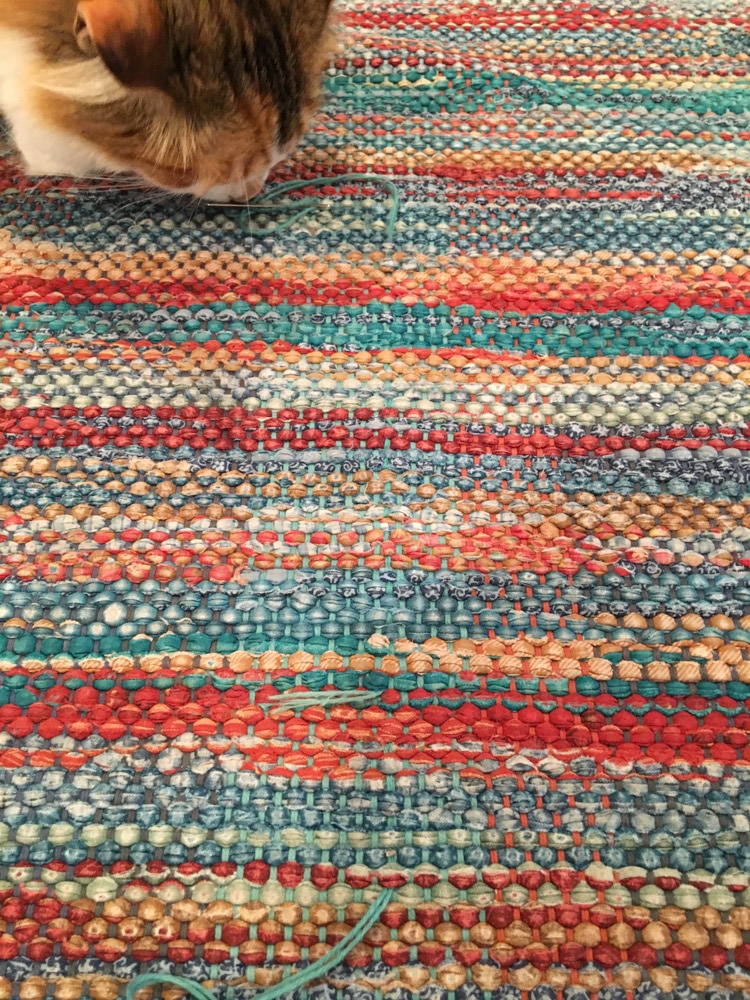
Step 2: I gathered the tools I would need for repairing the broken warp threads The warp used in this rug was 8/4 cotton rug warp used double, and luckily I still had some on hand (this will not surprise anyone who knows me and has seen my yarn stash). So now all I need was a tapestry needle threaded with a doubled strand of the warp thread and a little patience. The weaving should be easy because the rug was woven in plain weave. Step 3 - Fixing the Broken Threads
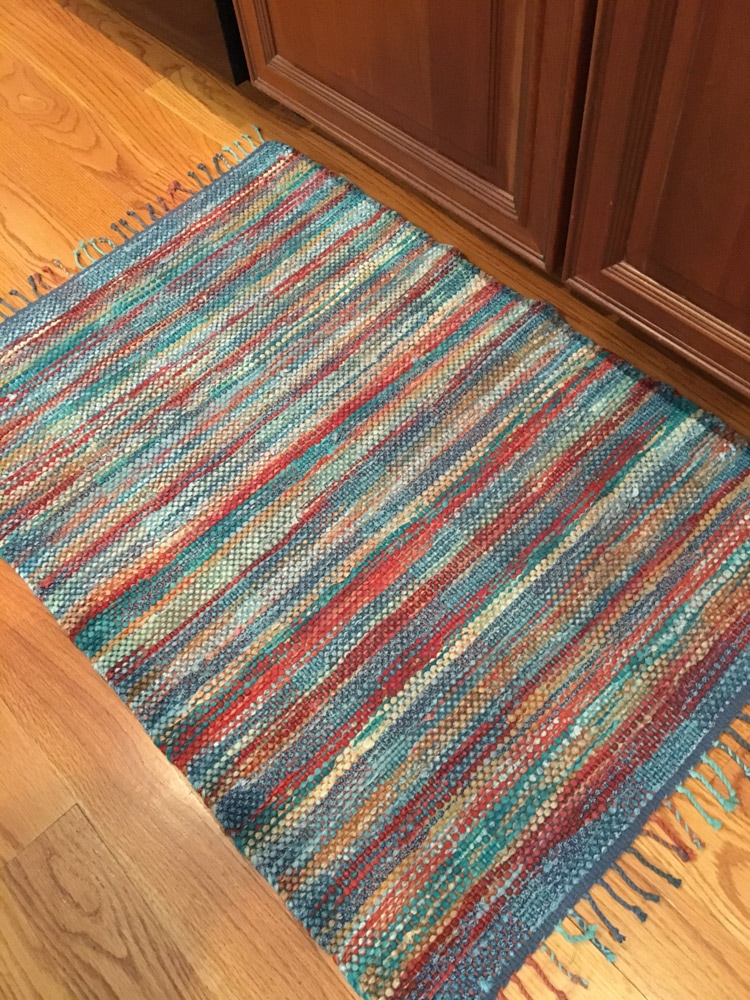
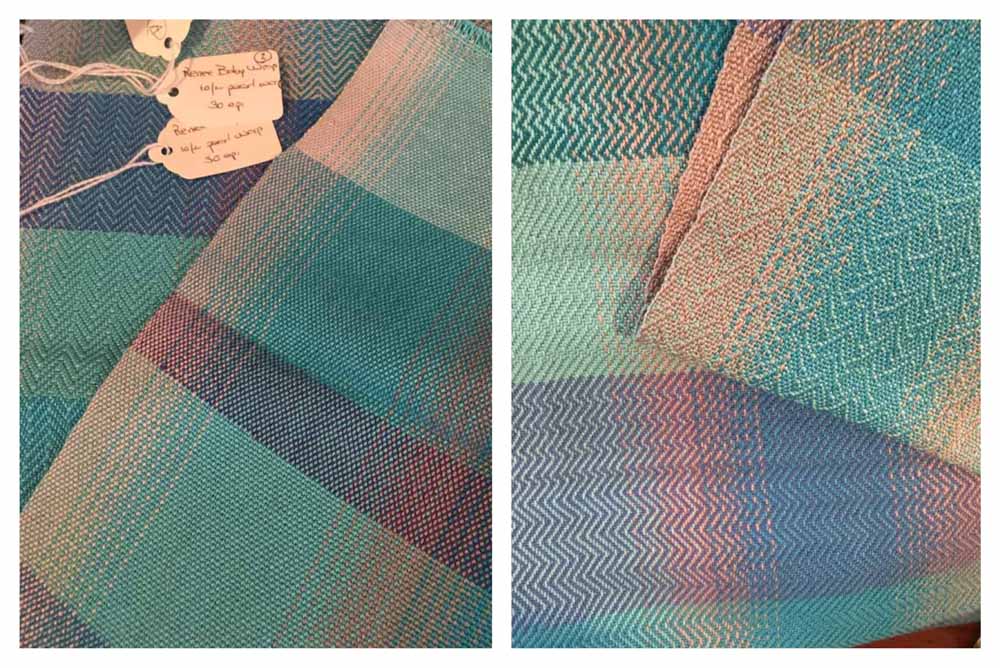
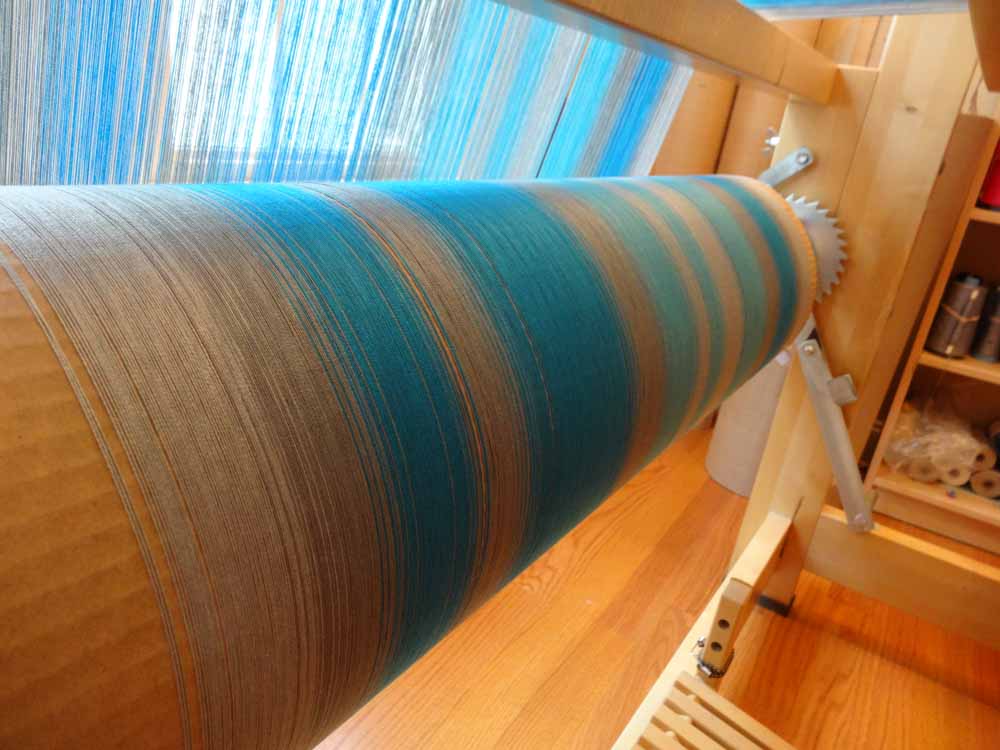
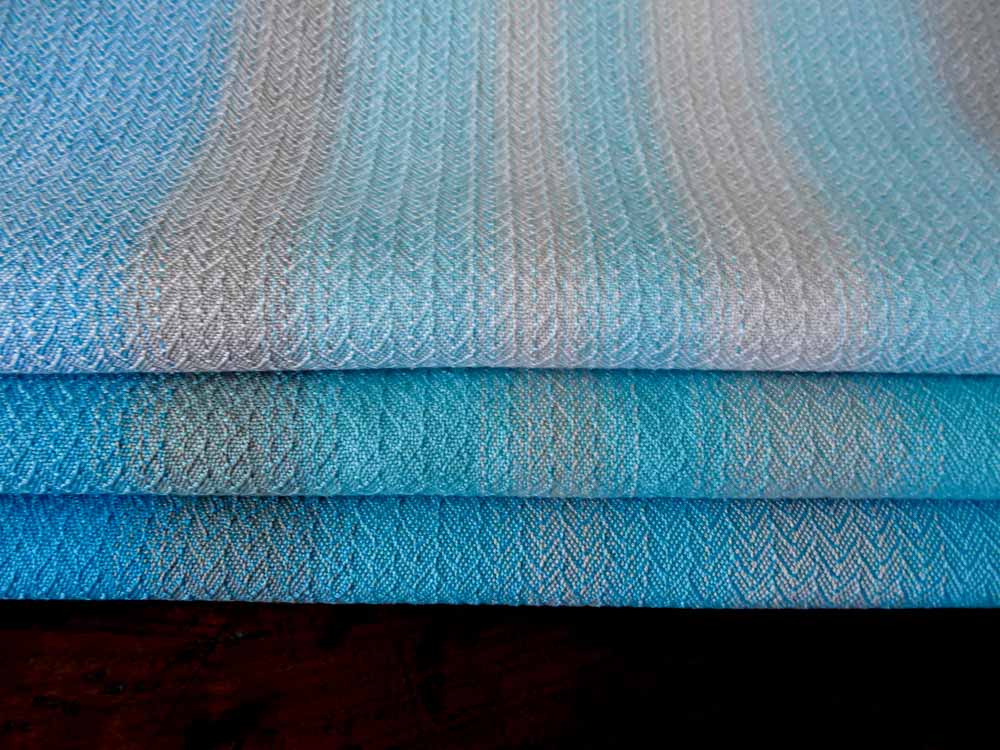
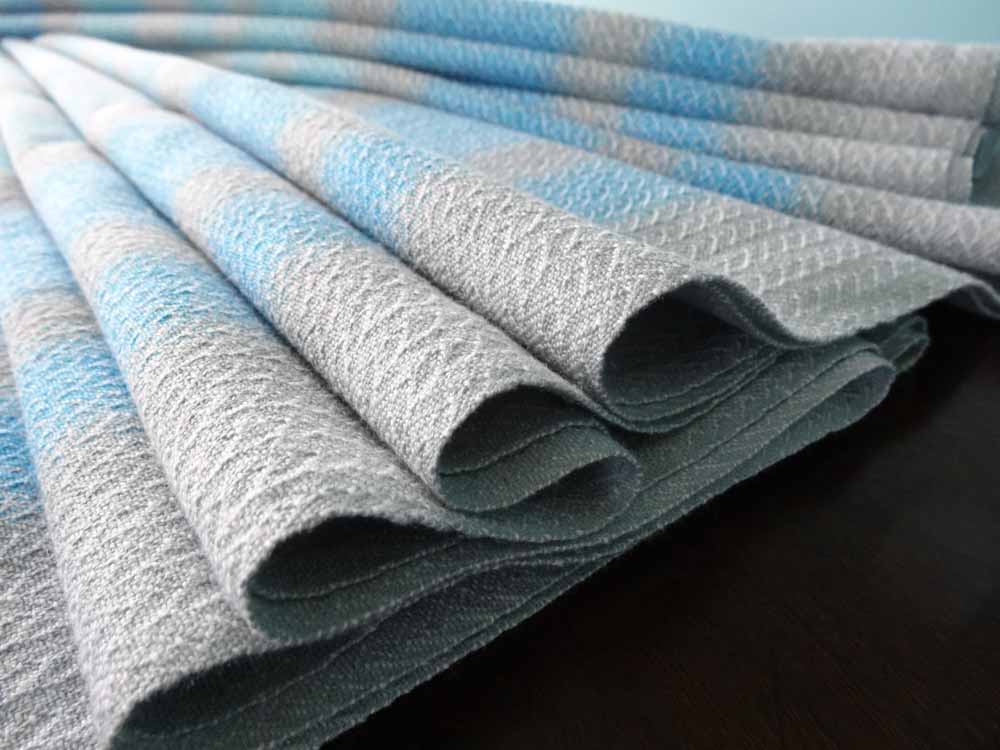
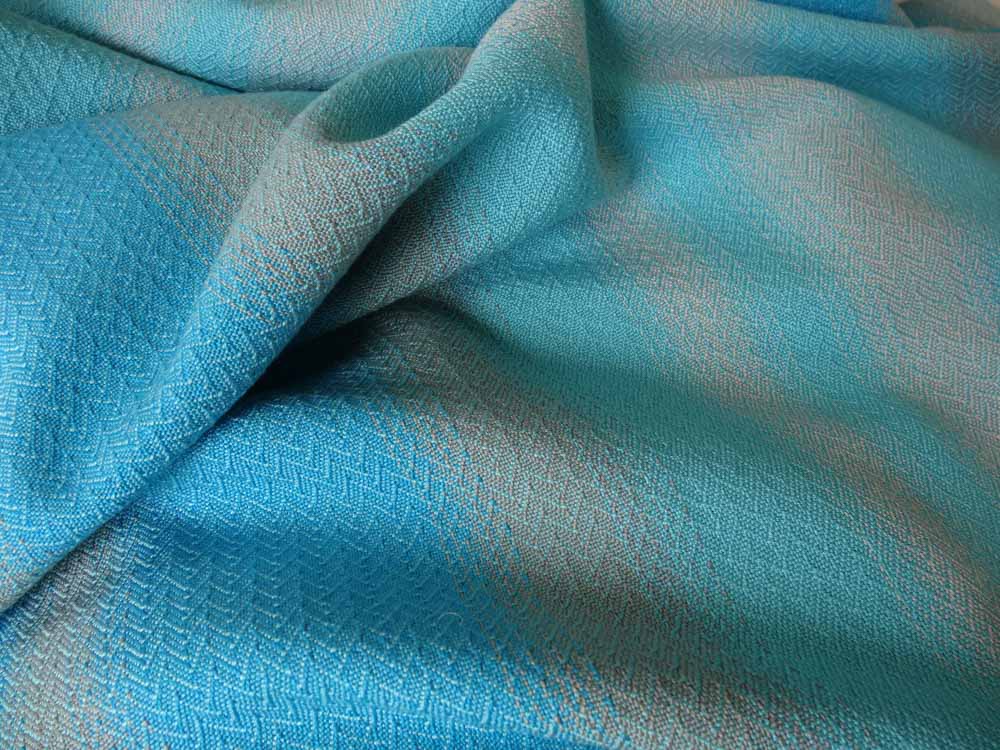
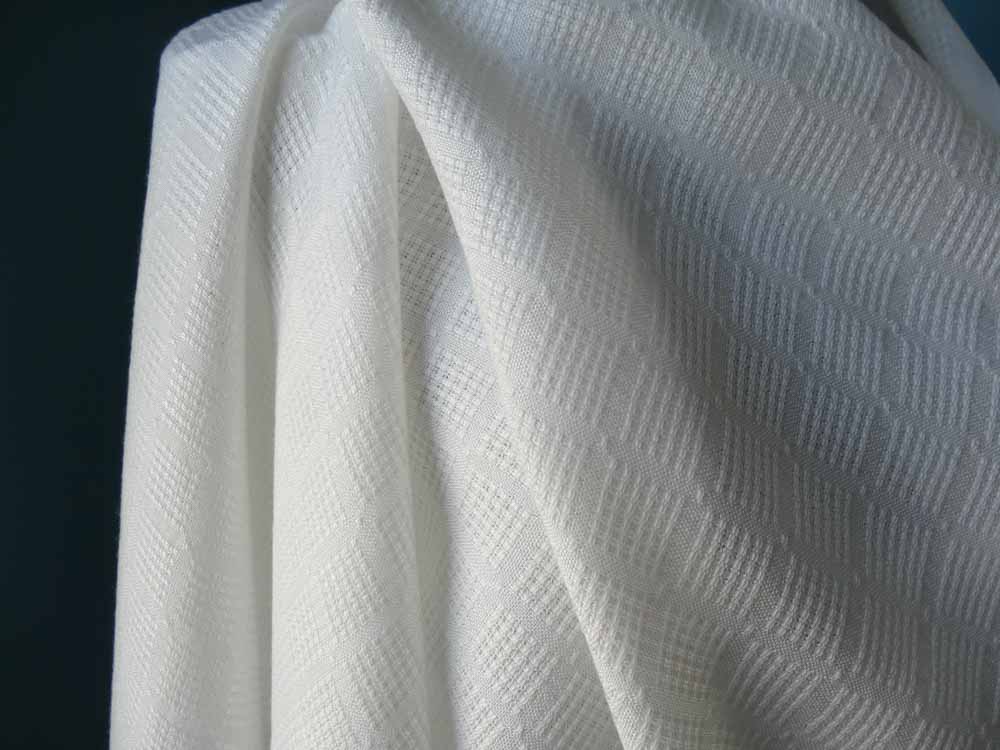
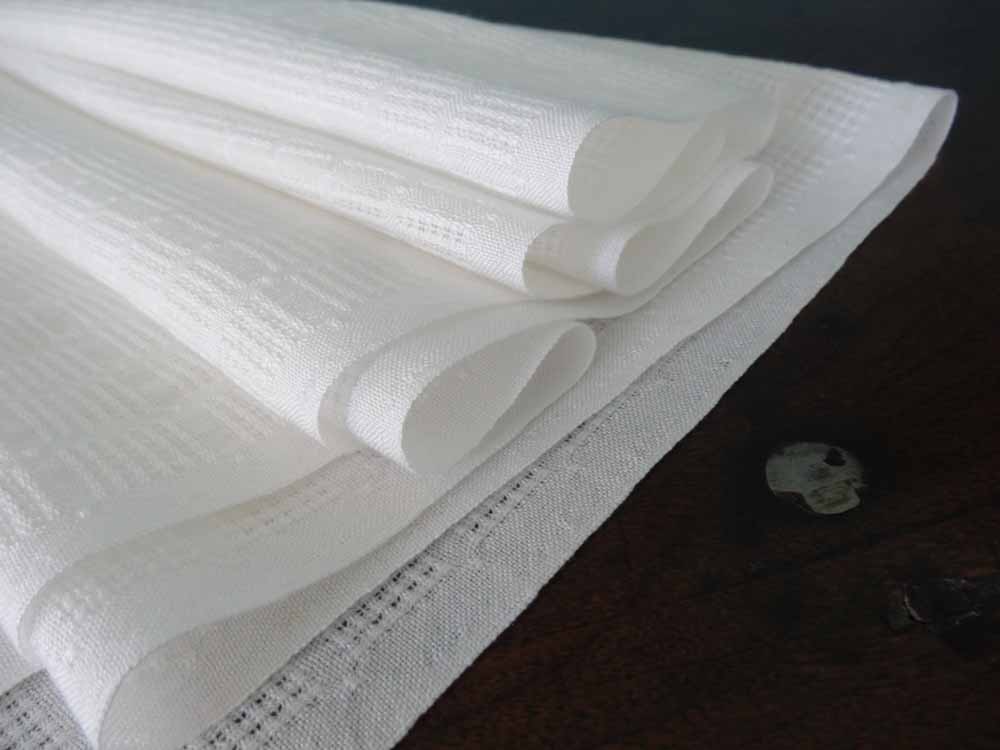
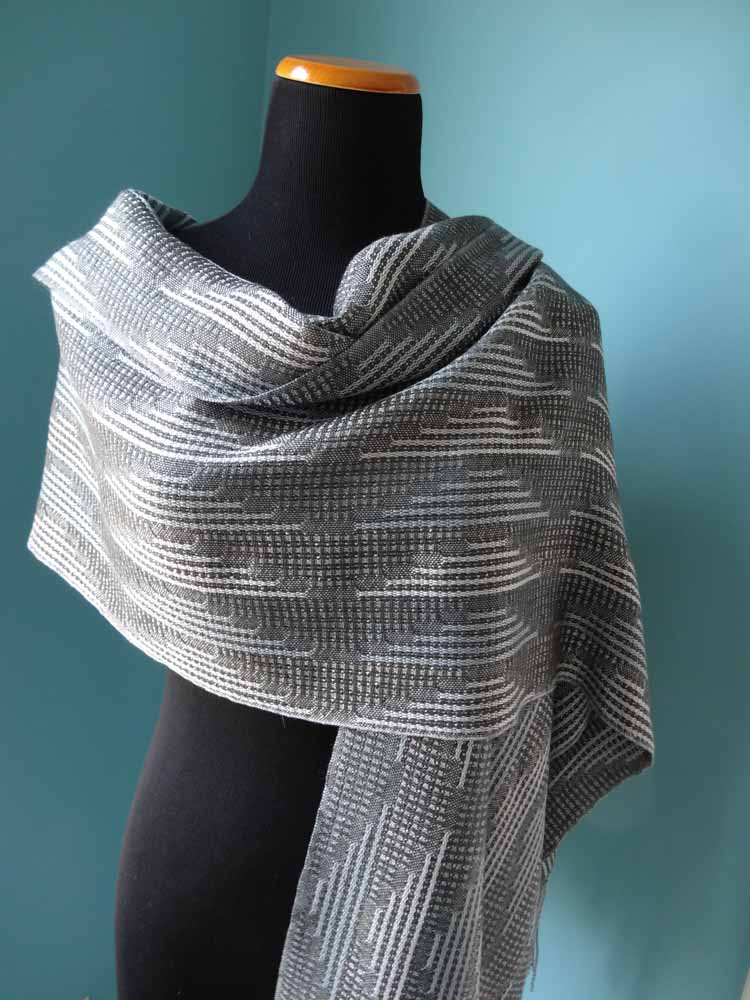
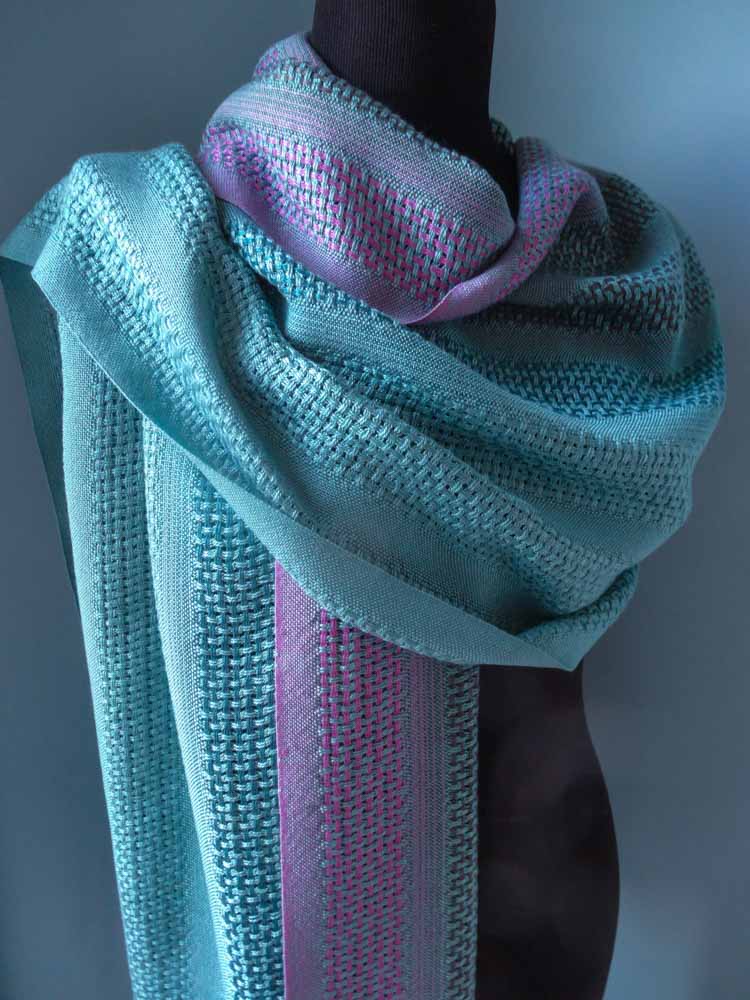
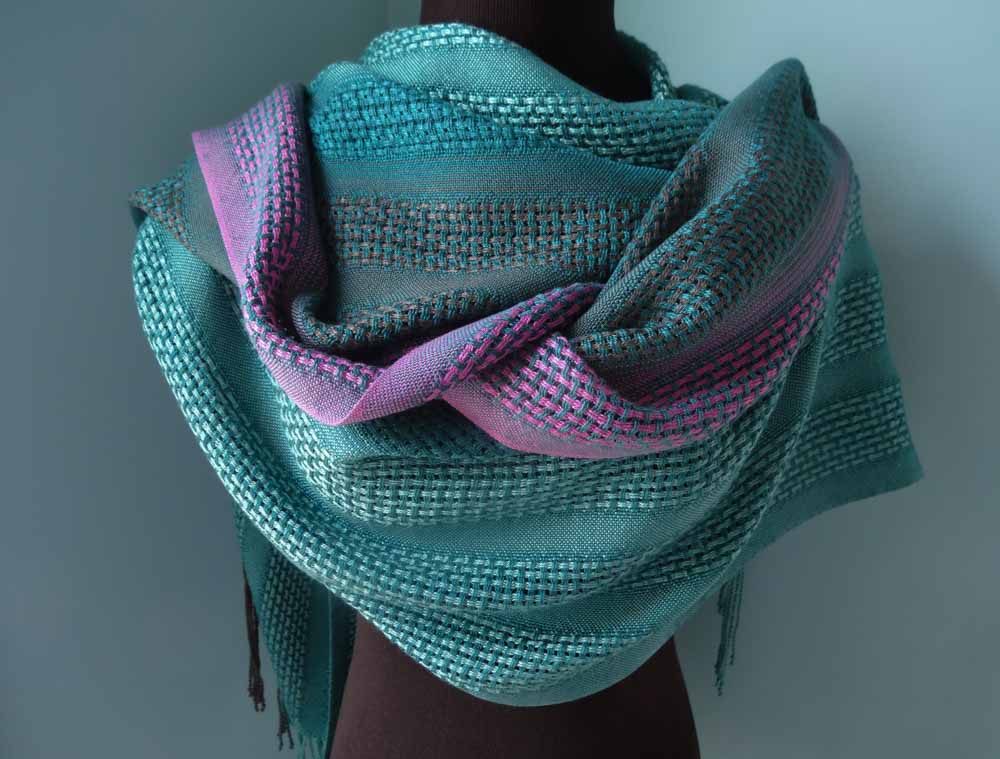
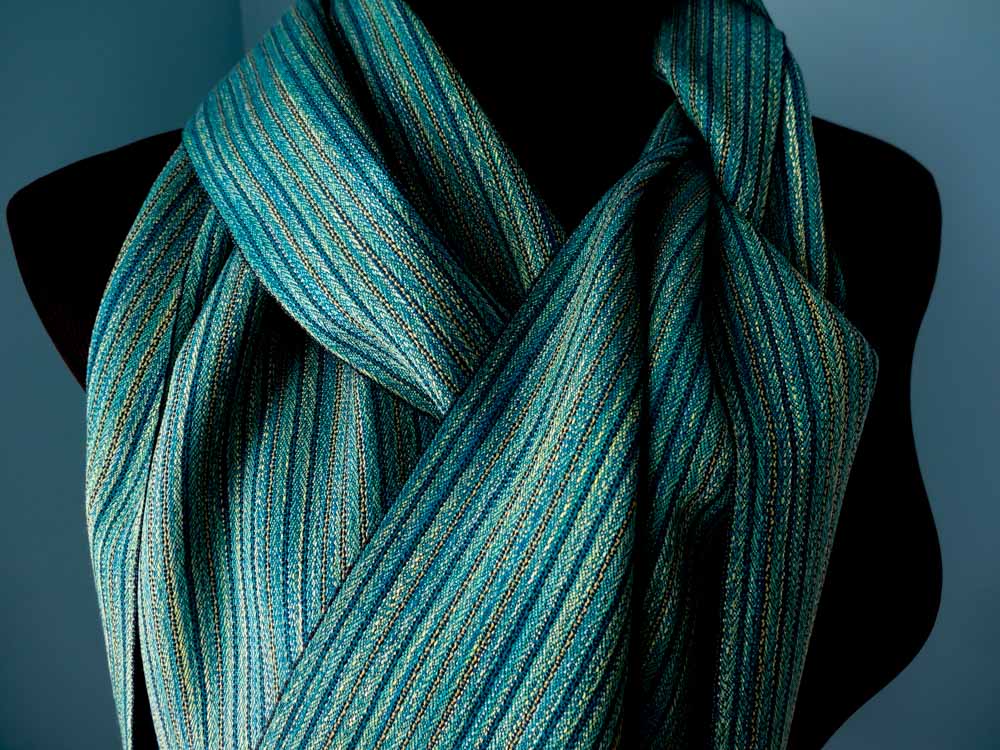
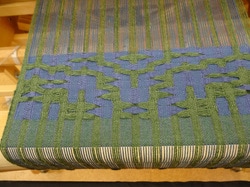
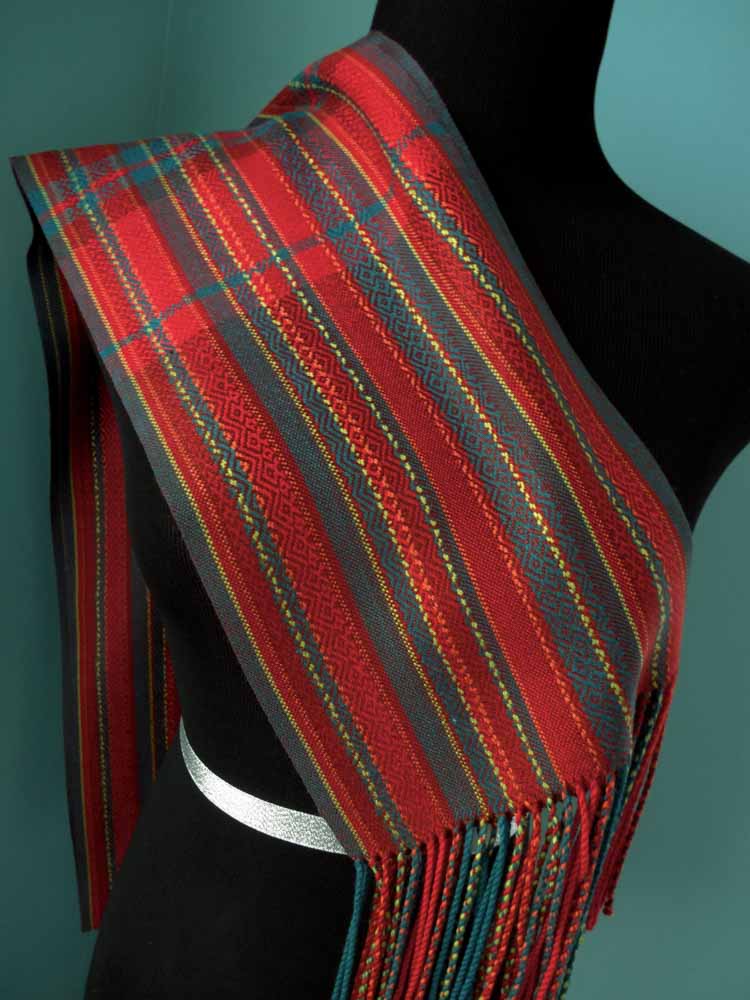
All done! And I think the rug looks better with short fringe anyway. My niece (and goddaughter), expecting her first baby, requested that I weave a handwoven baby wrap for her. Favorite color: turquoise. Style request: "grown up". I knew she grew up around the water and teaches yoga so I immediately was thinking of something soft, peaceful, organic with colors flowing from one to another. We discussed using shades of turquoise and grays and samples went on the loom.
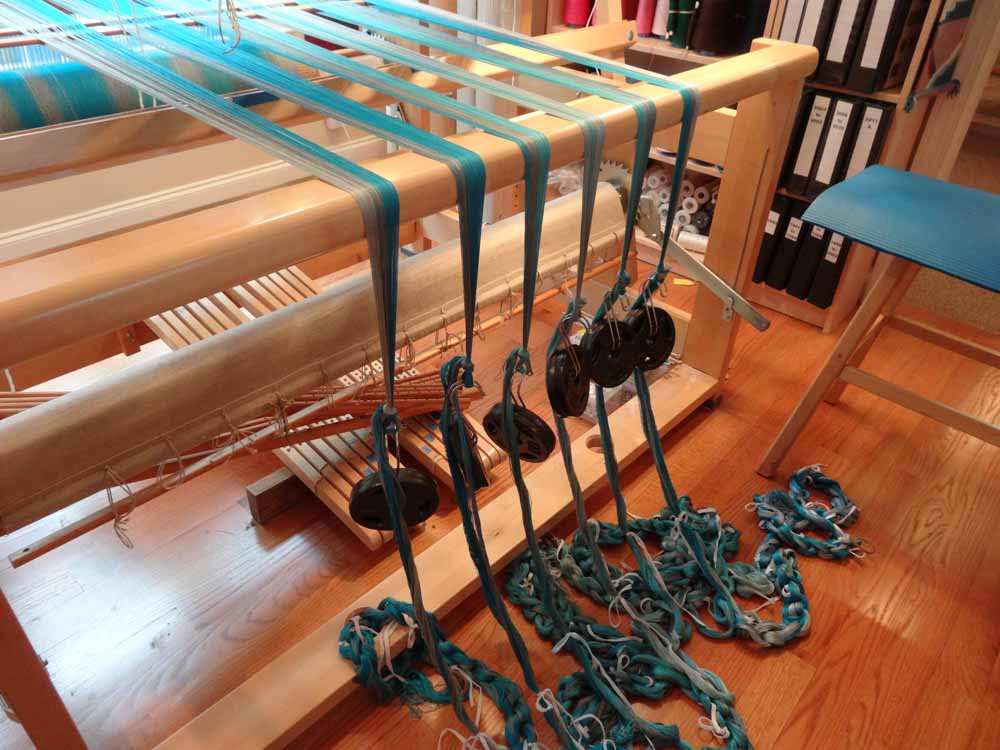
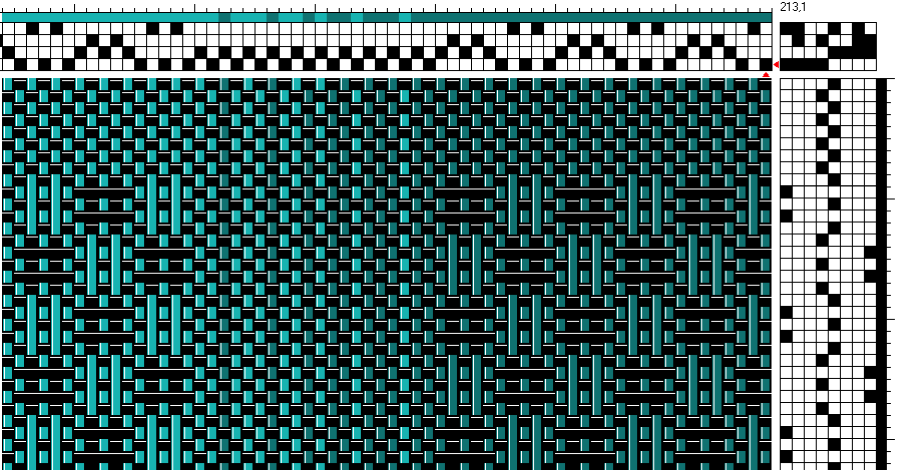
I would weave 3 sister wraps so I measured the warp: 6 chains, each 20 1/4 yards long. A total of 1000 ends of 10/2 pearl cotton in random stripes of 4 colors: light gray, medium gray, light turquoise/aqua and deep turquoise, to be sett at 30 ends per inch. I "ombred" the transitions from one color to the next so that the colors flowed smoothly from one to the next across the warp - all color changes being made on the warping mill.
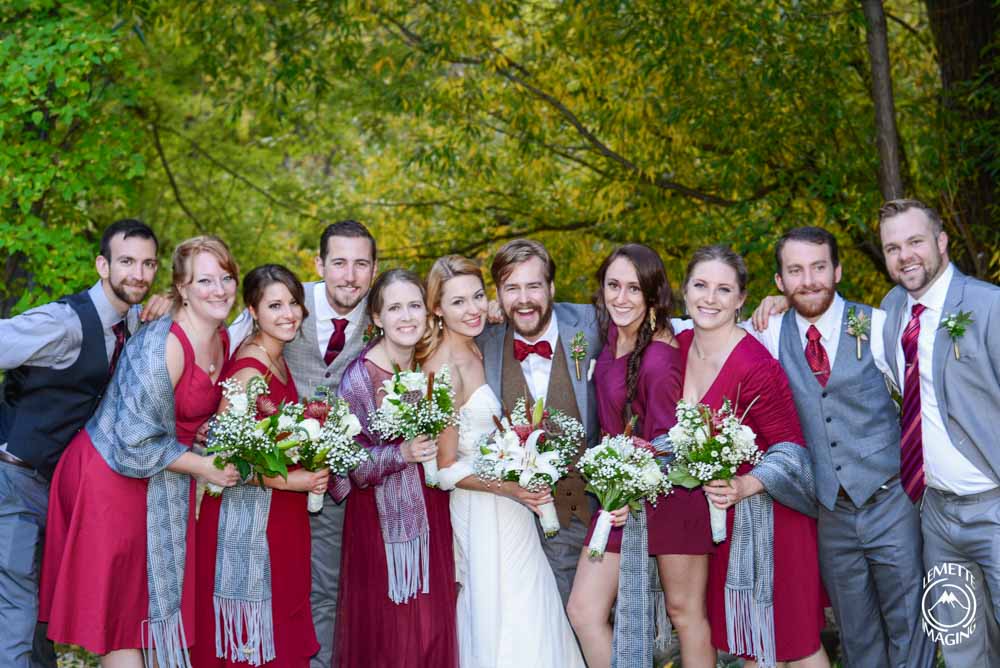
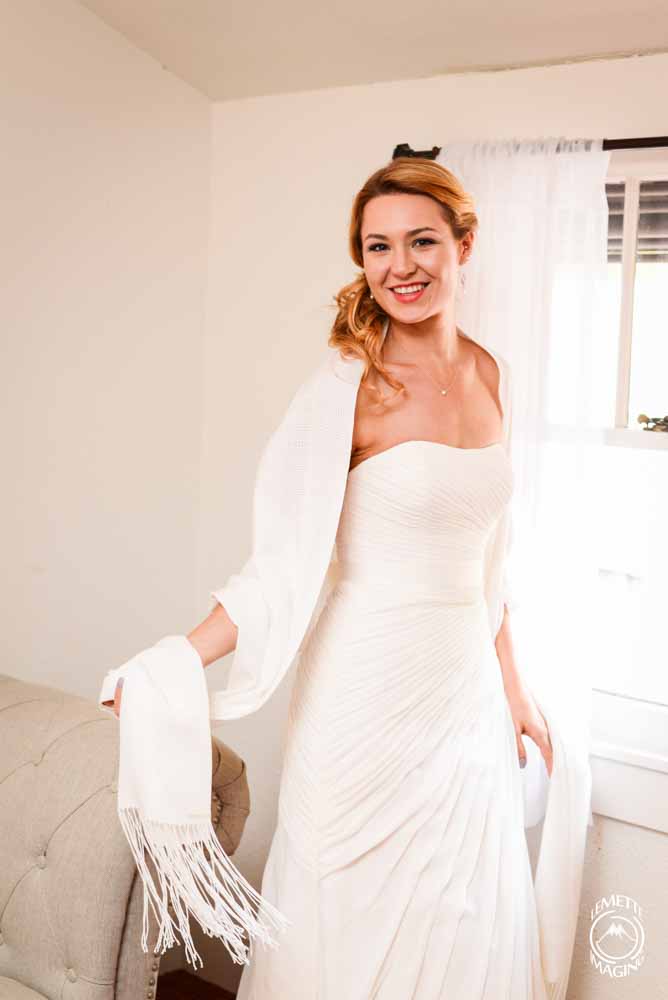
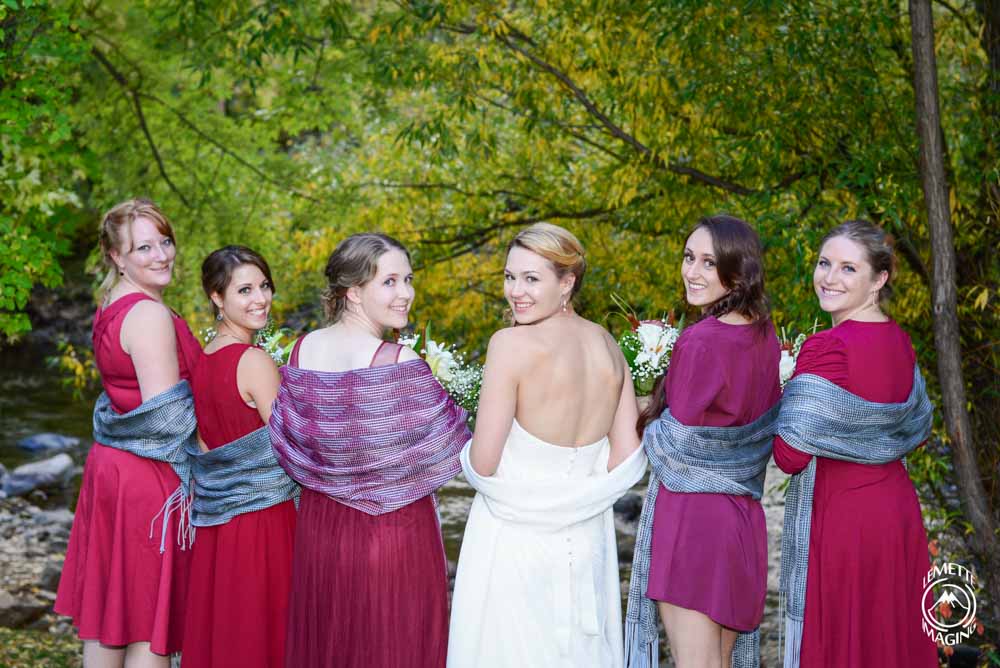
The Bride's Shawl
So the warp for two shawls went on the loom: one for the bride and one for a gift our outgoing guild president, Janice. A dozen of our guild board members took turns in April weaving off the first shawl so that we could present it to her at the May board meeting. I wove the bride's shawl off in May.
Next... Shawls for the Wedding PartyI offered to weave shawls for each of the four bridesmaids and my daughter, the "best sister". I put on a warp for 6 shawls: 5 for the wedding party and an extra:
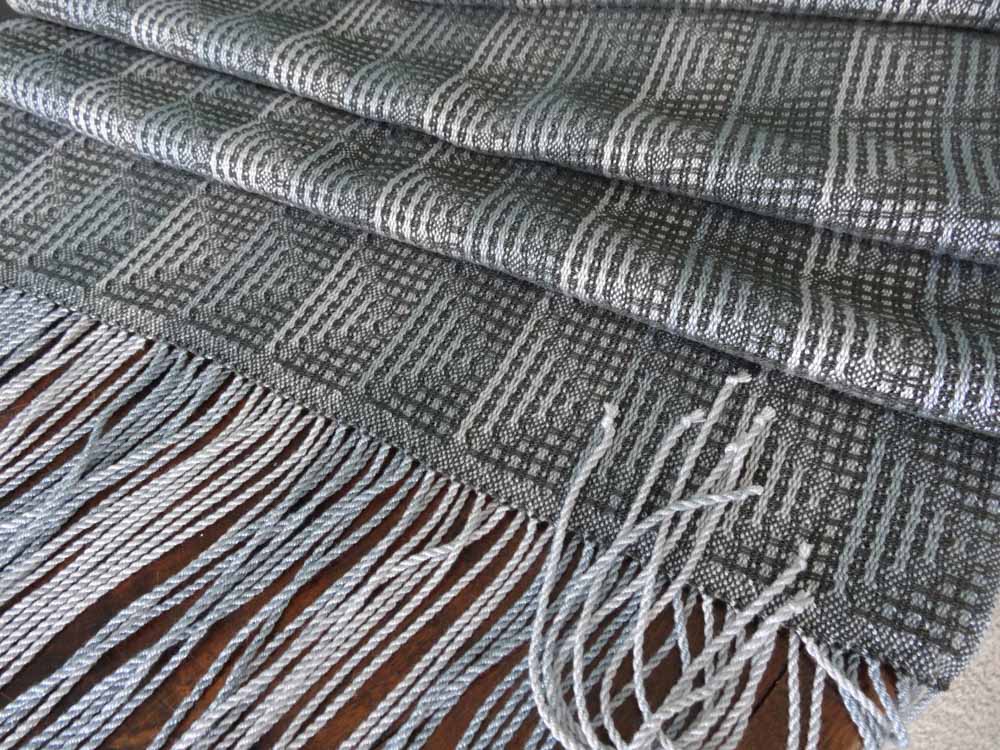
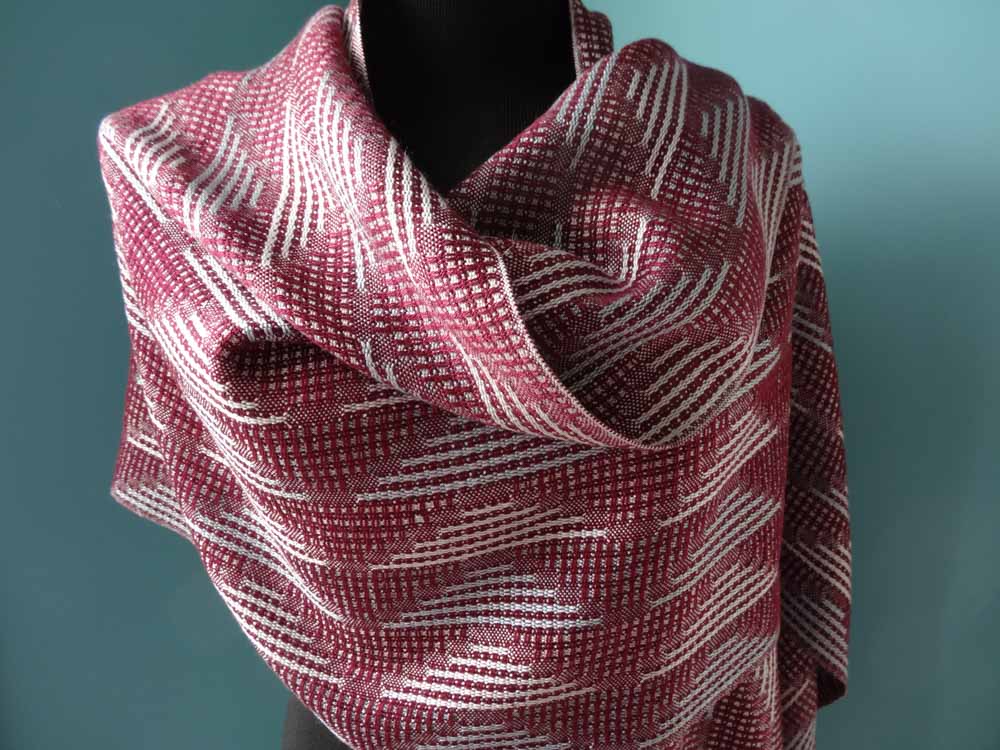
Next... A Shawl for the Mother of the BrideThis shawl was a little more of a challenge. Or at least it caused me a little more angst. Mostly because I only had a photograph of Jamie's dress. So after exchanging photos and yarn samples, I finally decided on a huck lace shawl in 2 shades of teal, charcoal gray and mauve in the warp.
Again, I wove 2 shawls: the first I wove with the greyed teal for the mother of the bride., and the second with the dark teal to sell.
Finally... Pocket Squares for the Groom and the DadsI really wanted to weave a pocket square for my son, but I wasn't sure if I would have time and I wasn't sure exactly what would work. After sampling quite a bit with 60/2 silk, I settled on a very simple plain weave square with some burgundy stripes on 2 sides and hemmed on 4 sides. I made 4 squares: 1 for Ryan, 1 for each of the Dads and 1 extra.
And What Did I Wear?
We met in Cary so we could drive to the mountains together. Sue came in from Connecticut (she had planned to fly, but had to drive because her flight was cancelled) and Jackie came up from Pinehurst). We packed up the car and headed out on our road trip with no real idea of what to expect.
The Folk School was founded in 1925. It offers year-round 5-day and weekend classes on a large variety of topics including music, arts, crafts, and some unexpected subjects. During the week that we were there, 140 people attended classes in weaving, nuno felting, enameling, jewelry making, Italian cooking, writing, mandolin playing, wood turning, wooden mantle carving, blacksmithing, watercolors, chair caning, woodworking, and book arts.
Classes actually began on Friday evening after registration and dinner in the dining room. After that we had daily class for four days each morning and afternoon with optional sessions in the evening after dinner. We were treated to stories and music at Morning Song each day before breakfast. All meals were served in the dining room. There were many optional activities at all times of the day including morning walks, tours of the campus and studios, chair massages, clogging demonstrations, contra dances, and the list goes on.
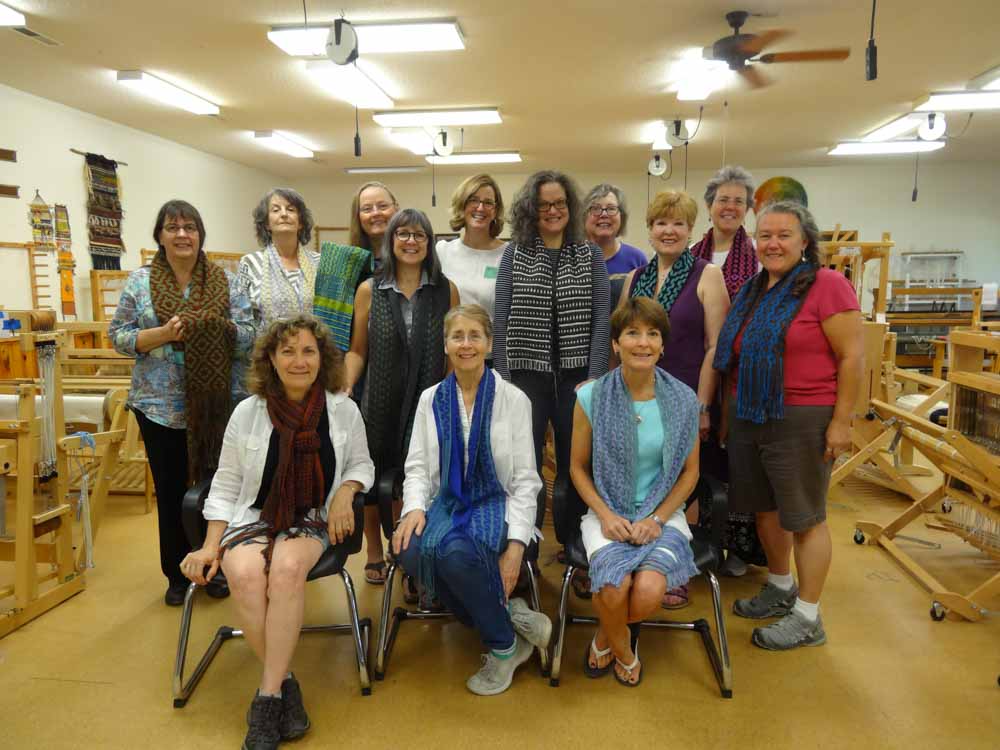
The best part, however, was the class itself. None of us knew anything about deflected doubleweave. Lisa (Elisabeth) Hill was a wonderful, generous instructor. She came with 2 tables full of yarn for us to use, pre-wound warps for anyone that chose to use them. We used gorgeous tencel, silk and wool, alpaca and silk, and merino yarns to warp our looms with beautiful 6-yard long warps that were 10” wide.
We had a 2 part mission: weave a sampler and weave a scarf! Our first assignment was to weave a nice long sampler using 2 different treadlings and a total of about 16 different treadlings. We cut the samplers from the loom and washed and dried them so we could which decide which treadlings to use for a scarf.
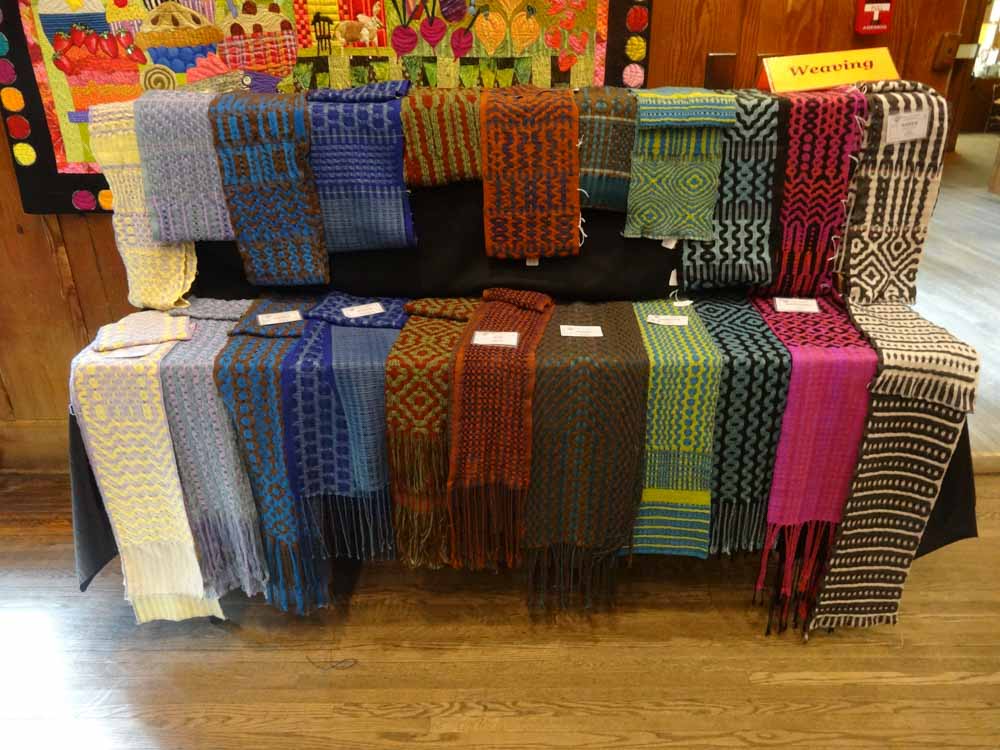
Decisions made, we tied back on and wove our scarves. We had time to twist our fringe, wash and dry (or almost dry) our scarves so they would be ready for the big presentation on Friday before everyone went home. Thirteen scarves, thirteen completely different threadings and colorways. (Number thirteen was woven by Lisa’s pretty wonderful assistant, Lillian). Pretty amazing results!
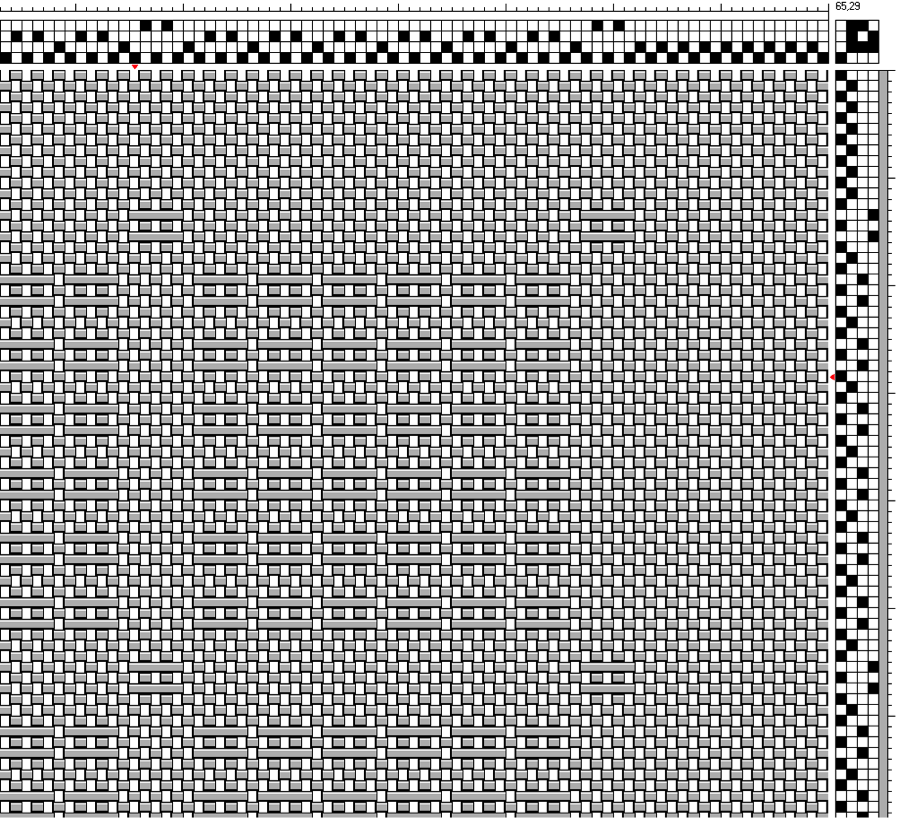
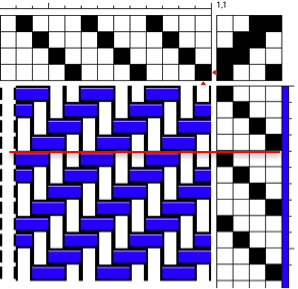
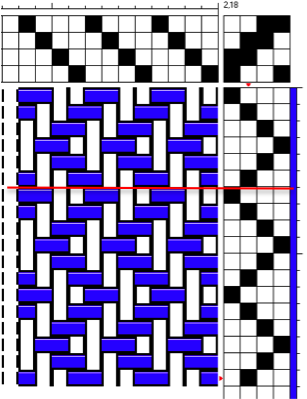
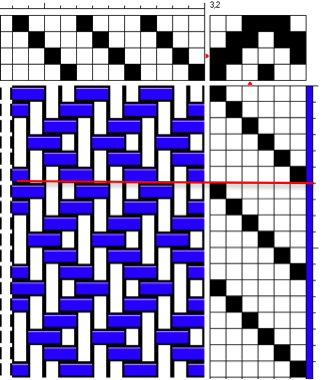
When we first learn to weave we usually are taught to tie up our treadles from left to right just as they are written in a typical draft.
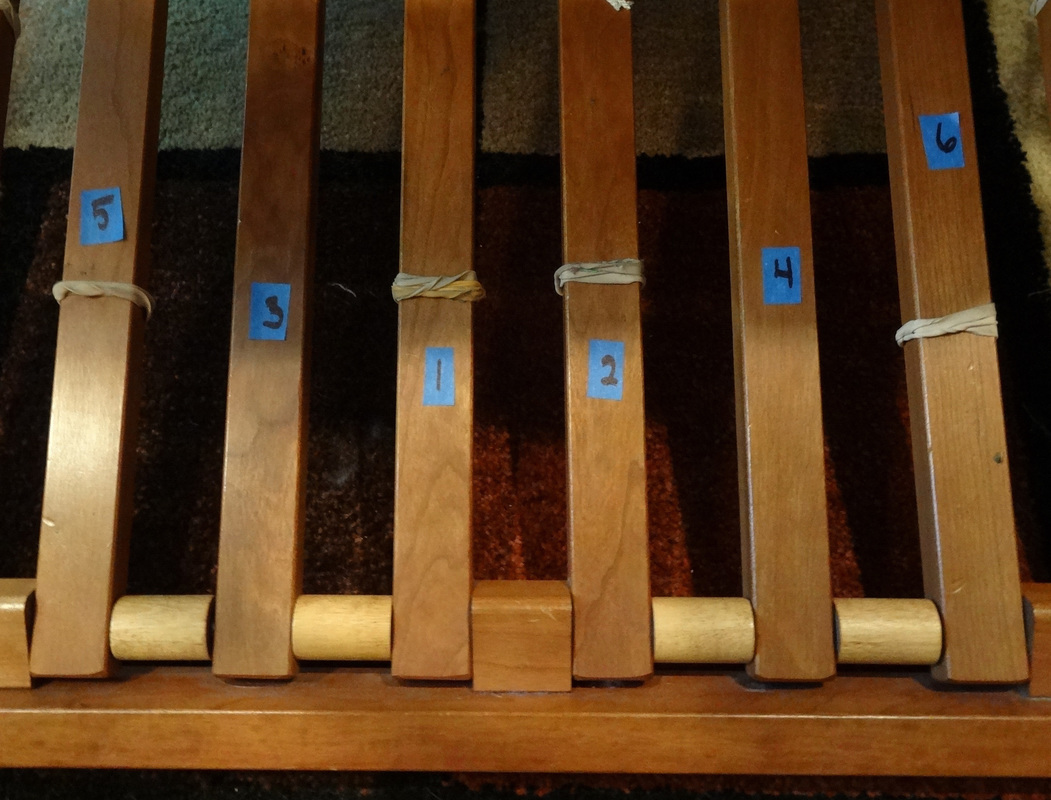
Traditionally, you would set up the treadles from left to right as they are written in the tieup: Treadle 1 2 Center 3 4 Lifting 12 23 34 41 Foot --Left-- --Right-- To weave this pattern, you would use your left foot to weave treadle 1 followed by treadle 2, then switch to your right foot to weave treadles 3 followed by treadle 4. Walking the treadles is a much more comfortable, ergonomic alternative to this. The treadles still lift the same harnesses in the same order in order to get the same pattern. The difference is that the treadles under the loom are not tied up from left to right. They are tied up so that you can “walk” the treadles left-right-left-right from the center out. Your odd numbered treadles will be on the left, even on the right.
Advantages to walking the treadles:
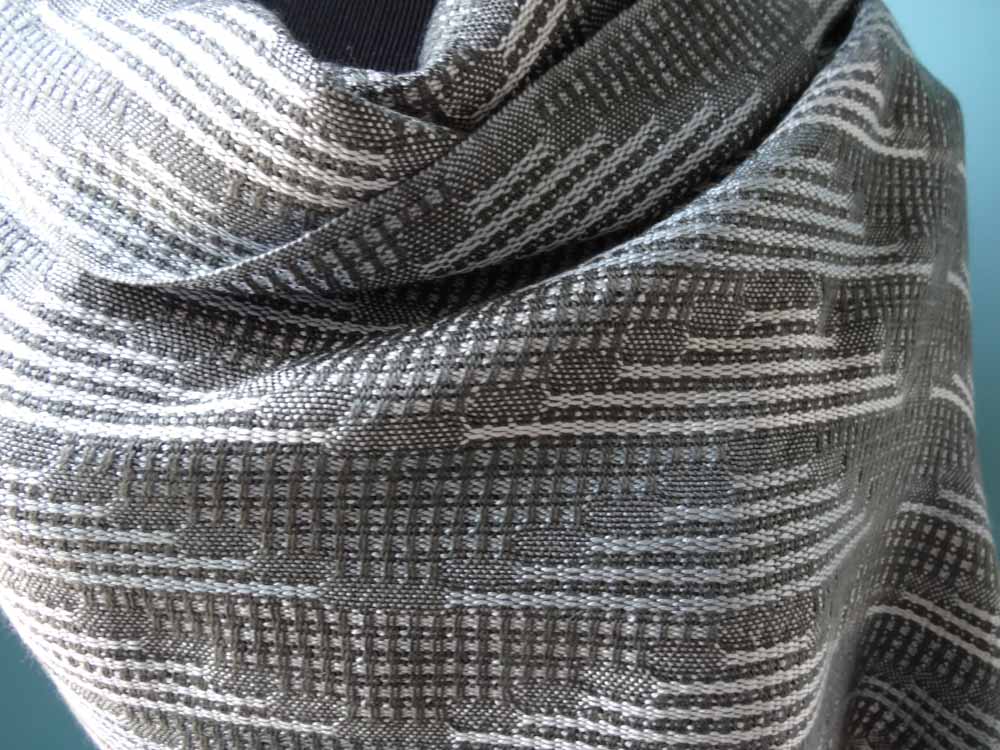
This scarf was inspired by the project I did for the 2015 Triangle Weavers Guild Weaver's Challenge. For that challenge, I drew 4 slips of paper that told me I had to weave something with the following criteria:
The challenge scarf was really quick and easy to weave. Plain weave selvedges - so nice clean selvedges with no need for floating selvedges. Easy treadling pattern - so nice easy rhythm of weaving. So I decided to do it again with a few changes:
Stay tuned to this thread (Life History of a Scarf) for more on the planning, weaving and finishing of the new scarves that were inspired by the challenge scarf. Check out Life History-Day2 for the next installment. |
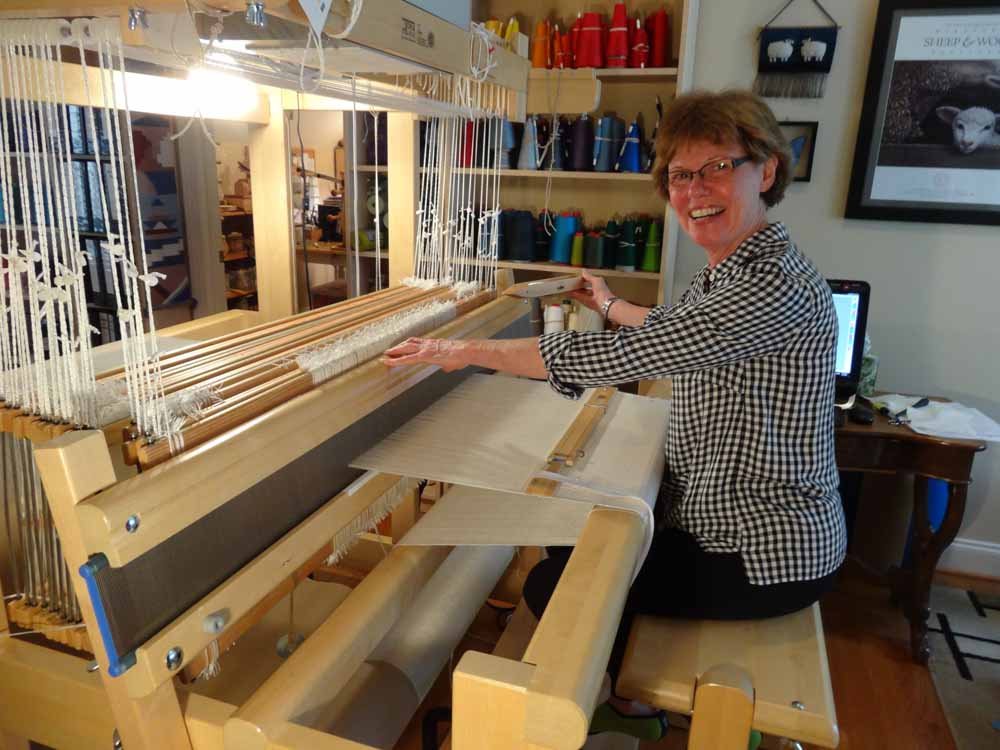
Pattie LambI have been happily weaving since my son was born in 1988. Archives
June 2023
Categories
All
|
 RSS Feed