Lamb...on the Loom
  • Home
  • SHOP
    • Scarves
    • Shawls & Wraps
    • Wool Scarves & Shawls
    • Blazing Shuttles
    • Throws & Baby Blankets
    • For the Home
    • Odds & Ends
    • Shop All Handwovens
    • Schacht Equipment
    • Gift Cards
  • Blog
  • Events
  • Gallery
    • Scarves & Shawls
    • Baby
    • For the Home
    • The Wedding
    • Komen
  • About
    • Storyboard

​Hemstitching Can Be (More) Fun

5/3/2019

4 Comments

 
Well, that is really questionable in my opinion.  I have never enjoyed hemstitching.  However, I have 2 really good tips to make it a little easier.


​Tip 1:
The first tip is outright stolen from Jane Stafford’s Online Guild episodes.  If you are not a member of her guild, I highly recommend it: https://janestaffordtextiles.com/online-guild/
 
I used to weave a header, begin my woven fabric by weaving 8-10 picks, and then hemstitch the leading edge of the piece.  There is a problem with that technique.  Isolating the 2, 3 or 4 picks and the warp ends you want to hemstitch around can be a real challenge, because you have weaving on both sides of the picks to be hemstitched.
 
I even tried weaving in a slippery yarn as a separator pick before I would start weaving the piece.  This slippery yarn, in theory, would be removed after weaving a few picks of the piece, thereby making the hemstitching a little easier.  Well,  the “slippery” yarn is not always so easy to remove.
 
Along comes Jane Stafford who showed me that you really only need to carefully lay in the picks you want to hemstitch around and begin hemstitching.  No header, no weaving extra picks before starting the hemstitching. 

This is SO much easier that I cannot believe it never occurred to me.   Simply hemstitch around those picks and then proceed to weave you piece as usual.
Picture
  • Lay in the picks you want to hemstitch around.
  • Be careful to wrap the weft cleanly at the selvedges.
  • Begin hemstitching as usual
Picture
After hemstitching simply continue weaving your piece, being careful to beat the first couple of picks in well.

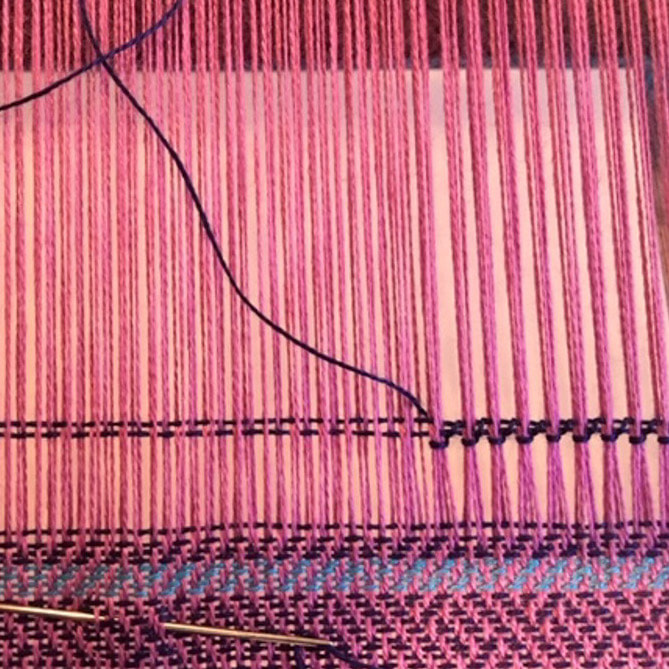
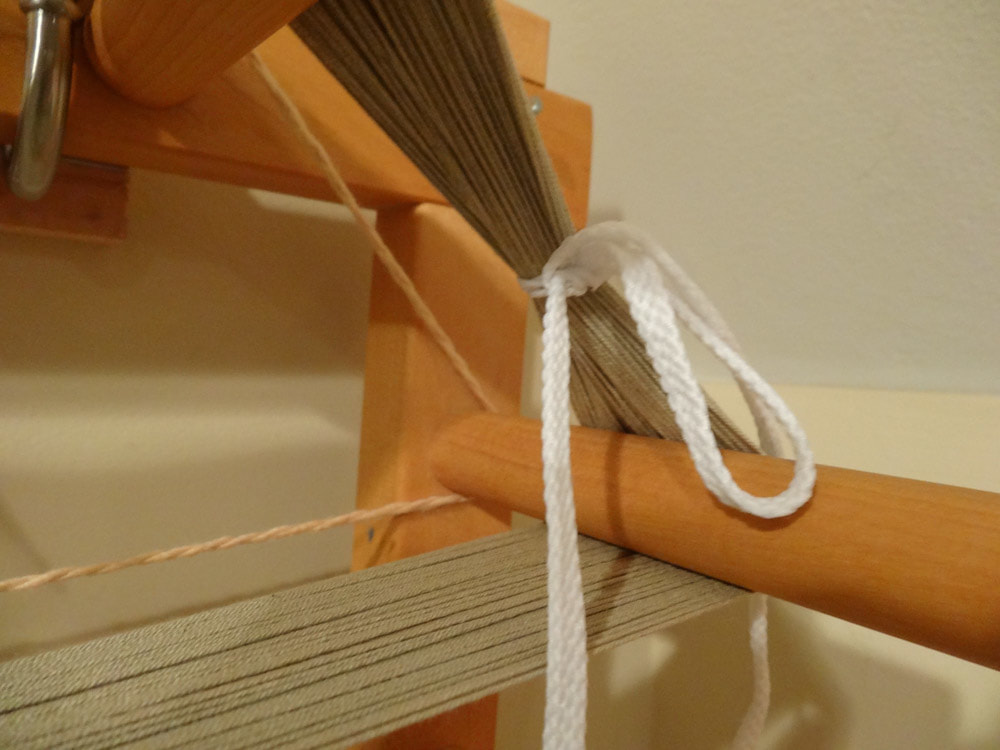
Tip 2:
The second tip improves your visibility for hemstitching.  Depending on the color of my warp, I find that seeing t​he warp ends and counting them correctly can be challenging.  I place a contrasting sheet of paper UNDER the warp, and voila: visibility improves dramatically.
Picture
BEFORE...
Picture
And AFTER adding white paper under the warp.

4 Comments

Some of my Favorite Tools (and where you can find them)

6/4/2018

6 Comments

 
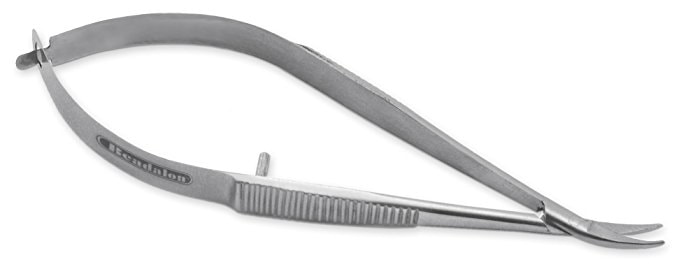
Over the years I have gathered many tools that have become indispensable to me in my studio.  Here are a few that are easy to find online.

Picture
Heddle Bar Clips
​Officemate OIC Slide On Plastic Clips, Assorted Translucent Colors, Tub of 60
Amazon $4.29 as of 6/2018

​I use these on my heddle bars to keep the extra, unused heddles back away from the weaving - a vast improvement over tying them back with string and MUCH easier to use than those little binder clips


Shoelaces!
​These are "DIY White Shoelaces"
Oriental Trading Company $5.99 for 12 pairs as of 6/2018

I use shoelaces for tying off my warp chains, among other things in the studio.   These are great because they last forever.  I have shoelaces in my studio that are 25 years old!
These are 48” long.  I cut them in half, so 12 pairs gives me 48 shoelaces!
Picture
Picture
Picture

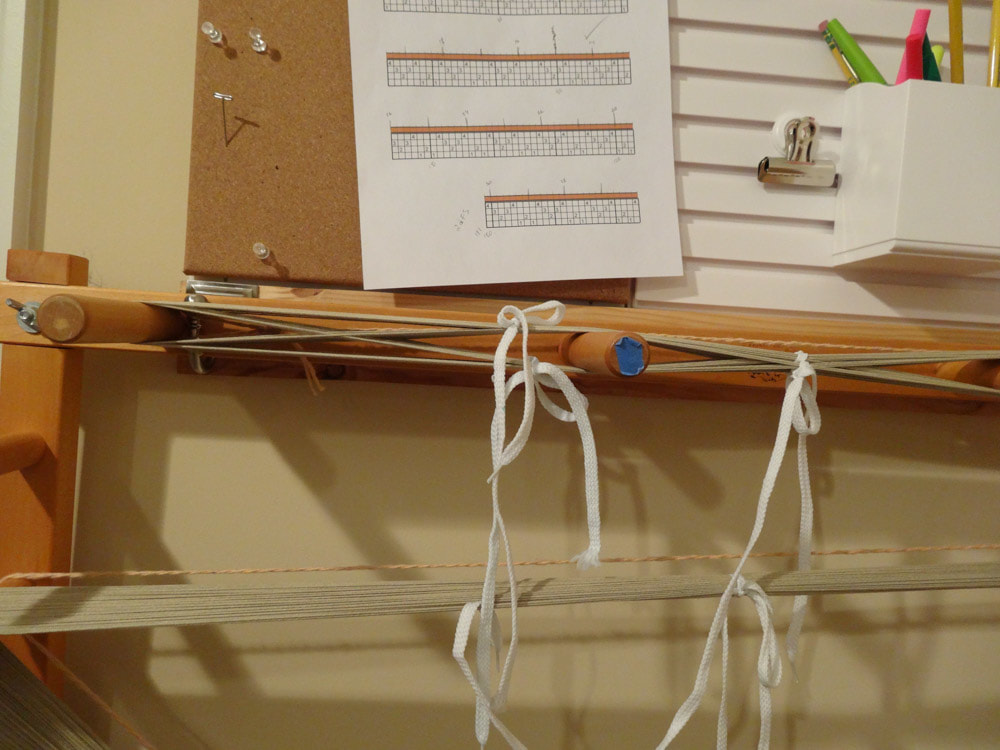
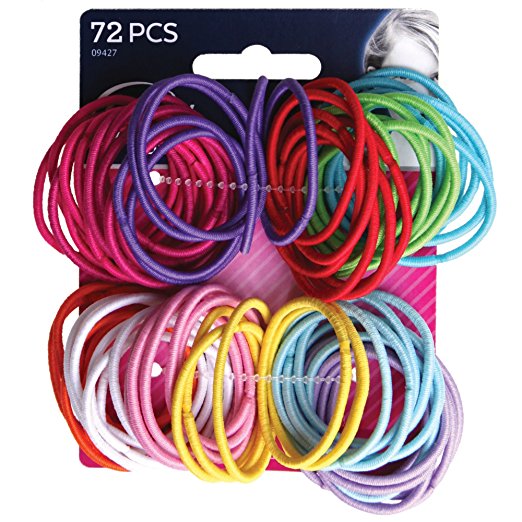
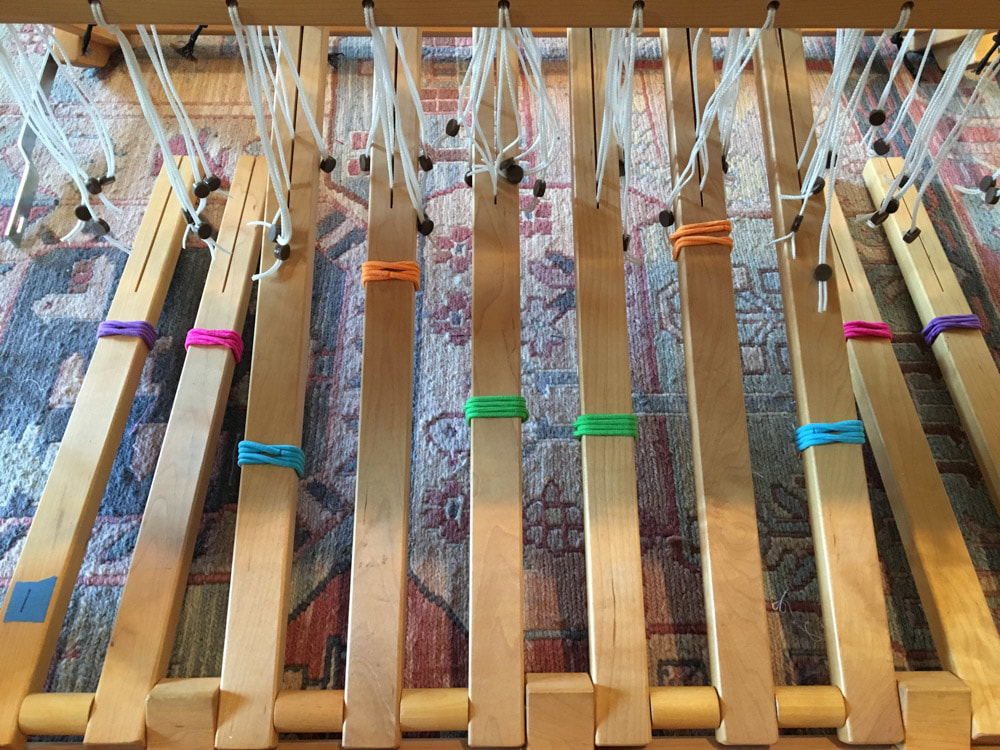
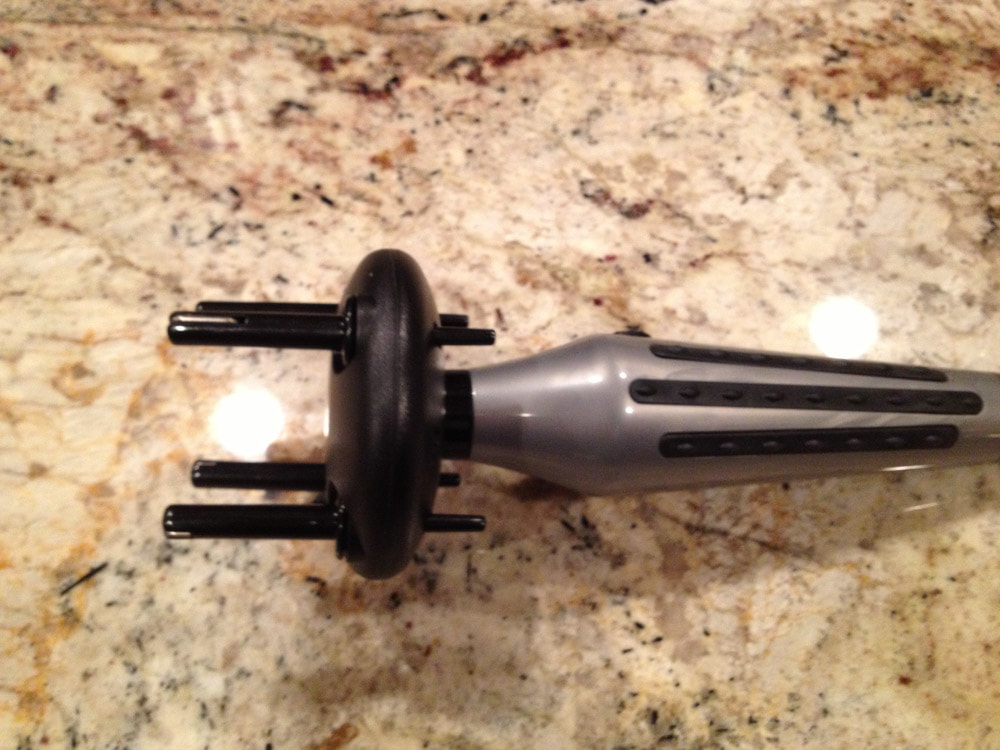
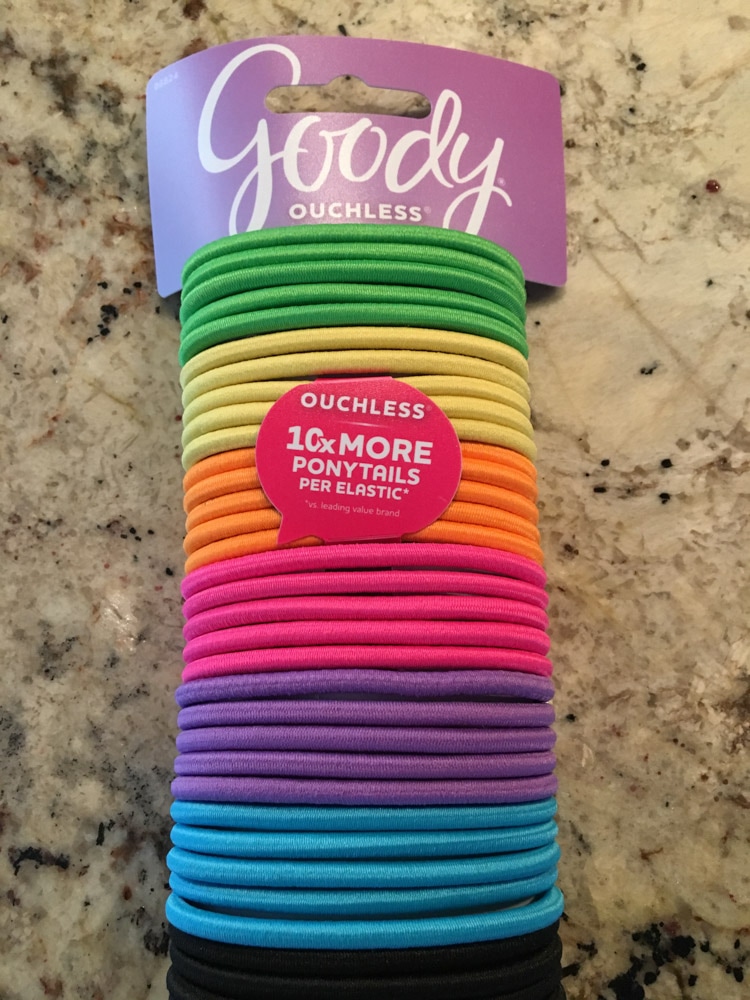
Treadle Bands
Goody Girls Ouchless Elastics, 2 mm, No metal
Target or Amazon, various counts and prices

I use these on my treadles so I can treadle without peaking:  “Braille” for my feet.  I put them on all of my treadles and slide certain ones down so my feet can feel them and others up out of the way so I cannot.  I like to put 3 on each treadle so they are "bulkier" and easier to feel with my feet.
Picture
Picture

Pick Counter
UltraOptix Linen Tester-Loupe Magnifier
Amazon, $9.52 as of 6/2018

This is an inexpensive magnifier that helps you count picks per inch (or examine your cloth for errors).  The window is exactly 1” square.  You place the window on the cloth and look through the magnifier while you count.
Picture

Picture
Curved Scissors
Beadalon Squeeze Scissors, Curved
Amazon, $7.79 as of 6/2018
​
I use these for trimming threads close to the surface of my finished cloth. The curved blades let you get close to the cloth without cutting the cloth.

Fringe Twister
This one is the Lacis Fringe Twister
A newer version is on Amazon, $21.96 as of 6/2018
​
I use this for twisting all of my fringe (I only use 2 of the prongs).  It is battery powered and has been a life saver.  There are other versions of this on the market.  Shop around.
Picture

6 Comments

Tip of the Month: Braille for the Feet

7/2/2017

3 Comments

 
​
​I have long used rubber bands on my treadles to mark my path and help me treadle without peeking.  It is a great tip.  But I go through rubber bands like they are water because they dry rot very quickly.  And they are hard to roll up and down the treadles between projects.
​
​Enter my student Jane Hunt.  She told me she liked my idea so much, she went to Target and bought a handful of ponytail holders!  She found that they slide up and down the treadles easily, and they are bulkier than the rubber bands. Bonus: I am sure they will hold up much longer too!  Thank you, Jane!  Why didn't I think of that??

As it turns out there are dozens of kinds of ponytail holders.  I picked the ones that I could double up and would fit well over my treadles.  Hence my unabashed ad for Goody.  These are nice because they have no metal joins on them that could scratch the wood.
 
Picture
Picture
BEFORE: Rubber bands on the treadles, ready to walk the treadles for a point twill
Picture
AFTER: Ponytail holders in place. The blue and green ones have been pulled down where my feet can feel them. I will walk this pattern from the center out, just as I did in the photo to the left.

​Walking the treadles:

I tend to walk my treadles from the center out whenever my pattern allows me to do so.  When I do that, I will put bands on the two center treadles so I can find my way back to center without peeking.  I also place bands on every other treadle going out from the center.
Picture
​
​Treadling straight across:
On the rare occasion that I tie up my treadles straight across, I simply put bands on the odd treadles and leave the even numbered treadles naked.
Picture
​
​Treadling pattern with tabby
If I have 2 tabby treadles and a group of pattern treadles, my personal preference is to have the tabby treadles on one side and the pattern treadles on the other.  If the tabby treadles are on the left, I will put a band on tabby a and leave tabby b naked.  I will then put bands on all of the odd numbered pattern treadles and leave the even numbered pattern treadles naked.
Picture

3 Comments

    Pattie Lamb

    I have been happily weaving since my son was born in 1988.

    All pictures on my blog are "zoomable" - just click on them to enlarge.

    Archives

    June 2023
    March 2023
    June 2022
    November 2020
    October 2020
    February 2020
    October 2019
    June 2019
    May 2019
    June 2018
    July 2017
    June 2017
    May 2017
    April 2017
    February 2017
    January 2017
    August 2016
    July 2016
    May 2016
    February 2016
    February 2015
    January 2015
    October 2014
    September 2014

    Categories

    All
    Artificial Intelligence
    Baby Wraps
    Blankets
    Block Twill
    Block Weave
    Block Weaves
    Cat's PJs
    Challenges
    Charity
    ChatGBT
    Classes
    Commissions
    Deflected Doubleweave
    Design
    Doubleweave
    Dyeing
    Facebook Challenge
    Felting
    Finishing
    Fringing
    Hemstitching
    John C Campbell
    Knitting
    Knots
    Lace Weaves
    Leftovers
    Life History-Day 1
    Life History-Day 2
    Life History-Day 3
    Life History-Day 4
    Life History-Day 5
    Life History-Day 6
    Life History-Day 7
    Life History-Day 8
    Life History-Day 9
    Life History-Final
    Life History Of A Scarf
    More Than Pink
    Paper Quills
    Plain Weave
    Ply Split
    Process
    Rugs
    Runners
    Scarves
    Selvedges
    Shawls
    Storyboard
    Study Group
    Tencel
    Tie-ups
    Tip Of The Month
    Tips
    Tools
    Towels
    Travel
    Treadling For Dummies
    Turned Twill
    Twill
    Videos
    Walking Pink
    Warping
    Weaving
    Weaving Pink
    Weaving Tips
    Wedding
    Yarn Wraps

    RSS Feed

         HOME        //      SHOP      //       BLOG       //        EVENTS       //       GALLERY     //      ABOUT       //      CONTACT

  • Home
  • SHOP
    • Scarves
    • Shawls & Wraps
    • Wool Scarves & Shawls
    • Blazing Shuttles
    • Throws & Baby Blankets
    • For the Home
    • Odds & Ends
    • Shop All Handwovens
    • Schacht Equipment
    • Gift Cards
  • Blog
  • Events
  • Gallery
    • Scarves & Shawls
    • Baby
    • For the Home
    • The Wedding
    • Komen
  • About
    • Storyboard