Lamb...on the Loom
  • Home
  • SHOP
    • Scarves
    • Shawls & Wraps
    • Throws & Baby Blankets
    • Bags & Purses
    • For the Home
    • Odds & Ends
    • Shop All Handwovens
    • Schacht Equipment
  • Blog
  • Events
  • Gallery
    • Scarves
    • More Scarves
    • Shawls
    • Baby
    • For the Home
    • Just for Fun
    • The Wedding
    • Komen
    • Baby Wraps
  • About
    • Storyboard

New Life for a Little Rug

6/18/2017

10 Comments

 
Picture
This is what the fringe USED to look like.
​Years ago I wove a little Rag Rug to use in front of my kitchen sink.  I finished the rug with twisted fringe and left the fringe about 4" long - probably too long.  Over the years I have had to periodically retie some of the fringe bouts,  but slowly but surely more and more of the bouts had become untied, frayed and I could no longer re-twist them and knot them back to their original length. In addition, some of the warp threads in the body of the rug had broken and the rug was really looking shabby and worn.
Remember: You can click on any picture to zoom in!
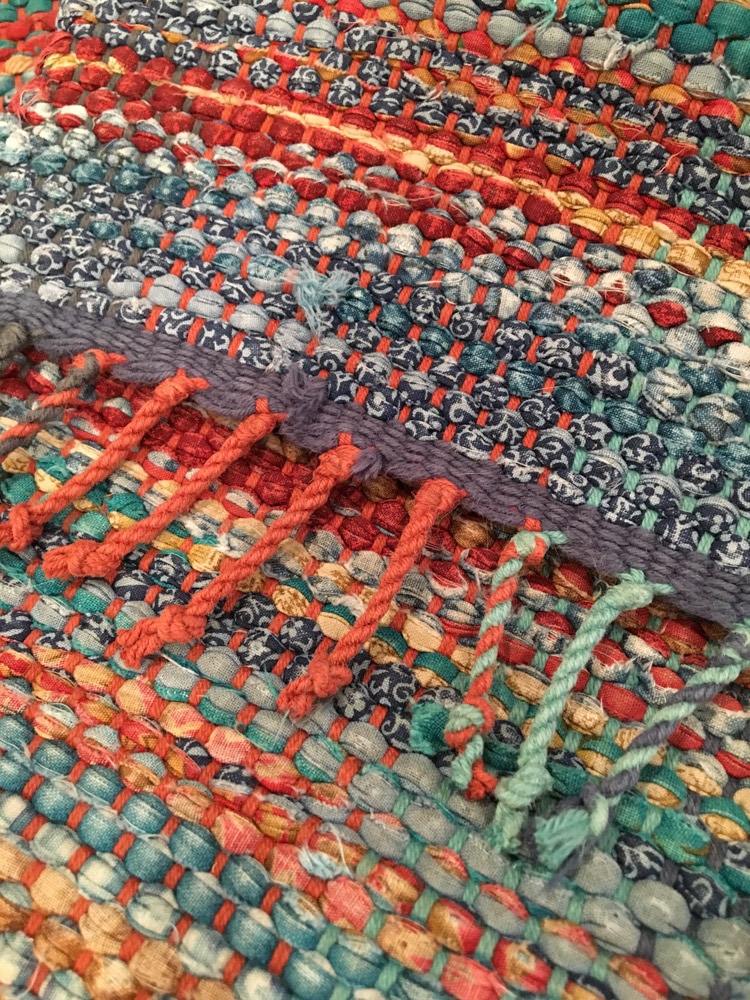
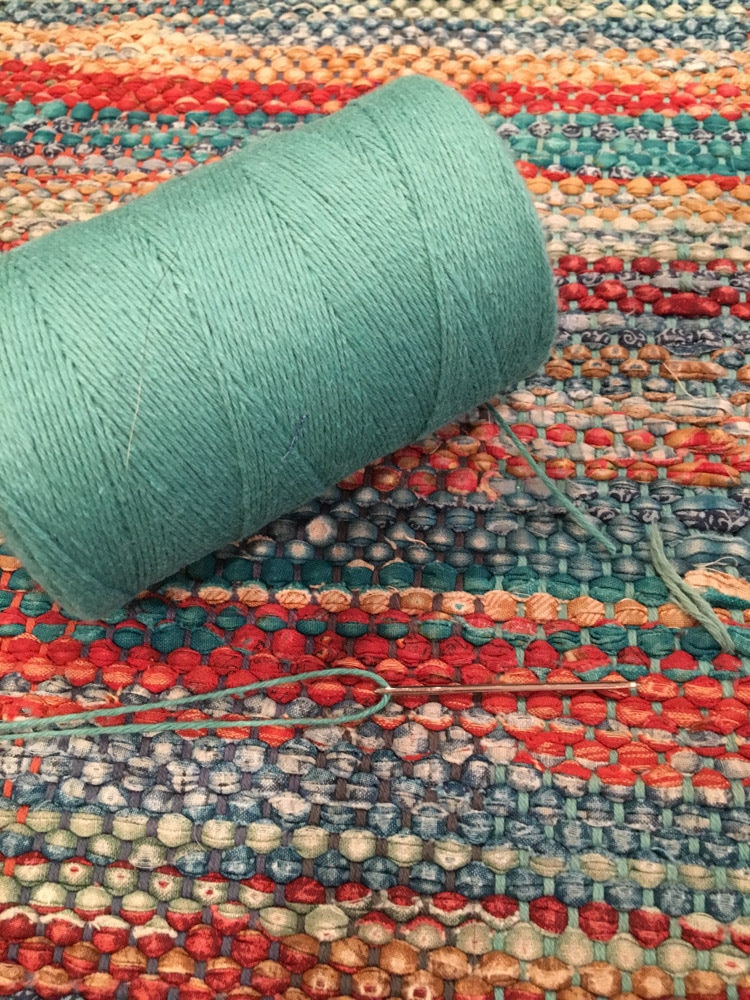
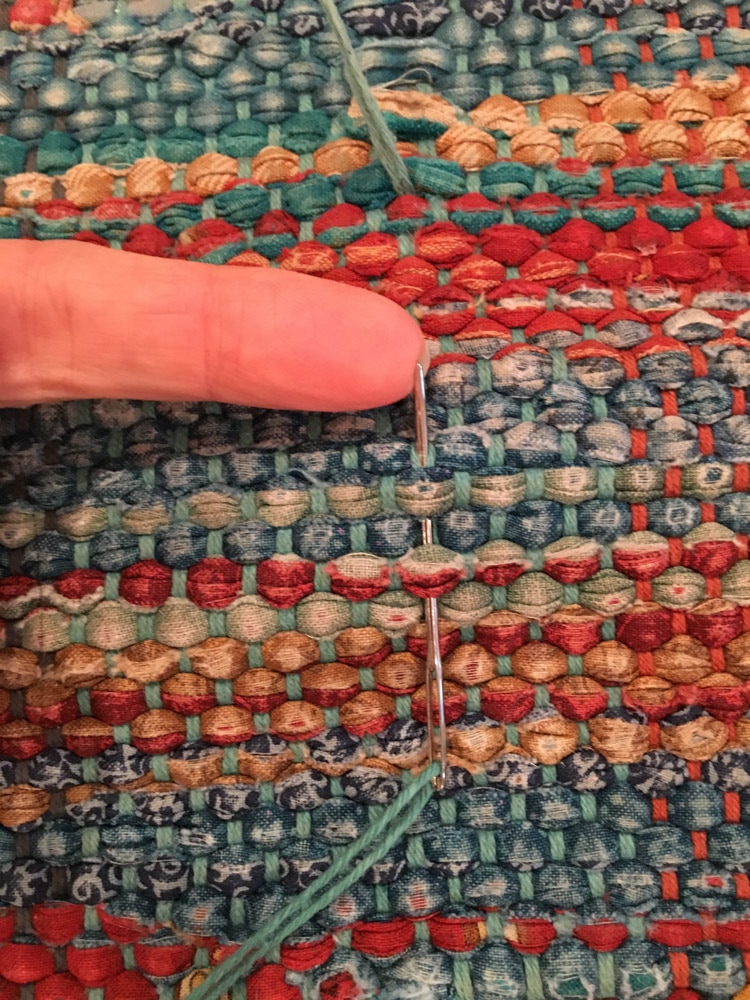
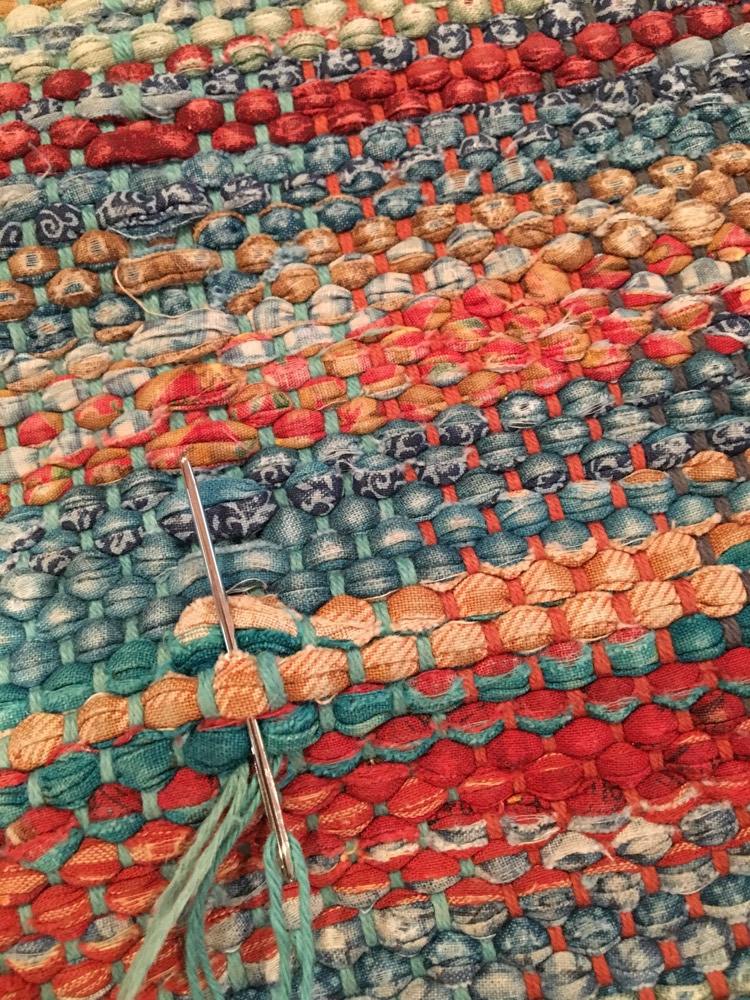
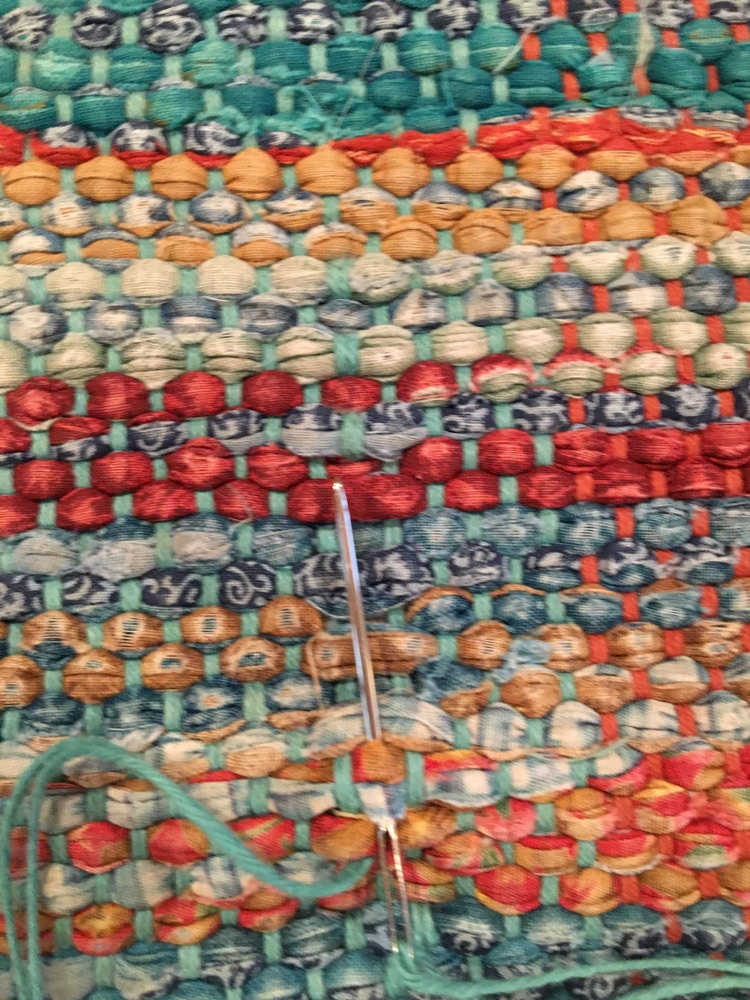
​Step 1:
I first decided to re-twist the fringe bouts that had come undone and to shorten all of the bouts to the shortest common denominator.  It seemed that I could get away with shortening them all to about 1 1/2". There are a couple of bouts where the ends were so frayed that I do not have high hopes for them holding up for much longer, but at least they are shorter now..
Picture
The newly shortened fringe
Picture
This shows a broken warp thread and a row of rag weft floats above it. These need to be repaired.
Picture
These are the only tools I need: a tapestry needle and the matching rug warp

​Step 2: 
​I gathered the tools I would need for repairing the broken warp threads The warp used in this rug was 8/4 cotton rug warp used double, and luckily I still had some on hand (this will not surprise anyone who knows me and has seen my yarn stash).  

So now all I need was a tapestry needle threaded with a doubled strand of the warp thread and a little patience. The weaving should be easy because the rug was woven in plain weave.

​Step 3 - Fixing the Broken Threads
  • I started about 2-3" below the broken warp thread (photo 1)
  • I wove along the same warp thread with the repair thread for the 2" until I got to the break (photo 2)
  • At that point I have to weave over and under the rags in the same way the missing warp thread used to.  It helped to hold the needle in my right hand and put my left hand underneath the rug for support (photo 3)
  • When I reached the end of the damaged area, I continued to weave along the same warp thread for another 2-3 inches.  When I finished with the weaving I checked the weaving on both sides of the rug.  
  • When I was satisfied, I pulled on the ends of the repair threads where it entered and exited the weaving to "seat it" in the cloth.  
  • Then I trimmed the tails of the repair thread and the broken warp thread from the surface of the rug.​
Picture
Photo 1: Starting 2-3" below the break. Broken warp thread can be seen at the top of the photo.
Picture
Photo 2: Weaving up to and just beyond the break in the warp thread.
Picture
Photo 3: Weaving continues above the break - over and under the weft floats.
Picture
My supervisor
Picture
Weaving is finished. The tails have not been trimmed yet. Lizzie is checking my work.
Picture
The finished rug. Hopefully with a few more years of life in it.

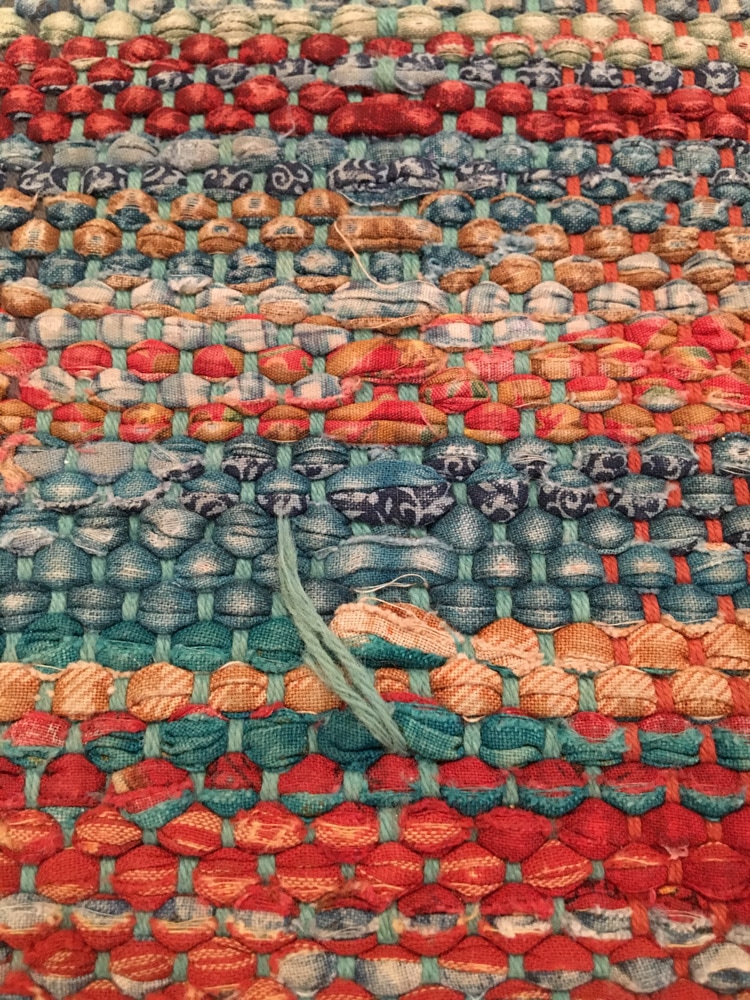
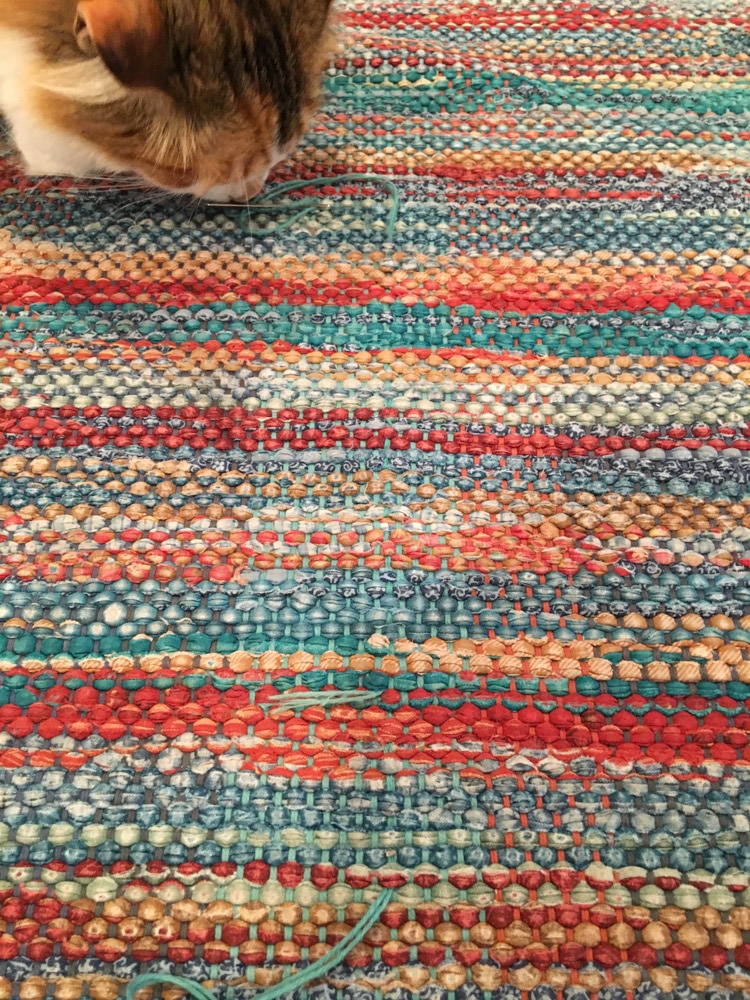
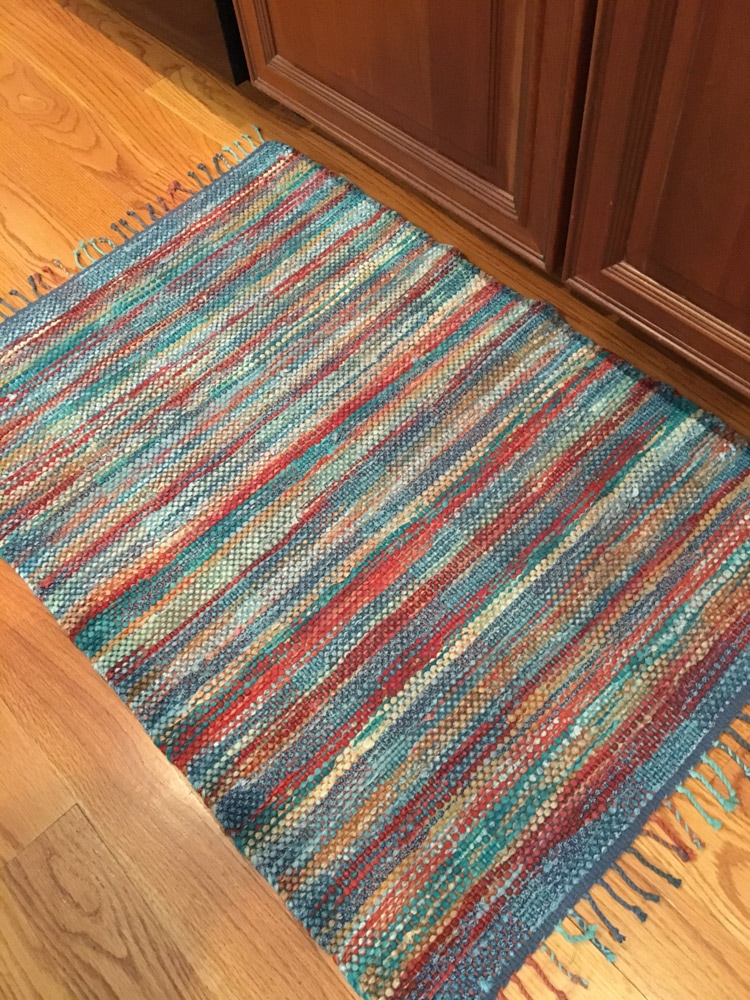
​All done!  
And I think the rug looks better with short fringe anyway.

10 Comments

    Pattie Lamb

    I have been happily weaving since my son was born in 1988.

    All pictures on my blog are "zoomable" - just click on them to enlarge.

    Archives

    June 2022
    November 2020
    October 2020
    February 2020
    October 2019
    June 2019
    May 2019
    June 2018
    July 2017
    June 2017
    May 2017
    April 2017
    February 2017
    January 2017
    August 2016
    July 2016
    May 2016
    February 2016
    February 2015
    January 2015
    October 2014
    September 2014

    Categories

    All
    Baby Wraps
    Blankets
    Block Twill
    Block Weave
    Block Weaves
    Cat's PJs
    Challenges
    Charity
    Classes
    Commissions
    Deflected Doubleweave
    Design
    Doubleweave
    Dyeing
    Facebook Challenge
    Felting
    Hemstitching
    John C Campbell
    Knitting
    Lace Weaves
    Leftovers
    Life History-Day 1
    Life History-Day 2
    Life History-Day 3
    Life History-Day 4
    Life History-Day 5
    Life History-Day 6
    Life History-Day 7
    Life History-Day 8
    Life History-Day 9
    Life History-Final
    Life History Of A Scarf
    More Than Pink
    Paper Quills
    Plain Weave
    Ply Split
    Process
    Rugs
    Runners
    Scarves
    Selvedges
    Shawls
    Storyboard
    Study Group
    Tencel
    Tie-ups
    Tip Of The Month
    Tips
    Tools
    Towels
    Travel
    Treadling For Dummies
    Turned Twill
    Twill
    Videos
    Walking Pink
    Warping
    Weaving
    Weaving Pink
    Weaving Tips
    Wedding
    Yarn Wraps

    RSS Feed

         HOME        //      SHOP      //       BLOG       //        EVENTS       //       GALLERY     //      ABOUT       //      CONTACT

  • Home
  • SHOP
    • Scarves
    • Shawls & Wraps
    • Throws & Baby Blankets
    • Bags & Purses
    • For the Home
    • Odds & Ends
    • Shop All Handwovens
    • Schacht Equipment
  • Blog
  • Events
  • Gallery
    • Scarves
    • More Scarves
    • Shawls
    • Baby
    • For the Home
    • Just for Fun
    • The Wedding
    • Komen
    • Baby Wraps
  • About
    • Storyboard