Lamb...on the Loom
  • Home
  • SHOP
    • Scarves
    • Shawls & Wraps
    • Throws & Baby Blankets
    • Bags & Purses
    • For the Home
    • Odds & Ends
    • Shop All Handwovens
    • Schacht Equipment
  • Blog
  • Events
  • Gallery
    • Scarves
    • More Scarves
    • Shawls
    • Baby
    • For the Home
    • Just for Fun
    • The Wedding
    • Komen
    • Baby Wraps
  • About
    • Storyboard

LIFE HISTORY OF A SCARF: DAY 9 - Finishing the Scarves

2/18/2016

0 Comments


​Finishing this project requires:
  1. Twisting the fringe 
  2. Wet finishing, pressing and trimming
  3. Documenting the project
Picture

​Twisting the fringe
For these scarves I would twist fringe in bouts of 8 ends (4 + 4).  I wanted my twisted fringe to measure 5” to the knots, so 8” of unfinished fringe will allow me enough leeway for twisting, tying my knots, and applying the fringe protector that I would apply before wet finishing.
  • I trimmed the fringe to 8” on both ends of each scarf (measured from the edge of the finished cloth, not the weft protector)
  • At the middle of the scarf, I carefully clipped all of the weft protector threads except for the last 3 rows.  I then pulled the clipped weft protector threads out from the right side of the scarf.
  • Twisting: I carefully pulled the weft protector out of the first 8 ends of the fringe and twisted the 2 4-end bouts of fringe clockwise until they were kinky and the twisting just began to pull at the edge of the cloth.  I removed the 2 bouts from the twister (without letting them go!) and twisted them back on each other counterclockwise.  I then knotted the end in an overhand knot, carefully positioning the knot at 5” from the fell of the cloth.
  • I continued across the scarf in this manner until I reached the center.  I then removed the clipped weft protector on the left side of the scarf and began twisting from the left edge of the scarf.
  • Any “fudging”  that needed to be done of the 8-count for the fringes (because of miscounting or because the draft did not have an even multiple of 8 warp ends) was done in the middle of the scarf rather than on the edge.

​Tip:  While twisting, I COUNT.  If using a manual twisting, I count the number of turns.  If using the battery-powered twister, I count seconds.  That at least gives me a semblance of consistency from bout to bout.

​
Tip:  I use a gridded board to help guide me in keeping the fringe at a consistent length.  If you don’t have one, simply put 2 pieces of tape on the table.  Keep the fell of the cloth along one.  Line the knots up with the other.
​
Tip:  Keep the fringe under tension by weighting the section of the scarf you are working on

​Tools of the trade:  I like a battery-powered twister (it has 4 clips on the end, but I only use 2) because I do a LOT of fringe.  The wooden manual twisters are very good as well.  A long tapestry needle is helpful for picking out the weft protector.  Heavy bookend or weight of some kind is very helpful to anchor the scarf while you are twisting.
 ​
Picture
Picture
Fringe combed out and trimmed to 8"
Picture
Weft protectors clipped in the center of the scarf (except for the 3 closest to the fell of the cloth)
Picture
Pick out the clipped weft protectors from the right side of the scarf
Picture
Freeing the first 8 threads to be twisted into a fringe bout
Picture
First 3 fringes twisted with knots aligned at the 5" marker
Picture
Fell of the cloth showing bookend weight and the first 3 fringe bouts
Picture
Right side of the scarf done. Ready to pull clipped weft protectors from left side, and begin fringing from the left side toward the center
Picture
Fringe complete and ready to have interfacing applied

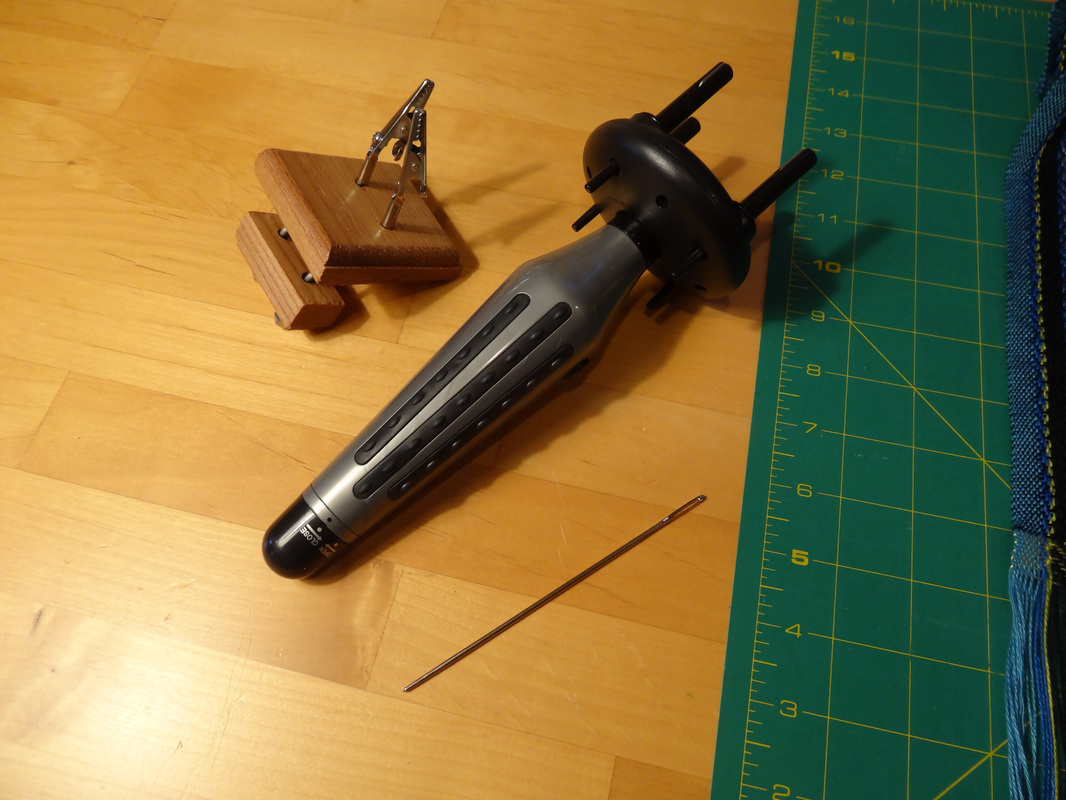
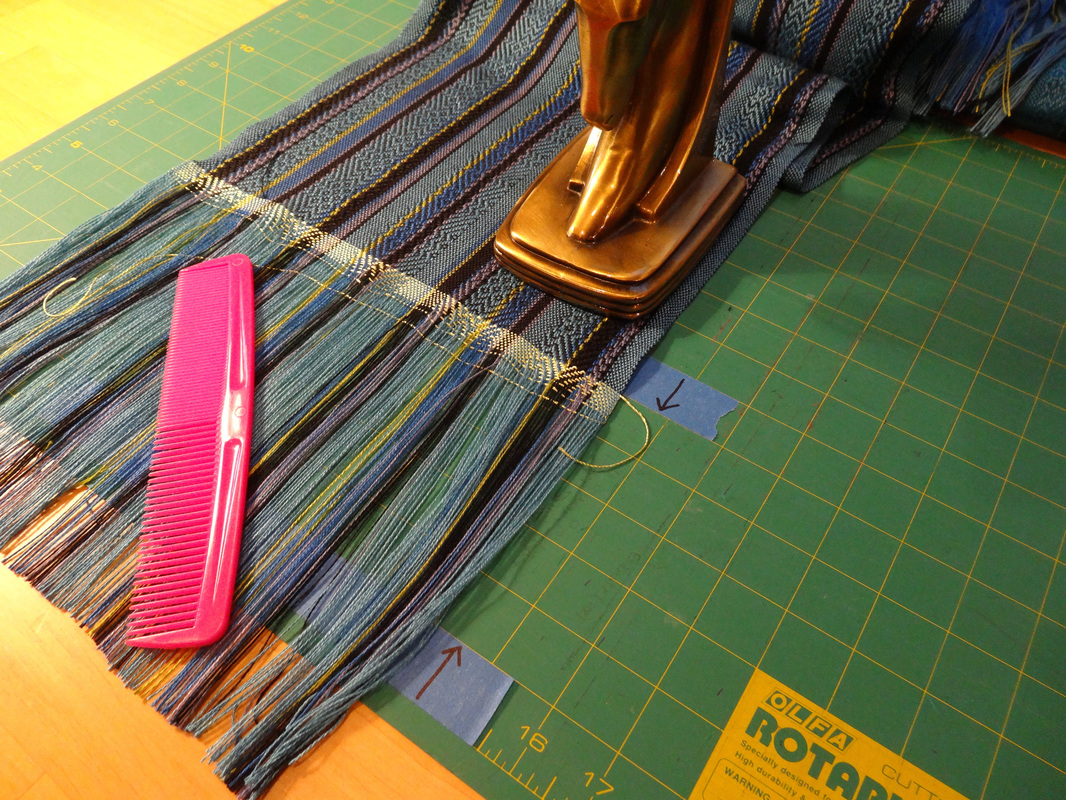
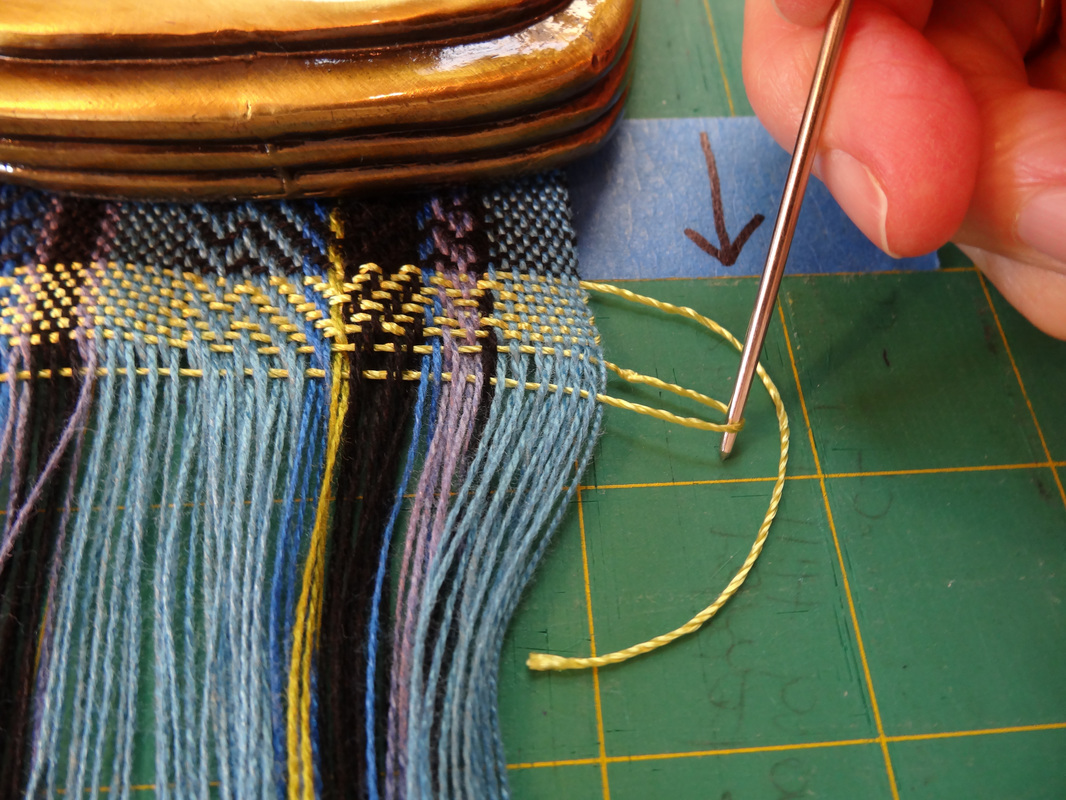
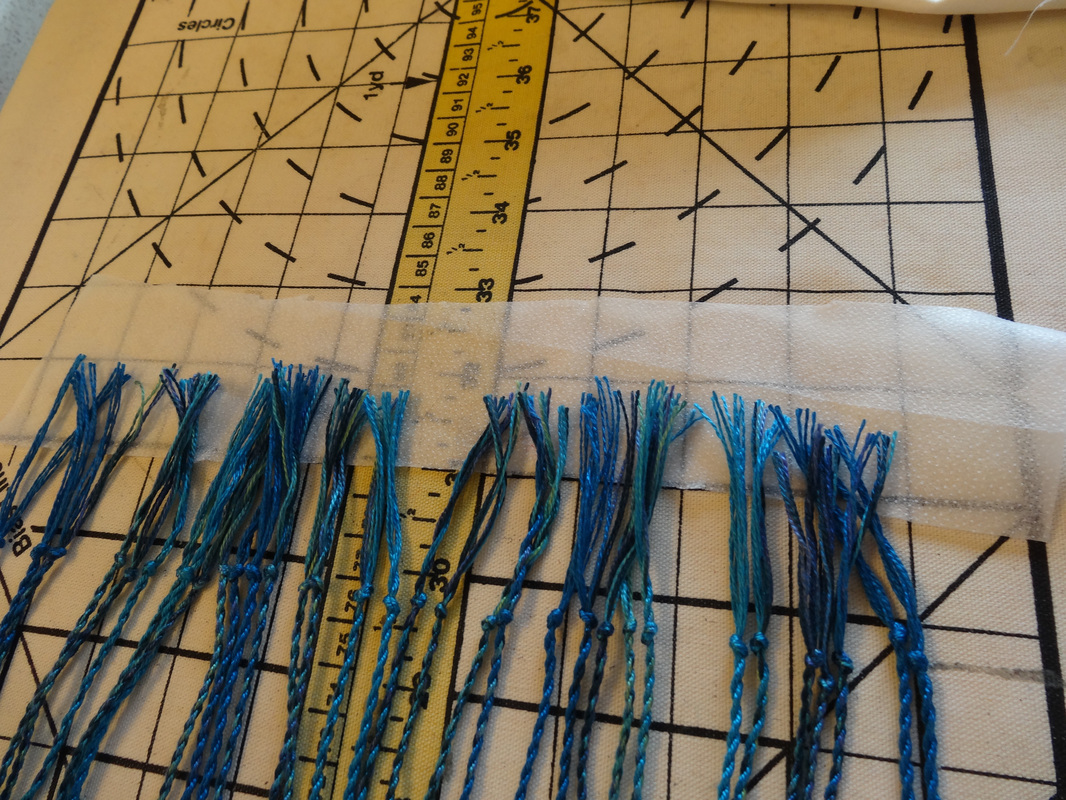
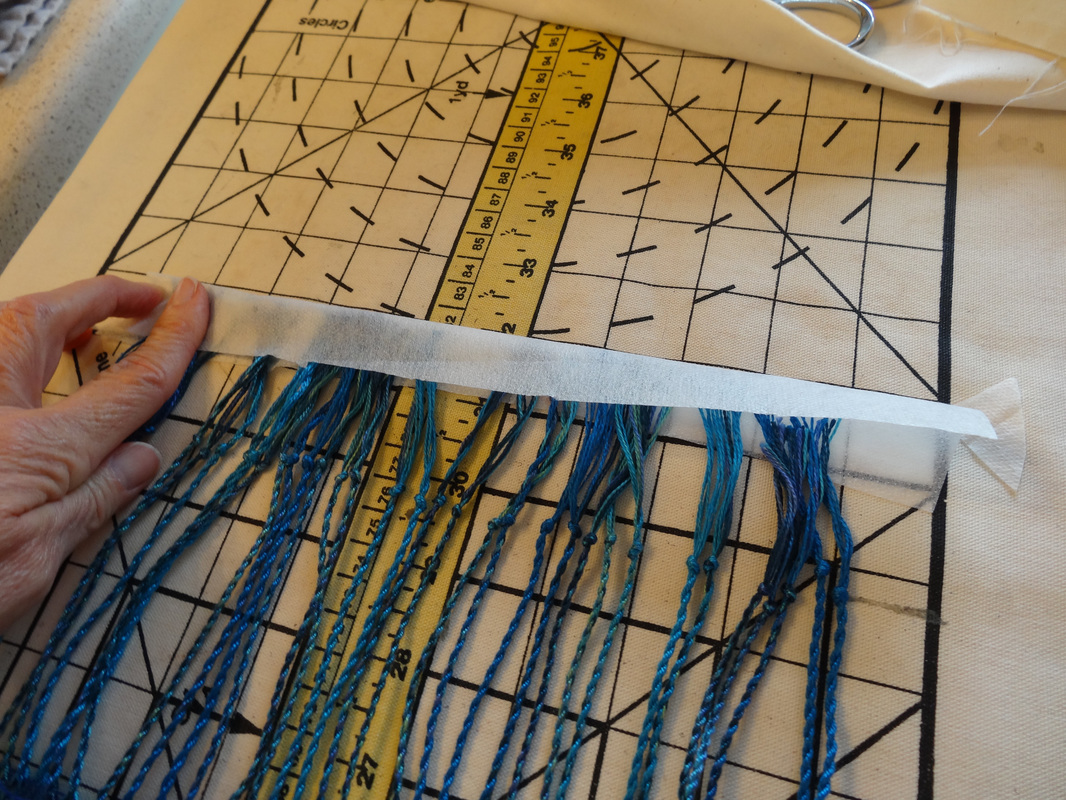
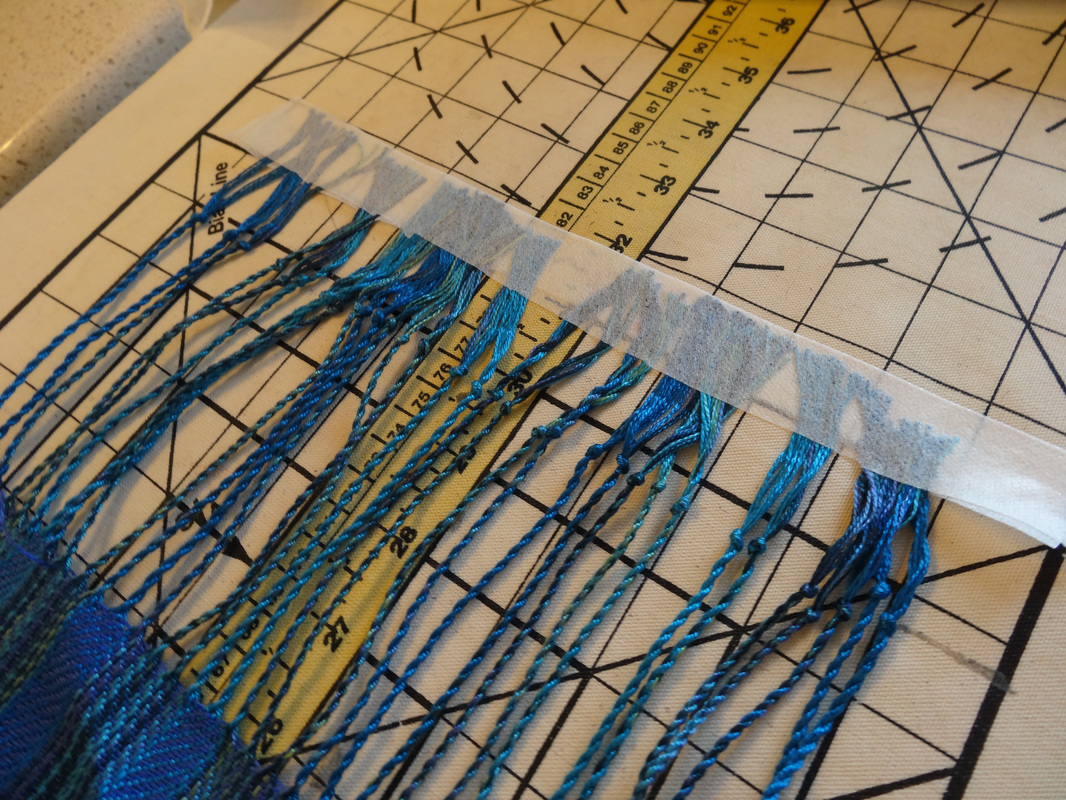
Wet finishing, pressing and trimming
The final finishing took 5 steps (Note: My choice for wet finishing varies depending on the fiber and structure of the scarves.  Bamboo and tencel scarves in twill and plain weave do very well with machine washing and drying)
  1. Protecting the fringe: I ironed on really thin, cheap interfacing around the ends of the fringe below the knots.  This keeps the fringe from tangling and makes trimming the fringe later a little easier too.  See photos.
  2. Machine washing: I machine washed the scarves o a gentle cycle in warm water with a little Dawn. 
  3. Machine drying: I dried them on a gentle cycle in the dryer until they were almost dry.
  4. Pressing: I pressed them with a hot iron until they were dry.  This brings out the sheen and makes them very soft.
  5. Trimming: I then trimmed any weft ends that were still sticking out of the cloth and trimmed the fringe to within ¼” of the knots, removing the interfacing in the process.
Picture
Place a strip of iron-on interfacing glue side up under the fringe. This should measure about 2 1/2" high and be the width of the scarf.
Picture
Fold the interfacing over the ends of the fringe. DO NOT cover the knots or any part of the fringe that you are not going to trim away later
Picture
Use a pressing cloth and stram press the interfacing and fringe to seal it onto the fringe
Picture
The fringe has been "trapped" between the layers of the interfacing

Documenting the project
I keep a plastic sleeve (or two) for every project I do.  In that sleeve, I put
  • Project writeup, including any calculations I did for the project
  • Draft
  • Yarn wraps I used
  • Yarn samples for warp and weft
  • Calculations for cost of the project
  • Samples
  • Photos of the finished project
Picture

To read my final thoughts on this project go to Life History-Final 
​
To review, go back to Life History-Day 8

0 Comments

Your comment will be posted after it is approved.


Leave a Reply.

    Pattie Lamb

    I have been happily weaving since my son was born in 1988.

    All pictures on my blog are "zoomable" - just click on them to enlarge.

    Archives

    March 2023
    June 2022
    November 2020
    October 2020
    February 2020
    October 2019
    June 2019
    May 2019
    June 2018
    July 2017
    June 2017
    May 2017
    April 2017
    February 2017
    January 2017
    August 2016
    July 2016
    May 2016
    February 2016
    February 2015
    January 2015
    October 2014
    September 2014

    Categories

    All
    Artificial Intelligence
    Baby Wraps
    Blankets
    Block Twill
    Block Weave
    Block Weaves
    Cat's PJs
    Challenges
    Charity
    ChatGBT
    Classes
    Commissions
    Deflected Doubleweave
    Design
    Doubleweave
    Dyeing
    Facebook Challenge
    Felting
    Hemstitching
    John C Campbell
    Knitting
    Lace Weaves
    Leftovers
    Life History-Day 1
    Life History-Day 2
    Life History-Day 3
    Life History-Day 4
    Life History-Day 5
    Life History-Day 6
    Life History-Day 7
    Life History-Day 8
    Life History-Day 9
    Life History-Final
    Life History Of A Scarf
    More Than Pink
    Paper Quills
    Plain Weave
    Ply Split
    Process
    Rugs
    Runners
    Scarves
    Selvedges
    Shawls
    Storyboard
    Study Group
    Tencel
    Tie-ups
    Tip Of The Month
    Tips
    Tools
    Towels
    Travel
    Treadling For Dummies
    Turned Twill
    Twill
    Videos
    Walking Pink
    Warping
    Weaving
    Weaving Pink
    Weaving Tips
    Wedding
    Yarn Wraps

    RSS Feed

         HOME        //      SHOP      //       BLOG       //        EVENTS       //       GALLERY     //      ABOUT       //      CONTACT

  • Home
  • SHOP
    • Scarves
    • Shawls & Wraps
    • Throws & Baby Blankets
    • Bags & Purses
    • For the Home
    • Odds & Ends
    • Shop All Handwovens
    • Schacht Equipment
  • Blog
  • Events
  • Gallery
    • Scarves
    • More Scarves
    • Shawls
    • Baby
    • For the Home
    • Just for Fun
    • The Wedding
    • Komen
    • Baby Wraps
  • About
    • Storyboard