
|
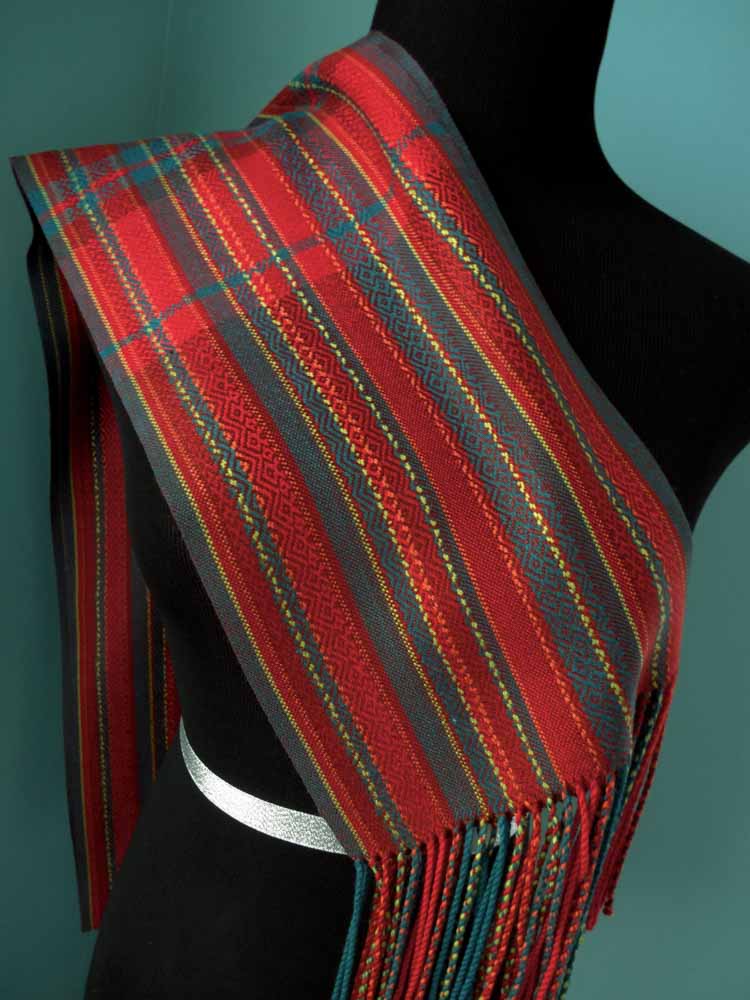
This scarf was inspired by the project I did for the 2015 Triangle Weavers Guild Weaver's Challenge. For that challenge, I drew 4 slips of paper that told me I had to weave something with the following criteria:
The challenge scarf was really quick and easy to weave. Plain weave selvedges - so nice clean selvedges with no need for floating selvedges. Easy treadling pattern - so nice easy rhythm of weaving. So I decided to do it again with a few changes:
0 Comments
This scarf was inspired by the project I did for the 2015 Triangle Weavers Guild Weaver's Challenge. For that challenge, I drew 4 slips of paper that told me I had to weave something with the following criteria:
The challenge scarf was really quick and easy to weave. Plain weave selvedges - so nice clean selvedges with no need for floating selvedges. Easy treadling pattern - so nice easy rhythm of weaving. So I decided to do it again with a few changes:
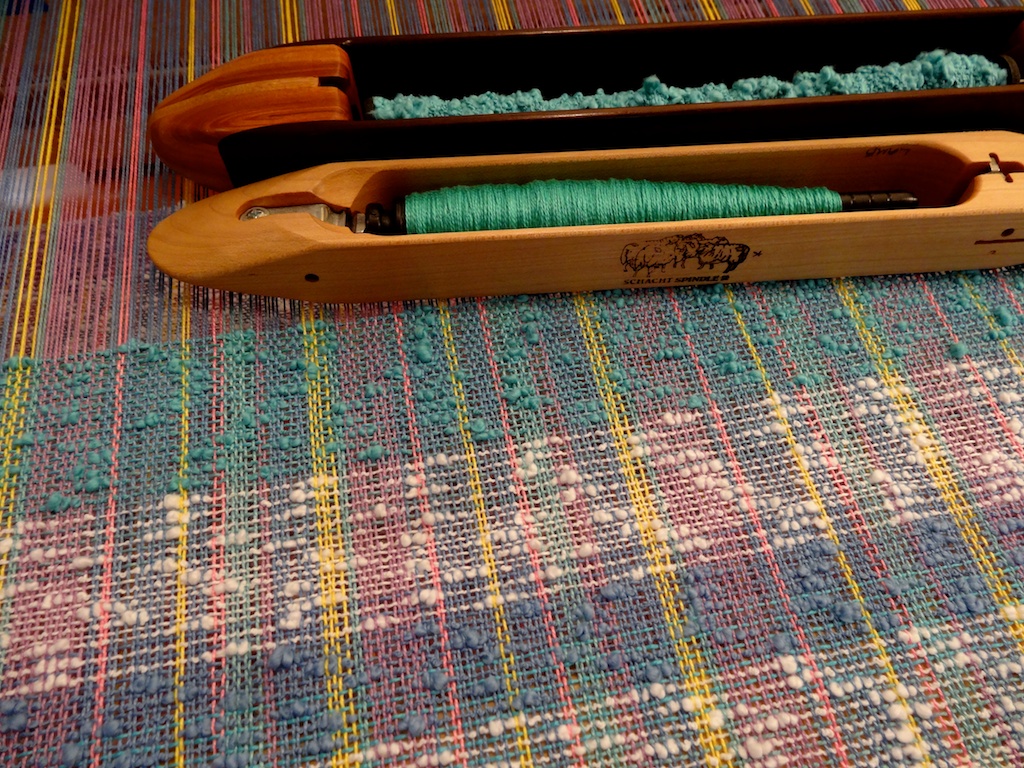
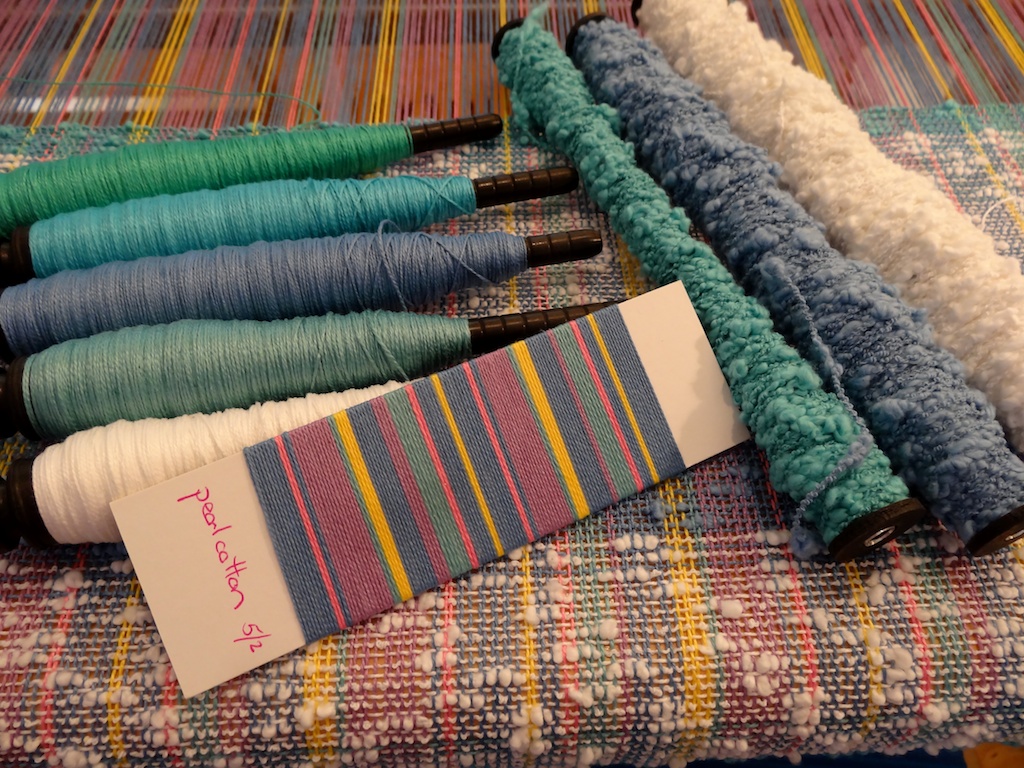
Stay tuned to this thread (Life History of a Scarf) for more on the planning, weaving and finishing of the new scarves that were inspired by the challenge scarf. Check out Life History-Day2 for the next installment. I few weeks ago I put on a multicolored pearl cotton warp for 9 baby blankets. These are blankets I have been weaving for years, and I always enjoy weaving them. They are kind of "design as I go" blankets, and for that reason it takes a little while for me to get going with them once they are on the loom. So... they stayed on the loom for about three weeks before the weaving began.
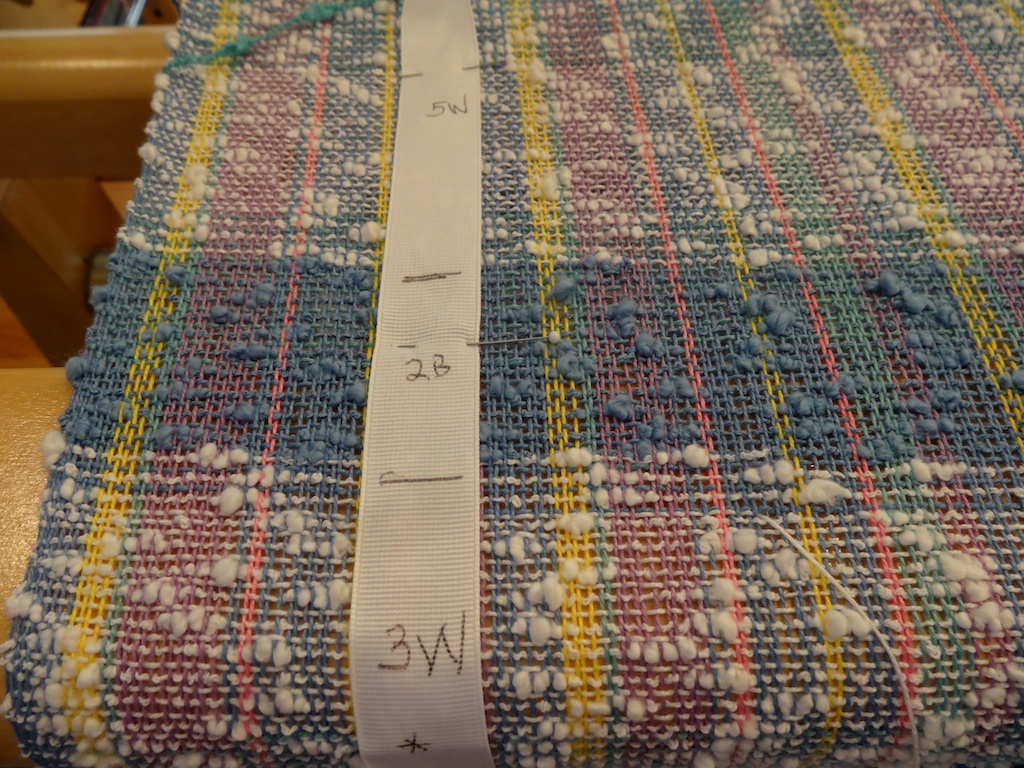
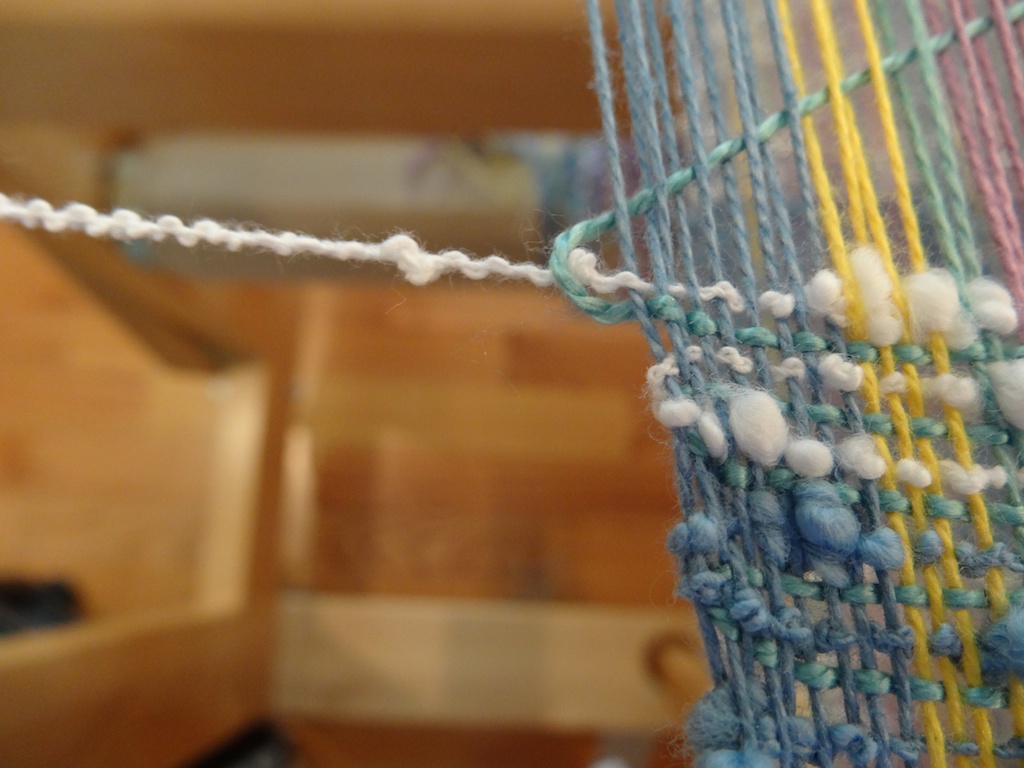
Tip # 2: Selvedge Control. When weaving plain weave with two shuttles it is important to interlock the weft yarns to get neat selvedges. Positioning the shuttles correctly is the key. Pay attention as your shuttle exits the shed. If the edge thread is up, place your shuttle near the fell of the cloth. If the edge thread is down, place your shuttle near your body. If you do this, the wefts will always interlock.
When the blankets are done, I will post pictures of them in the Gallery.
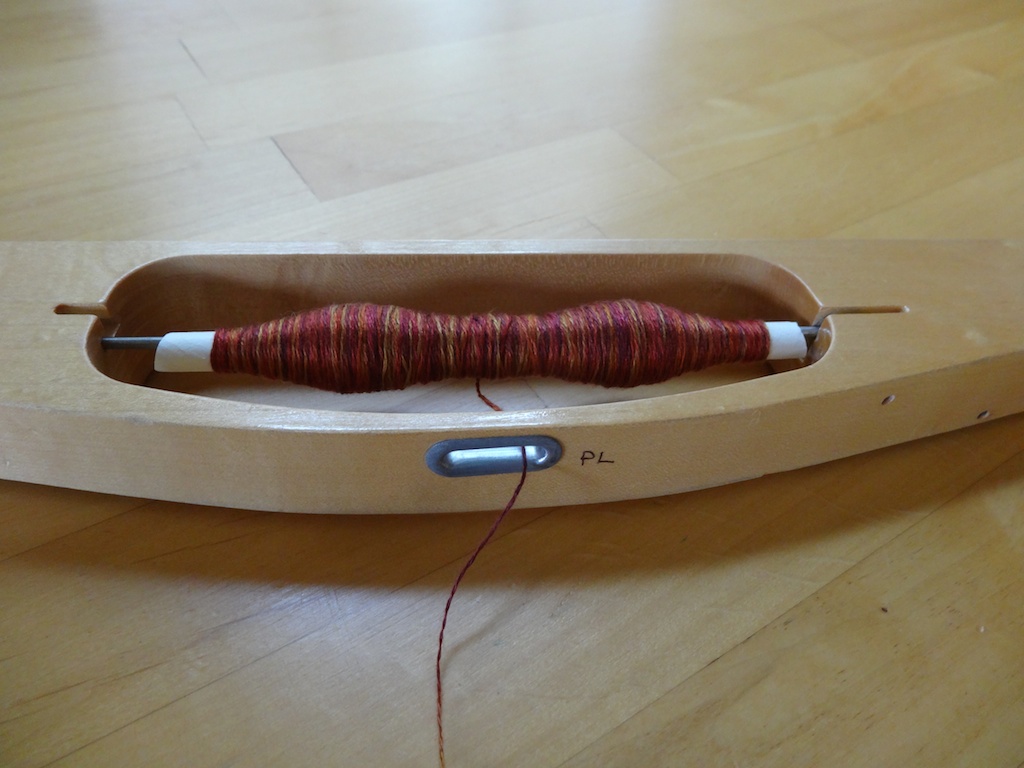
I tend to weave with fine yarns, and when I do, I weave with an end-feed shuttle and pirns. Yet I still find using paper quills invaluable.
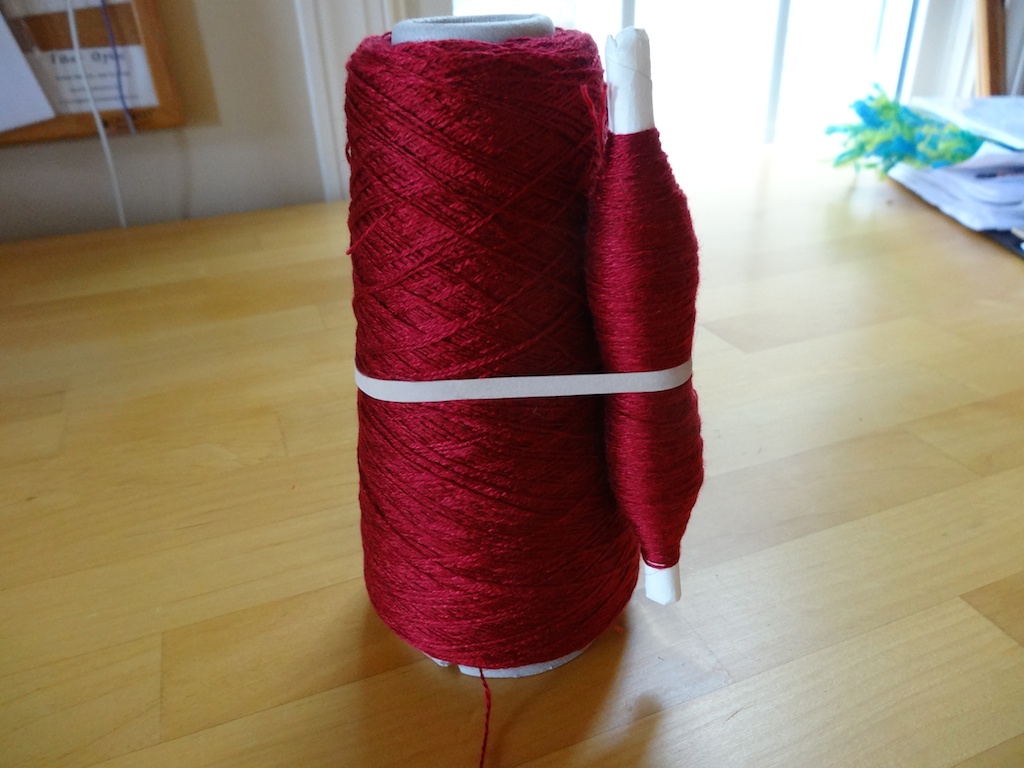
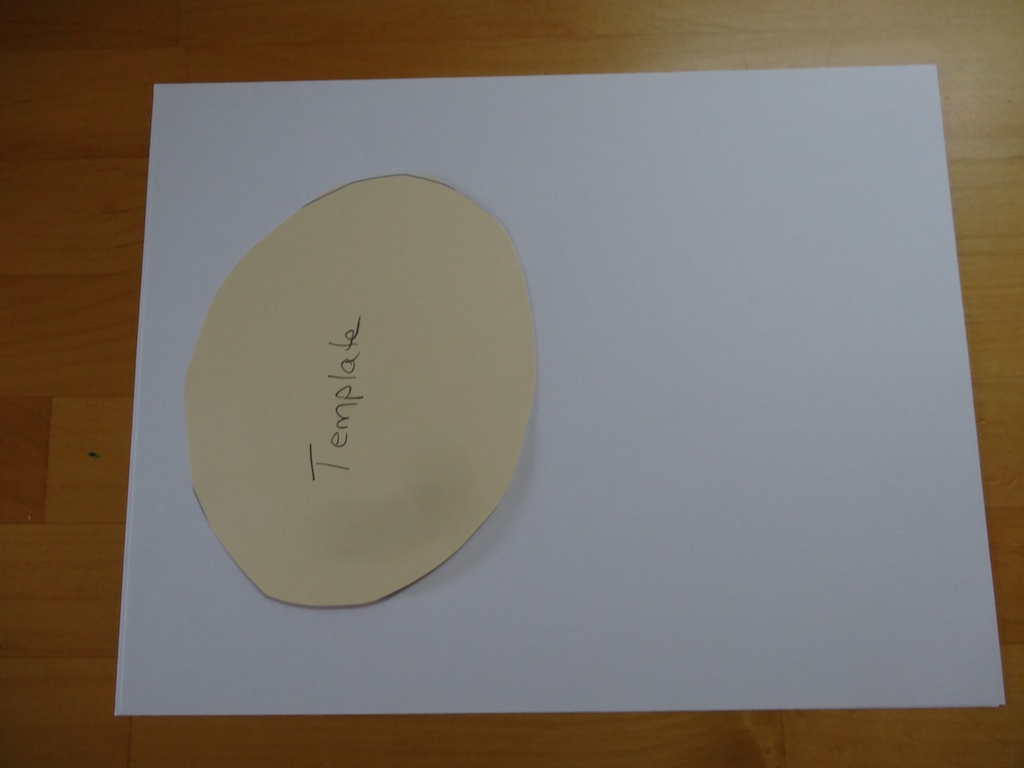
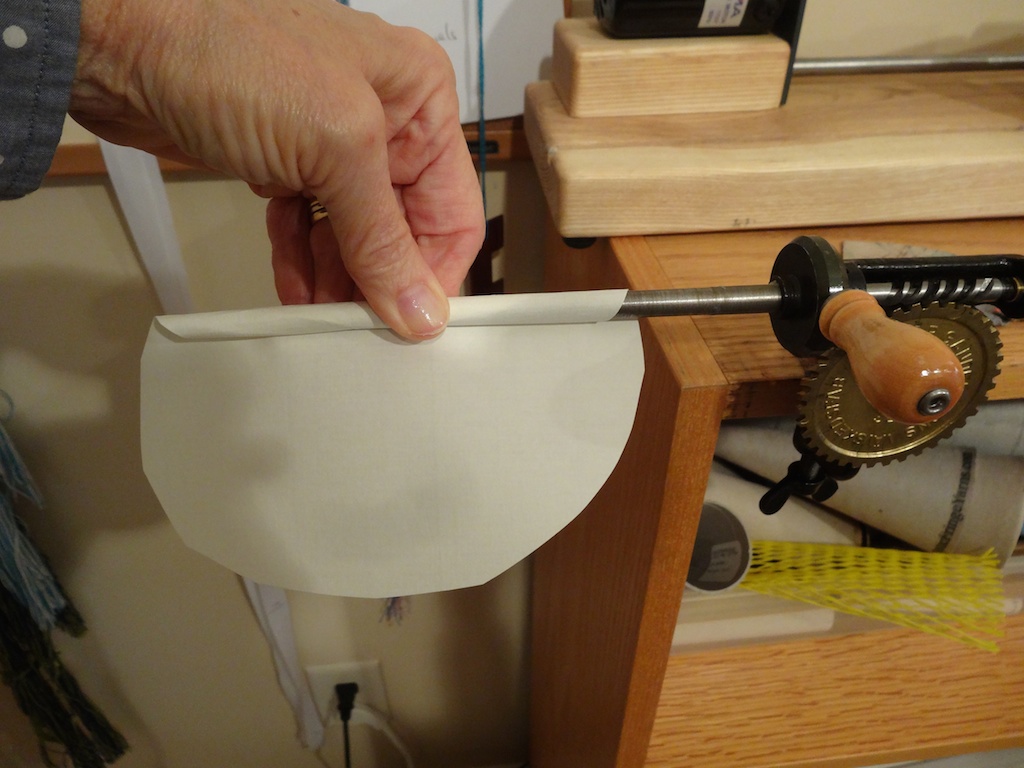
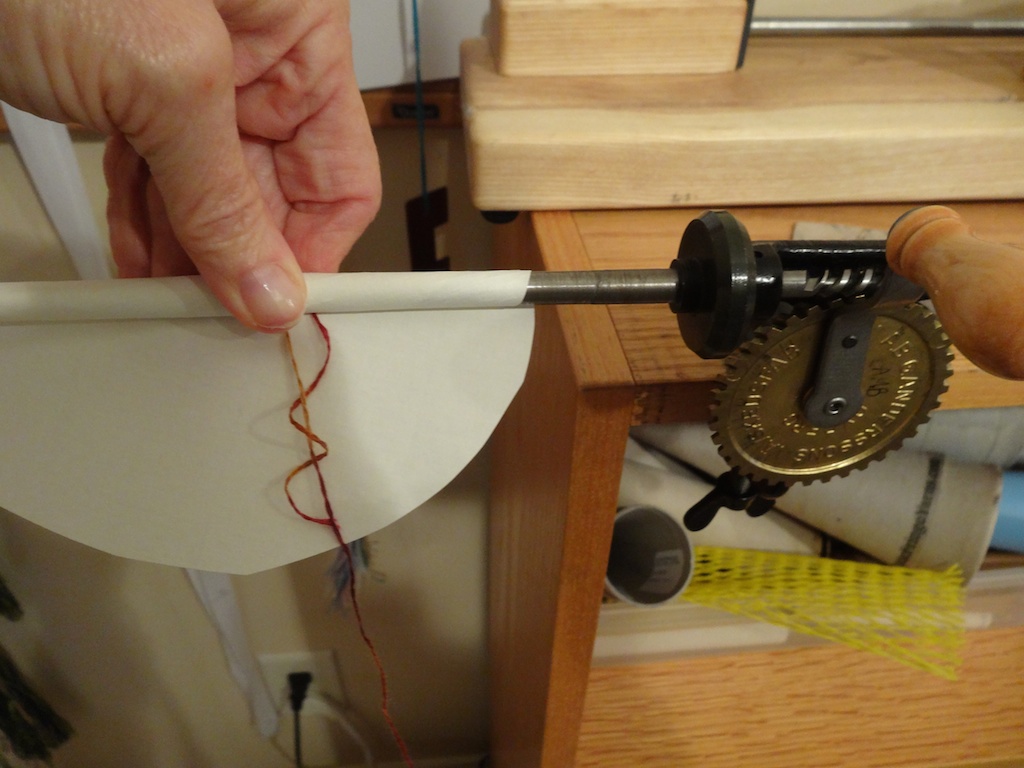
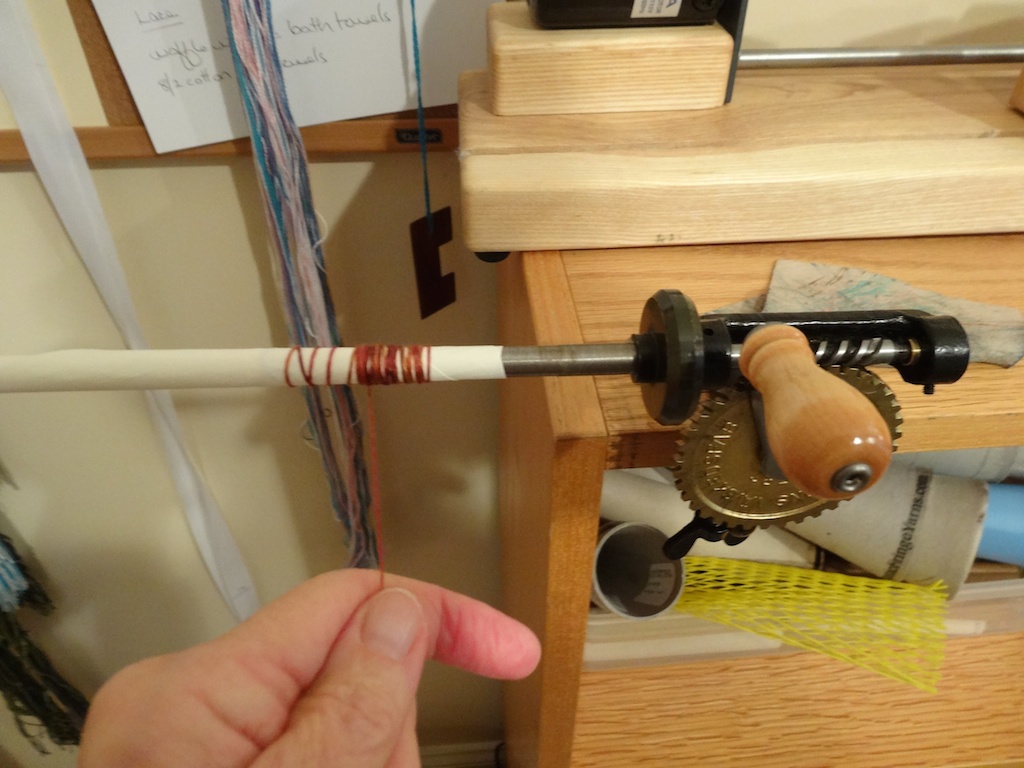
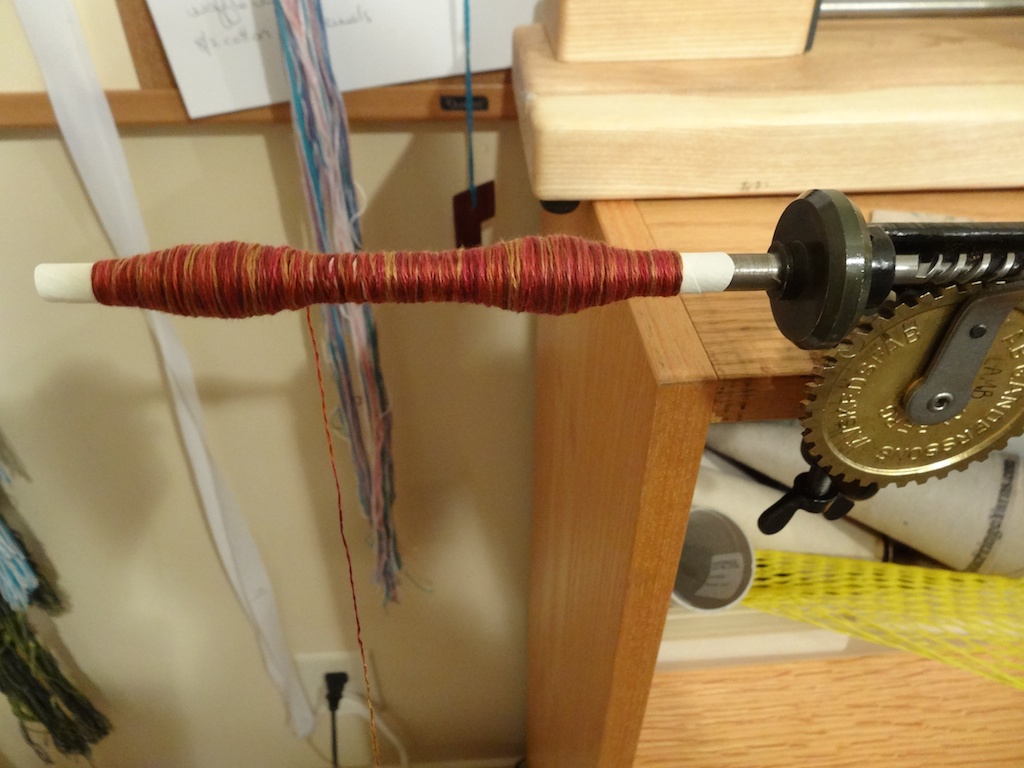
Winding a paper quill: I use a Swedish bobbin winder to wind the paper quills, but any winder should do. First wind the piece of paper tightly around the pirn of the bobbin winder (I start the paper behind the pirn and wind it towards me - see picture). After you get it wound on about half way, stick the end of the yarn in there and keep winding. Once the paper is fully wound on, Start cranking and wind with firm tension on the yarn, forming little bumps on each end and then filling in the middle.
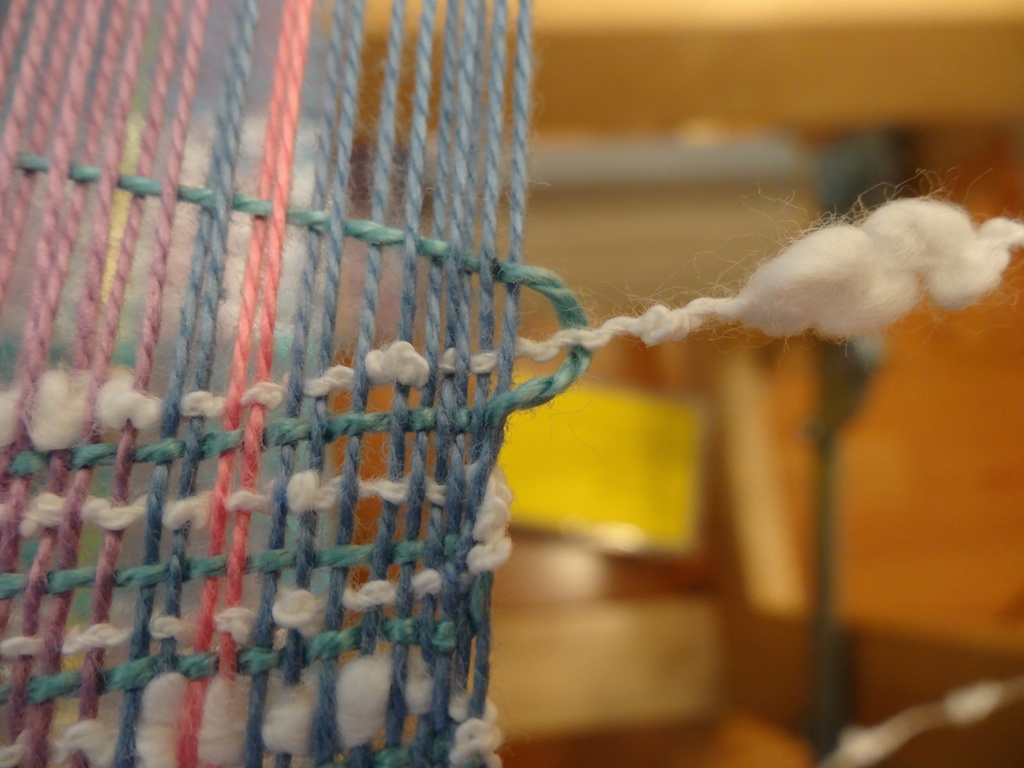
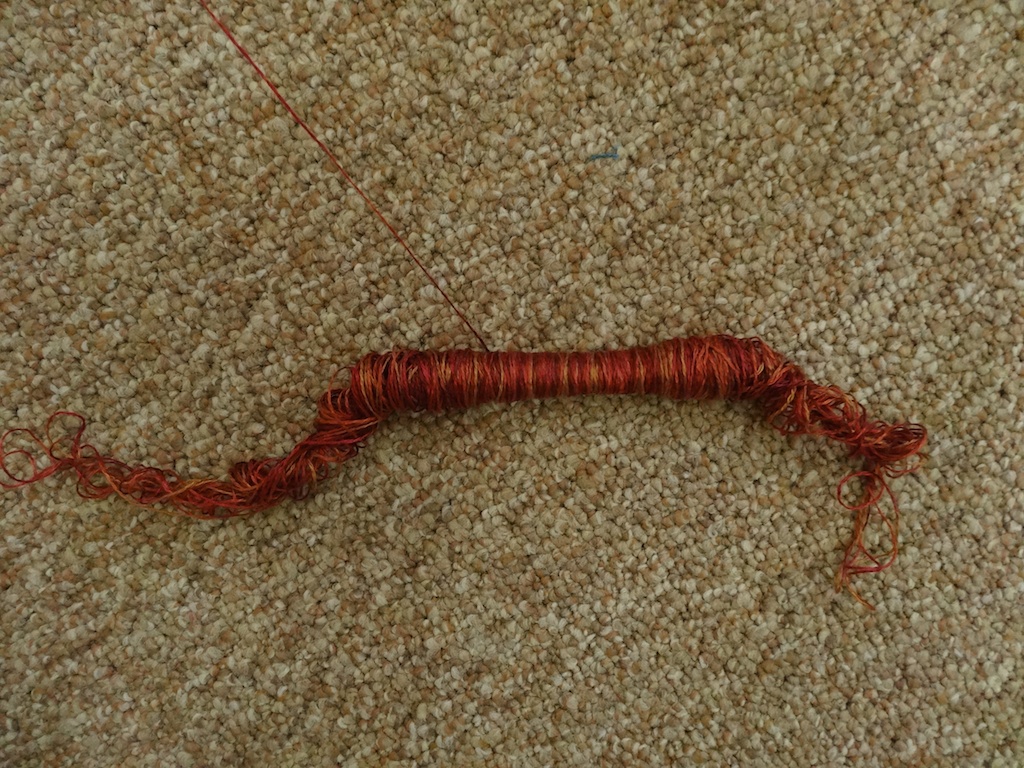
The Bad and the Really, Really Ugly: Okay, so it doesn't always work perfectly. Tip #3 is this: when you wind the paper quill, do NOT wind too close to the ends of the quill. It might look okay at first, but trust me, it will end up looking like this:
|
Pattie LambI have been happily weaving since my son was born in 1988. Archives
June 2023
Categories
All
|

 RSS Feed